
So you want to know how it’s done? Just follow the pictorial demonstration below and whamo, you’re a sand sculptor. Simple as 1, 2, 3.
Before starting, you should understand that there are two types of sand sculptures; hard packed and soft packed.
99% of all sculptures you see on the beach are soft-packed sand sculptures, which are not initially compacted. This lack of preparation severely limits the possibilities of what can be sculpted (whatever possibilities there can be had with sand).
A hard-packed sand sculpture is sand that was compressed into a form before carving. This prepared, hard block of sand allows for a bit more creative freedom.
On a side note, ‘carving’ is when you subtract a medium away from the main source; while ‘sculpting’ allows for both the adding and subtraction of a medium. Hard-packed sand, pumpkins, ice, wood, stone and the thanksgiving turkey are carved, not sculpted. Clay, concrete and unpacked sand & snow are sculpted.
For this demonstration, we’ll only talk about how to make a hard-packed sand sculpture…as soft-packed sculptures are for losers.
Let’s get started. First, you’ll need the right tools.
The tools…


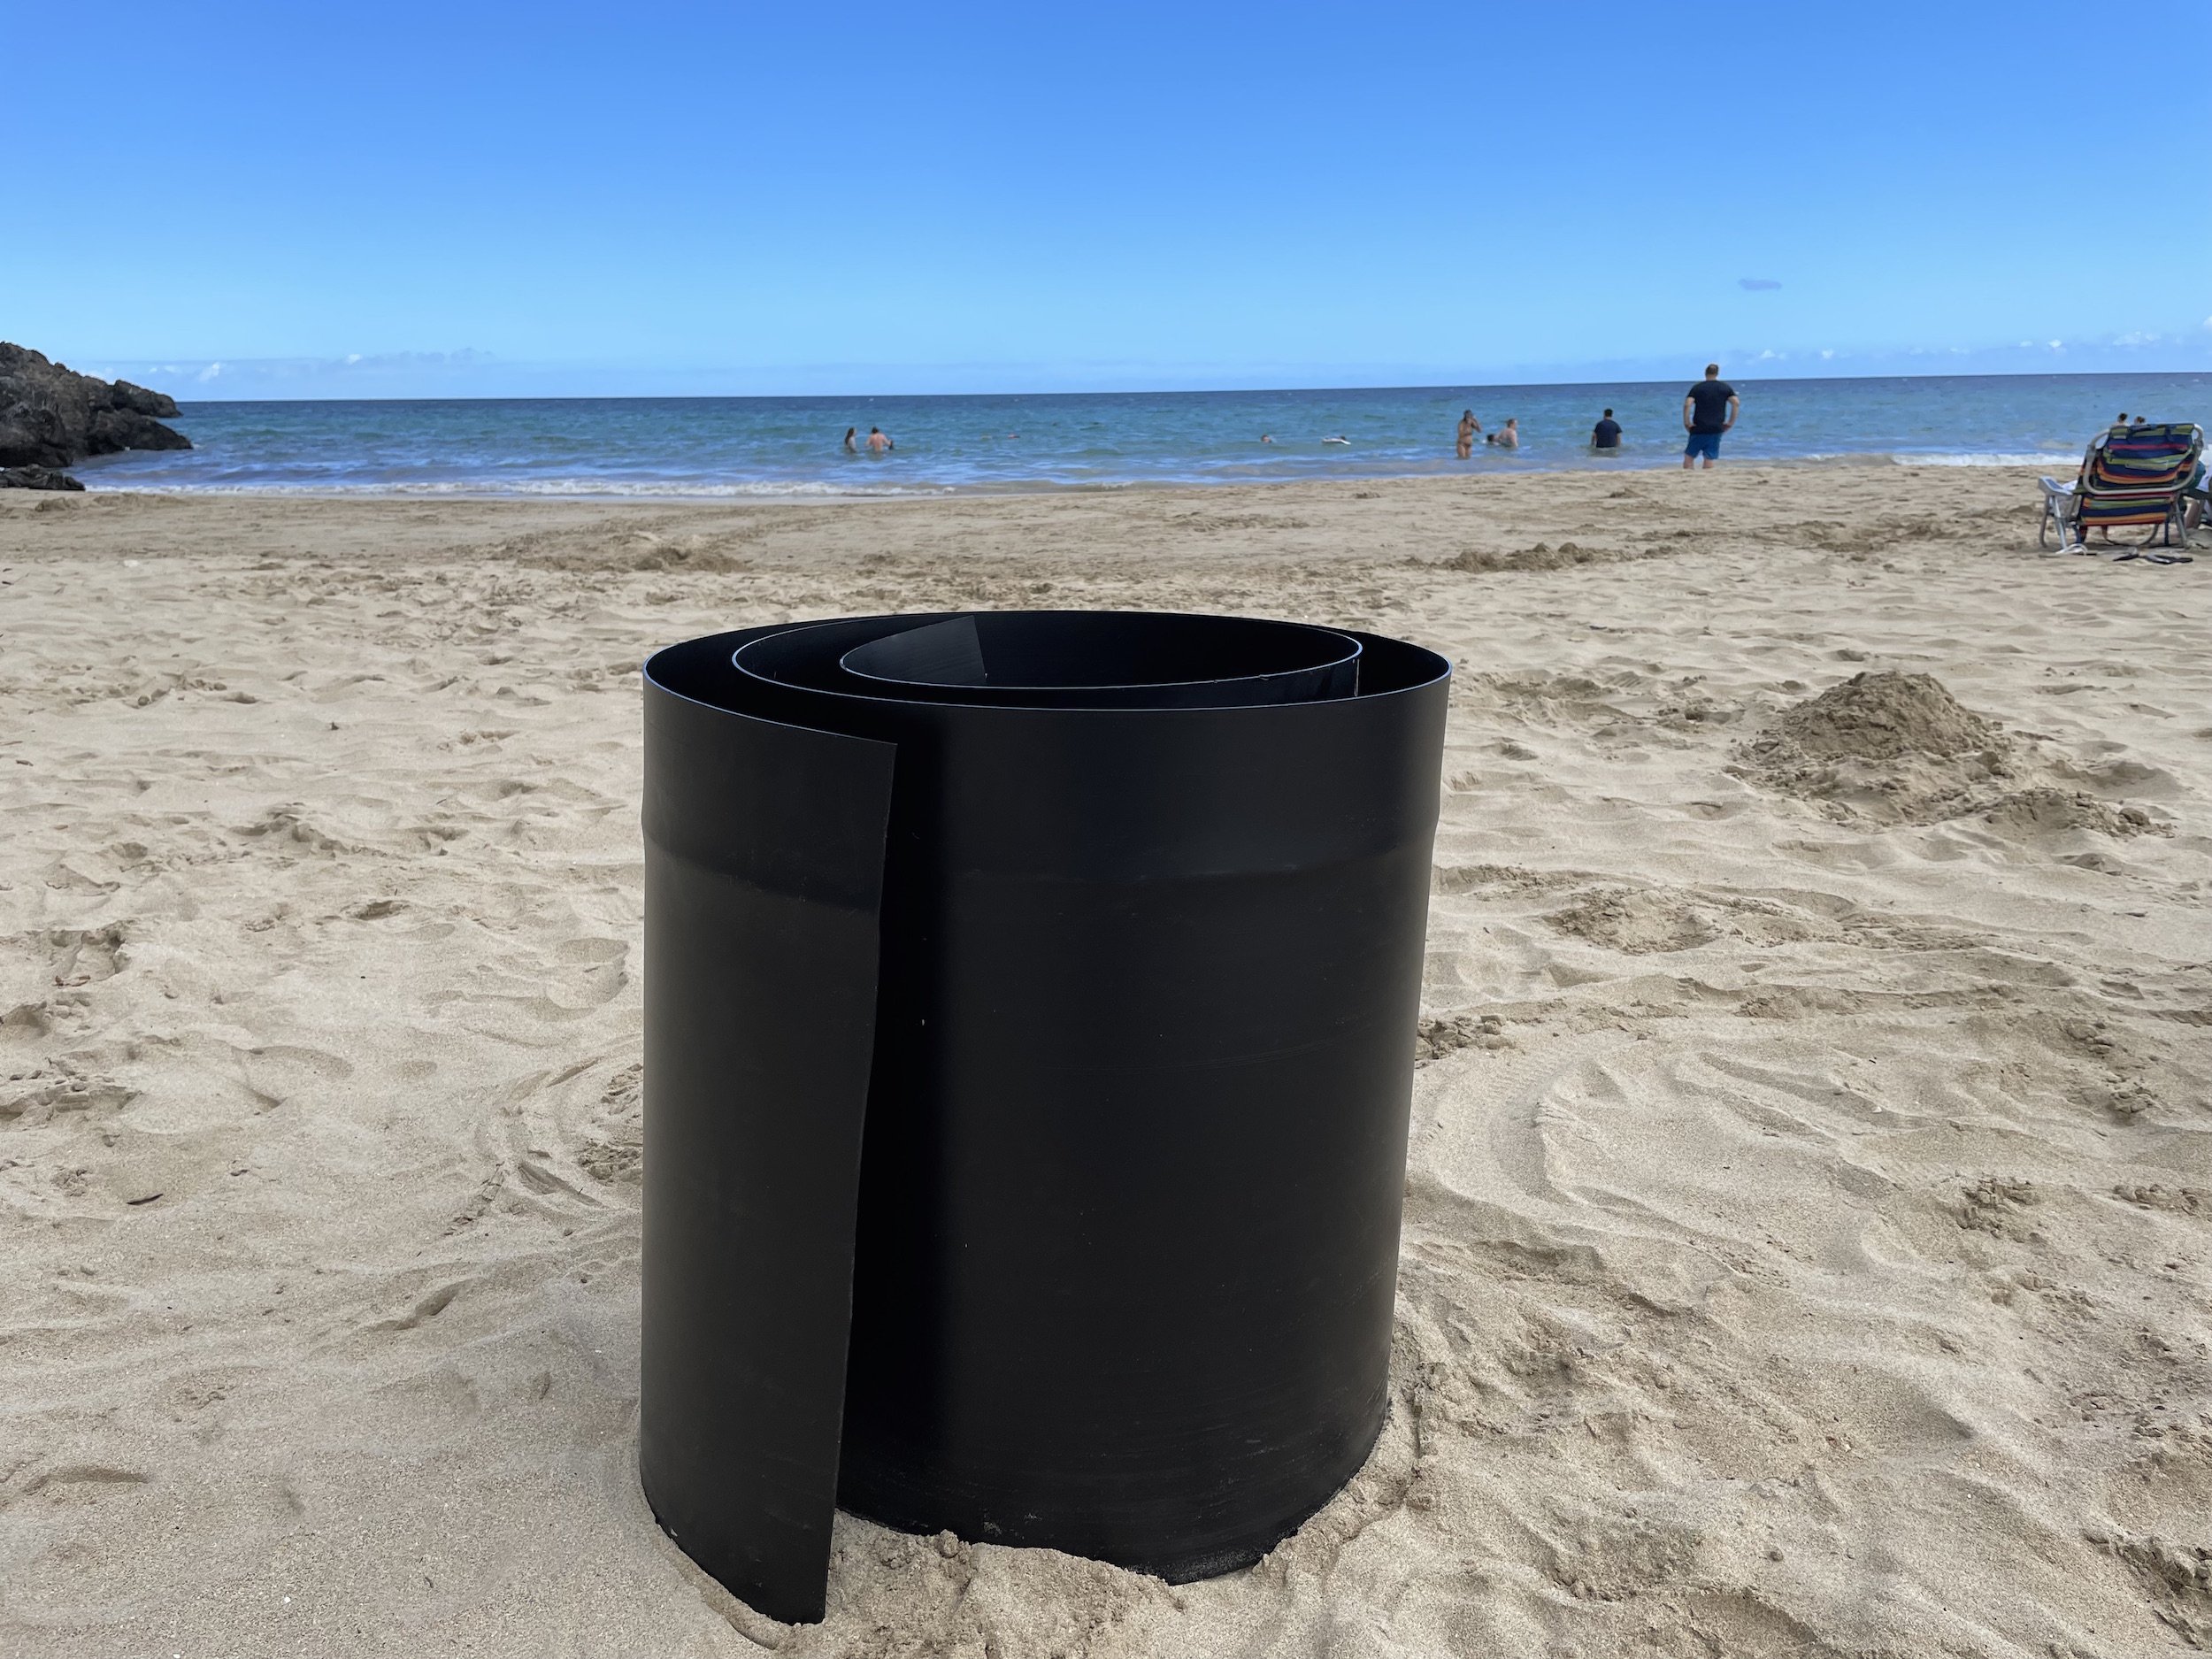
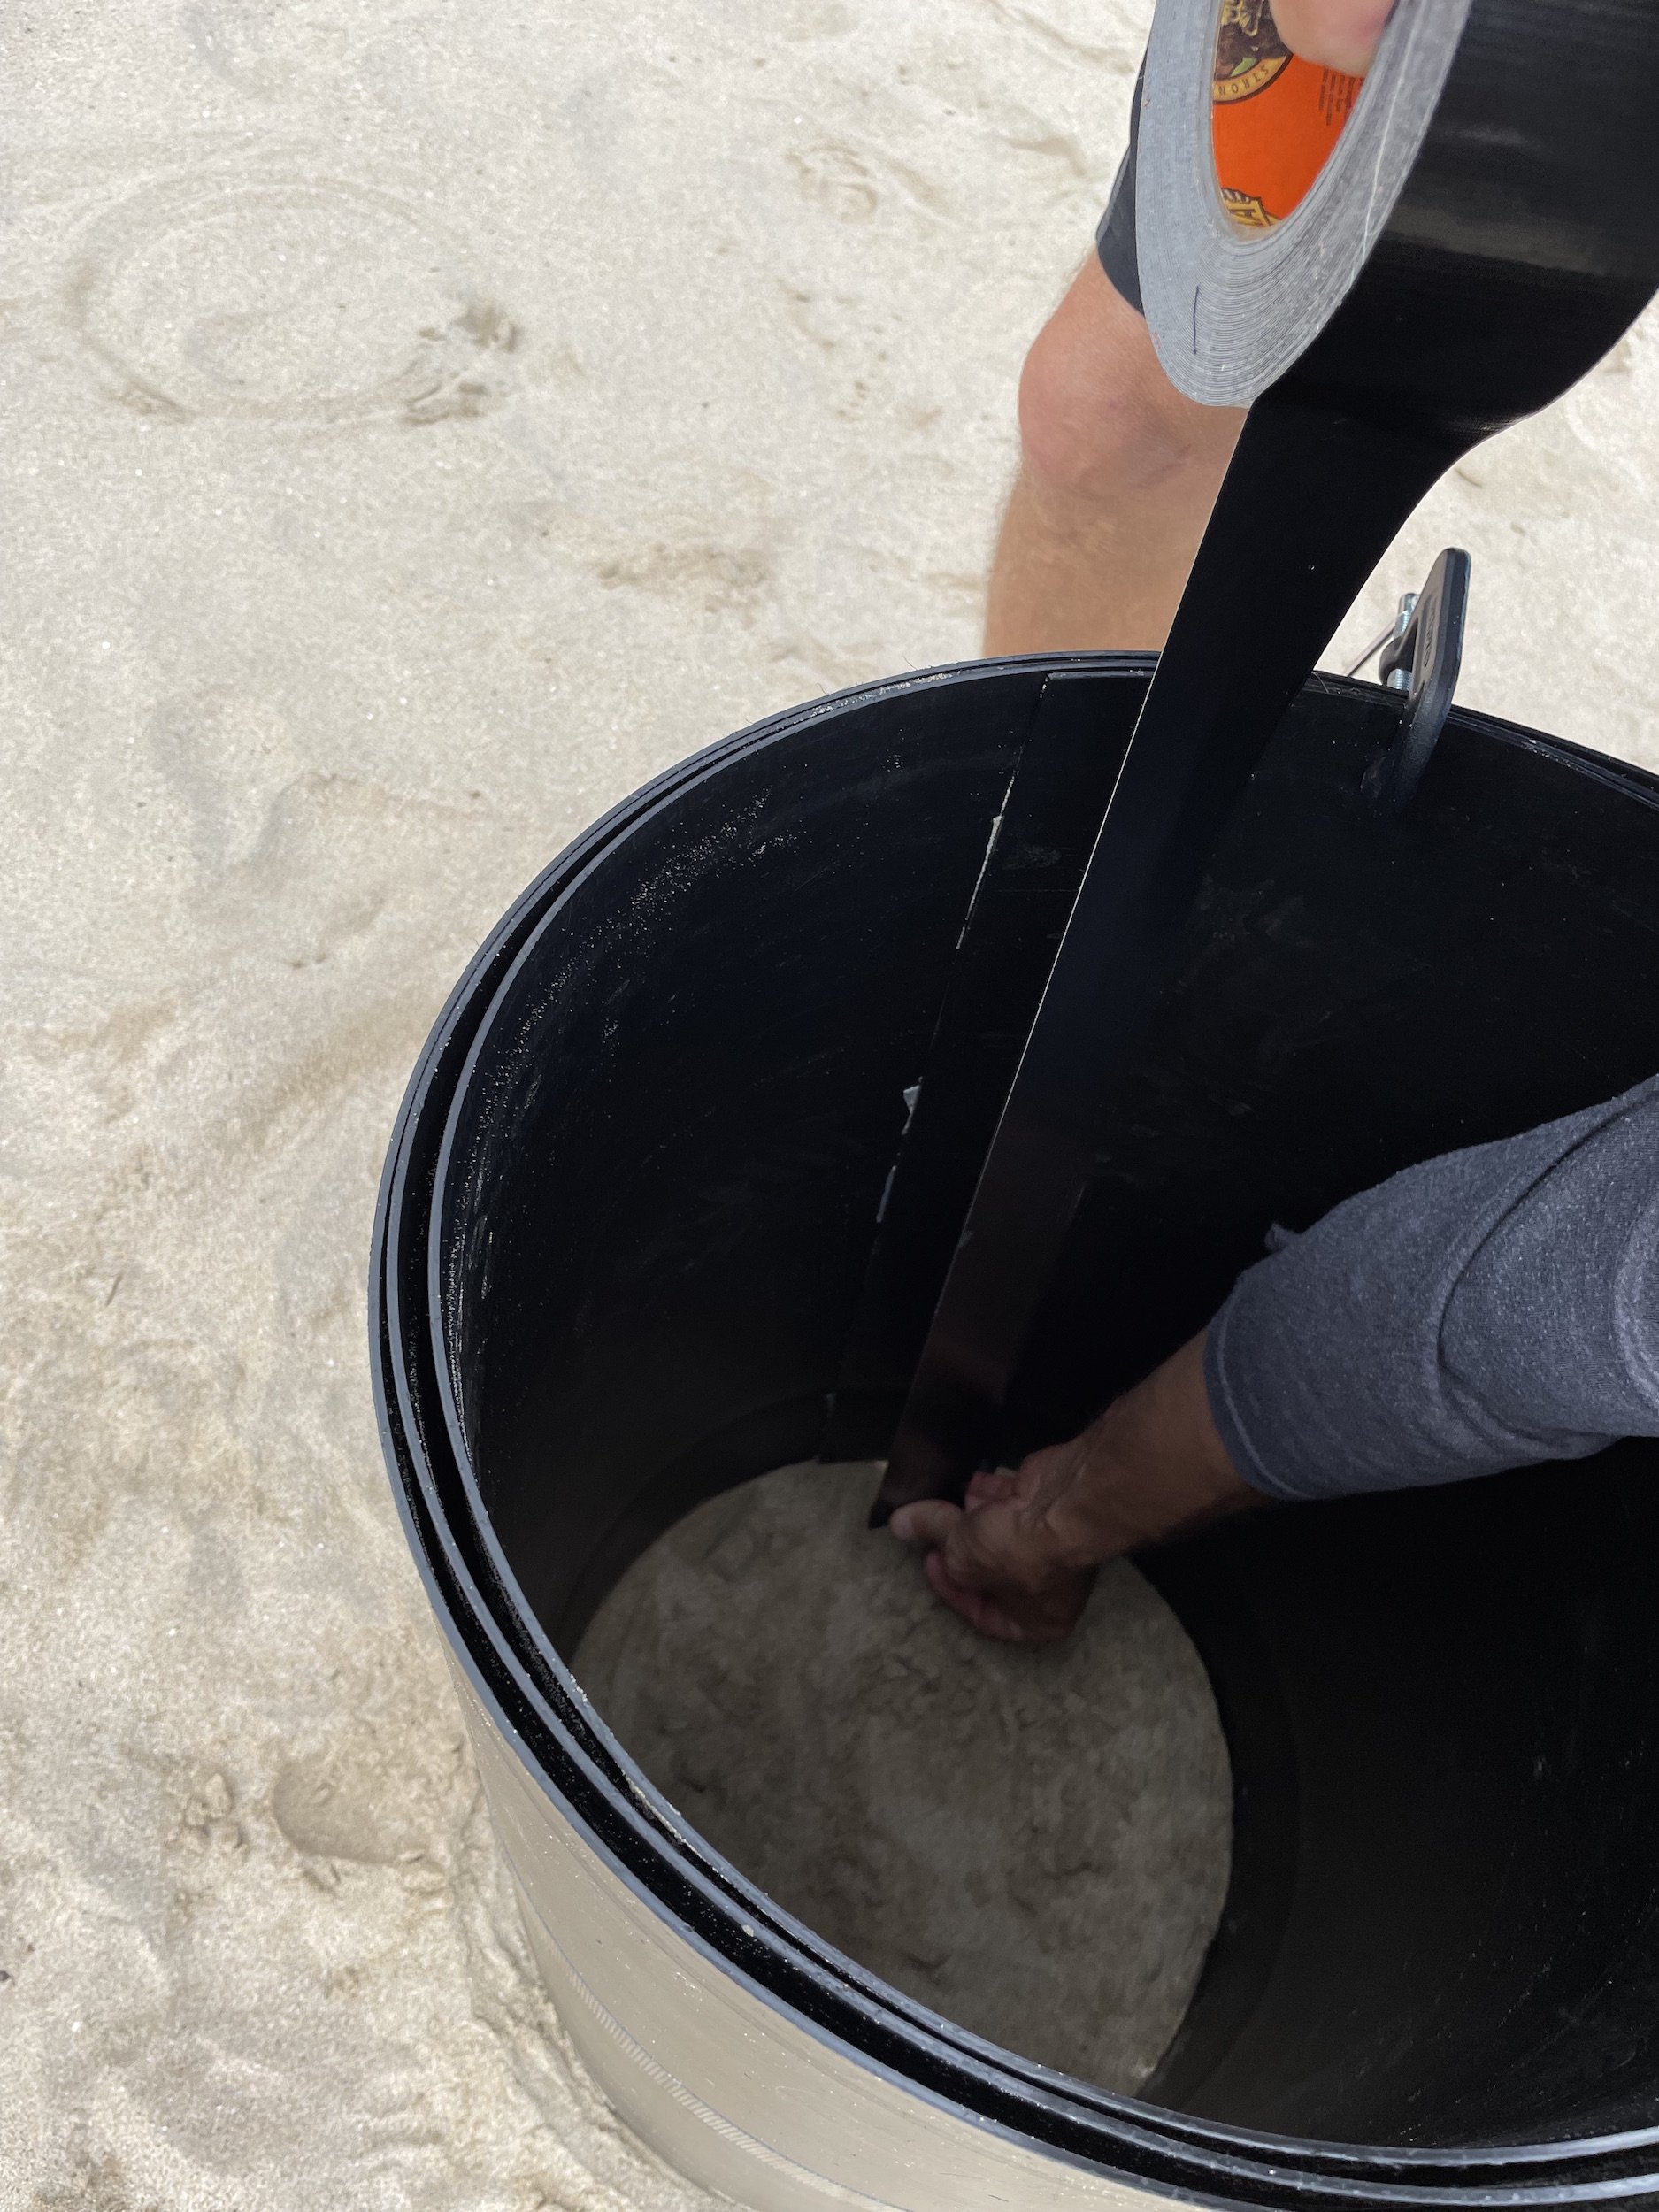
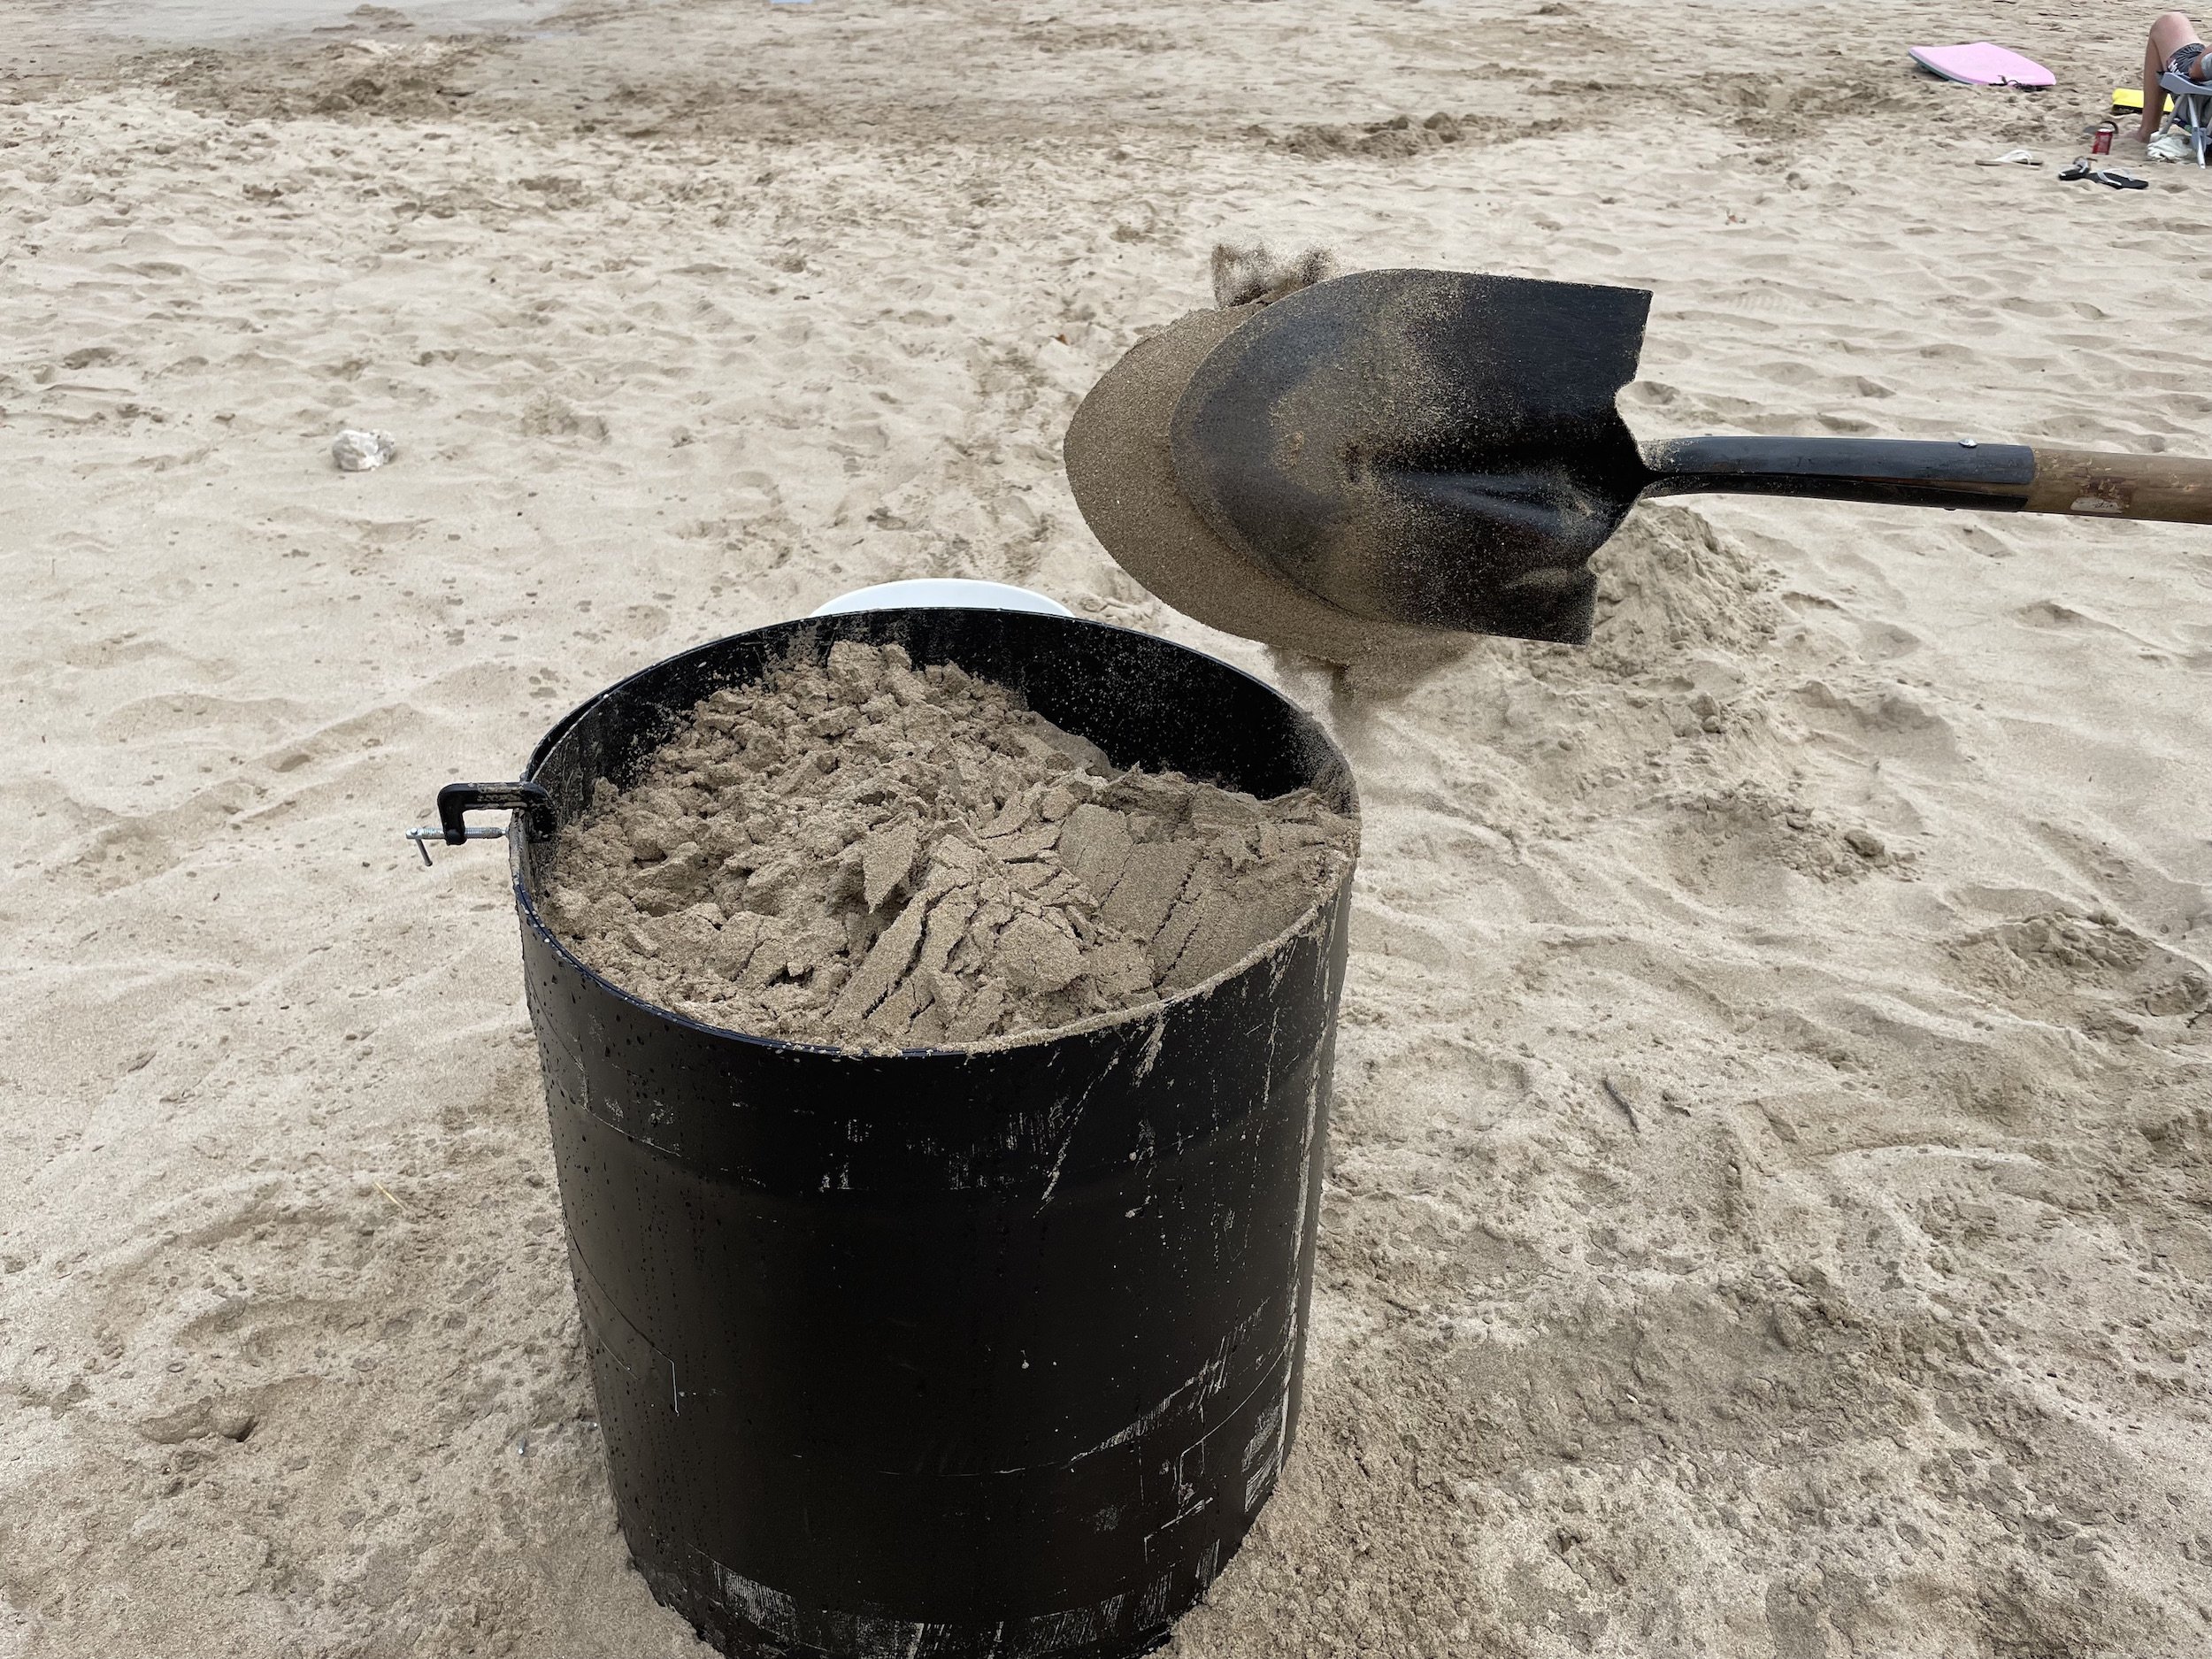
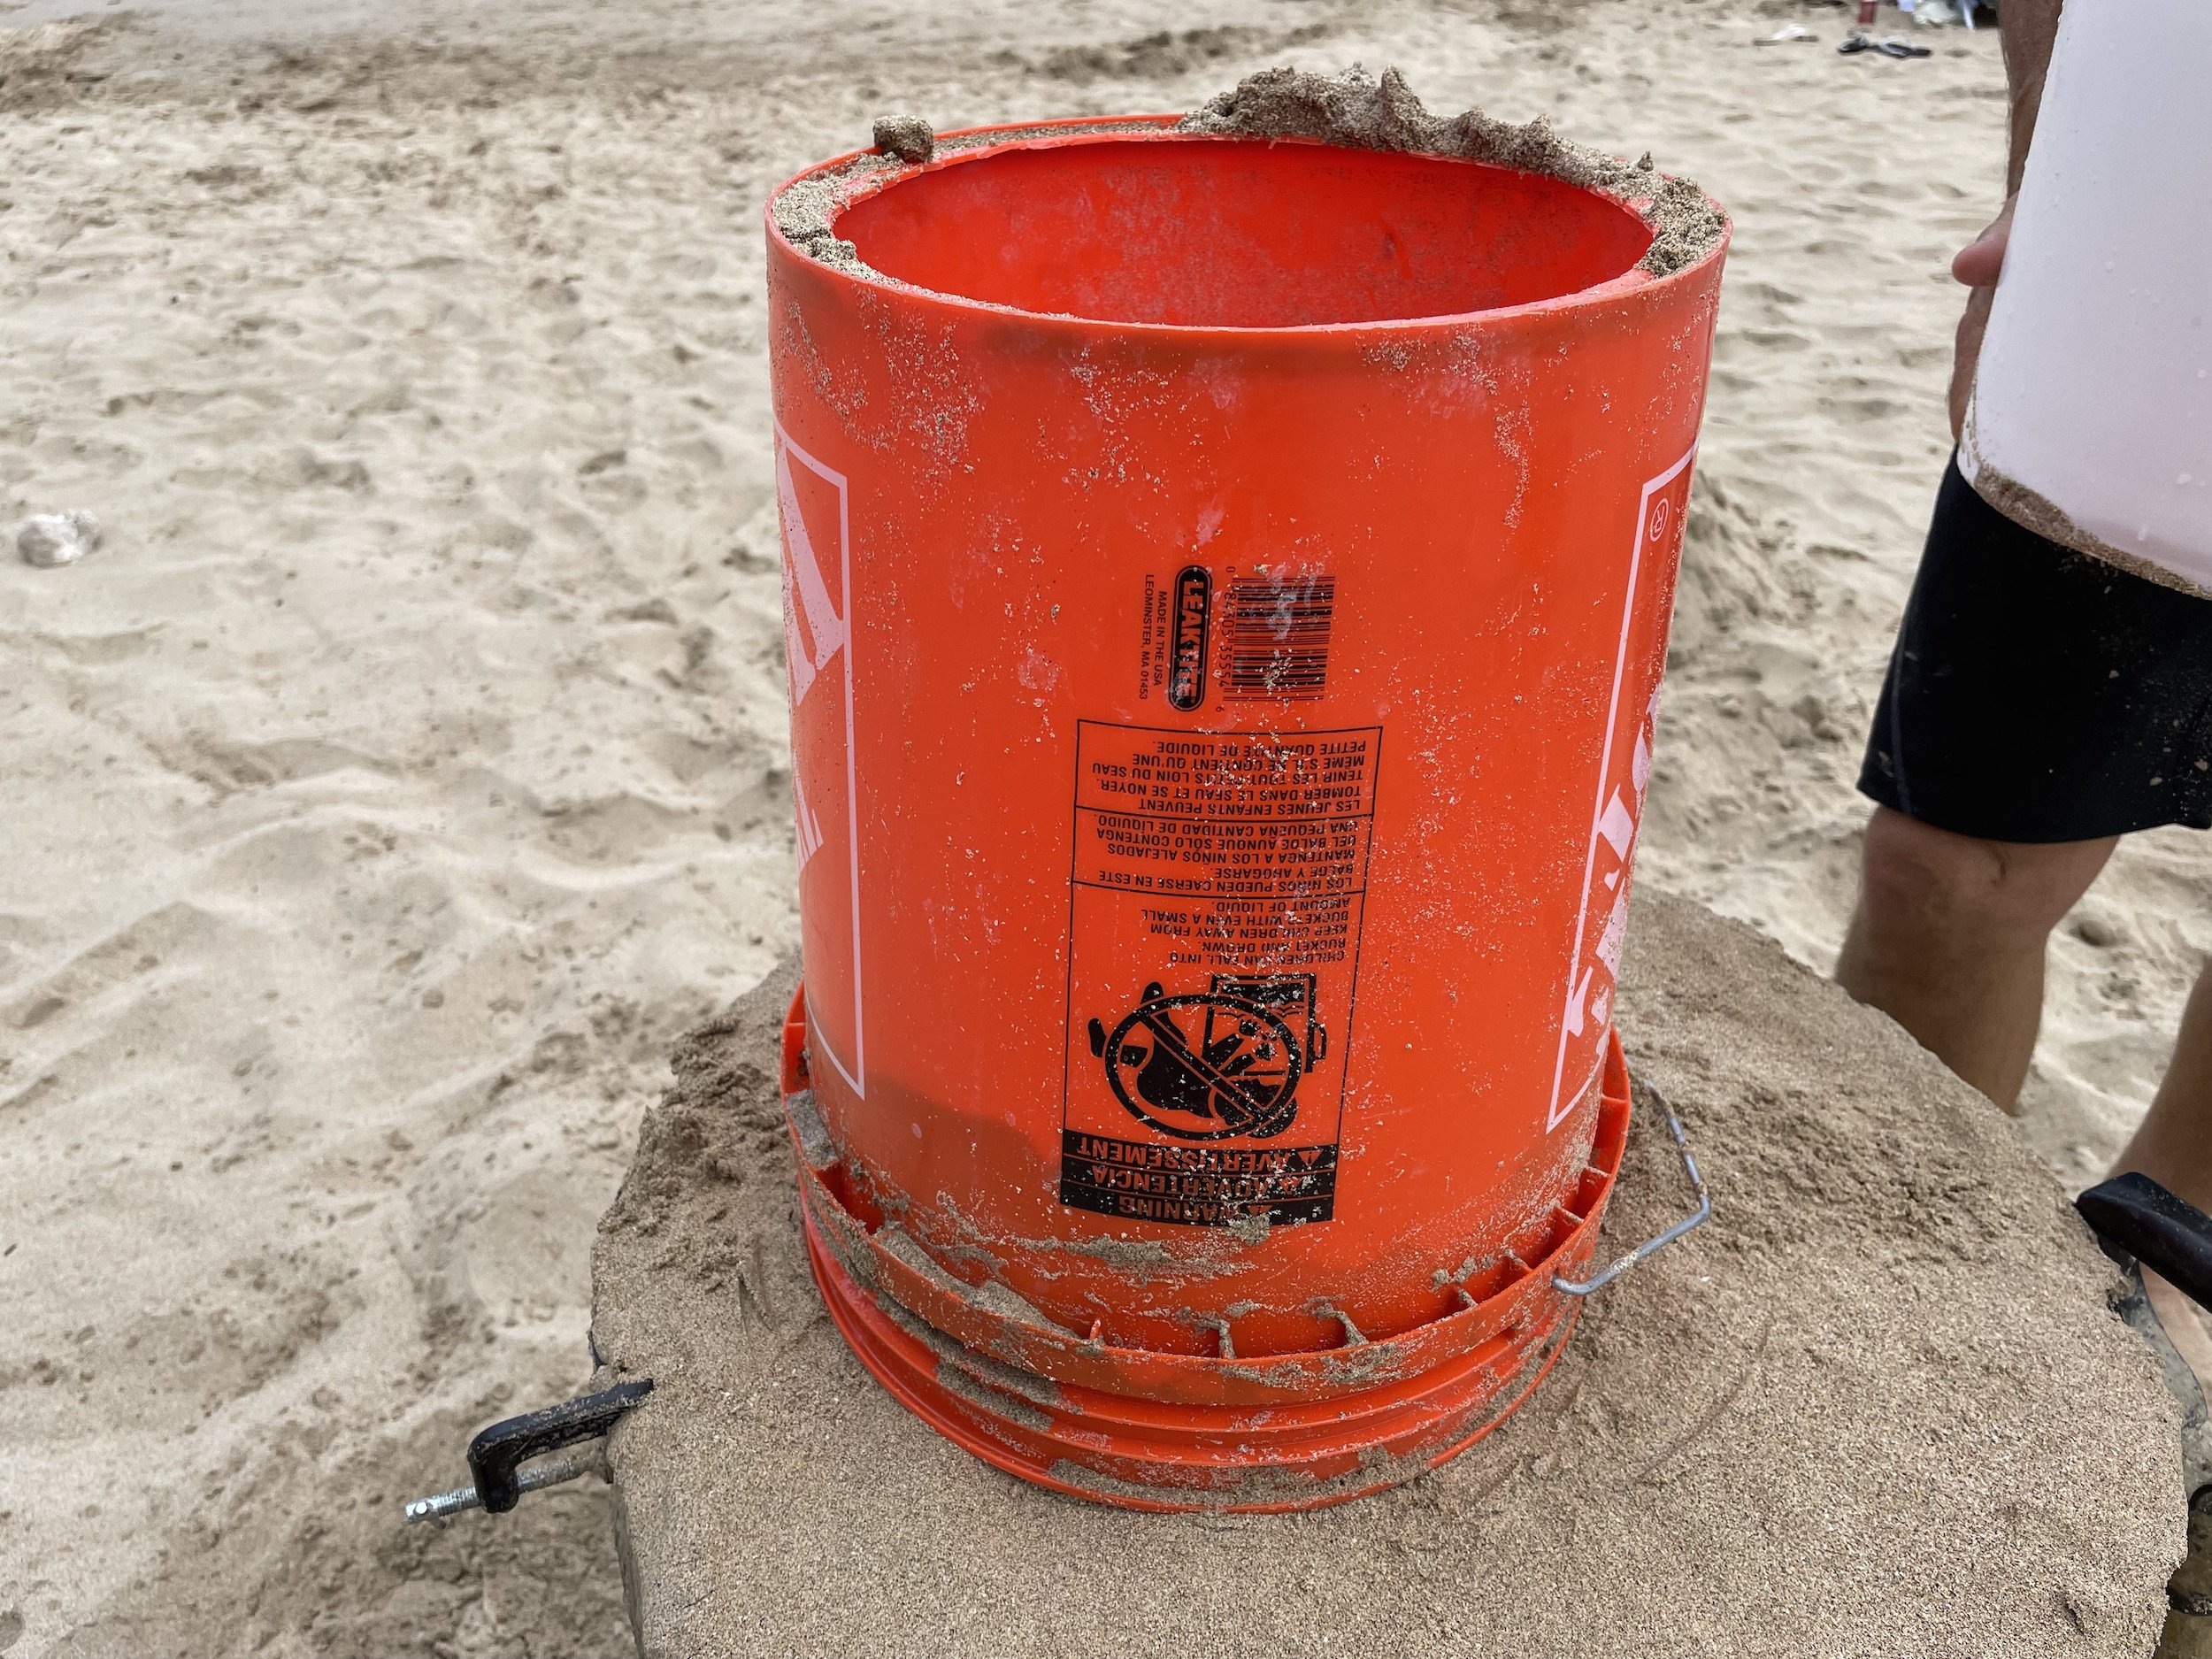
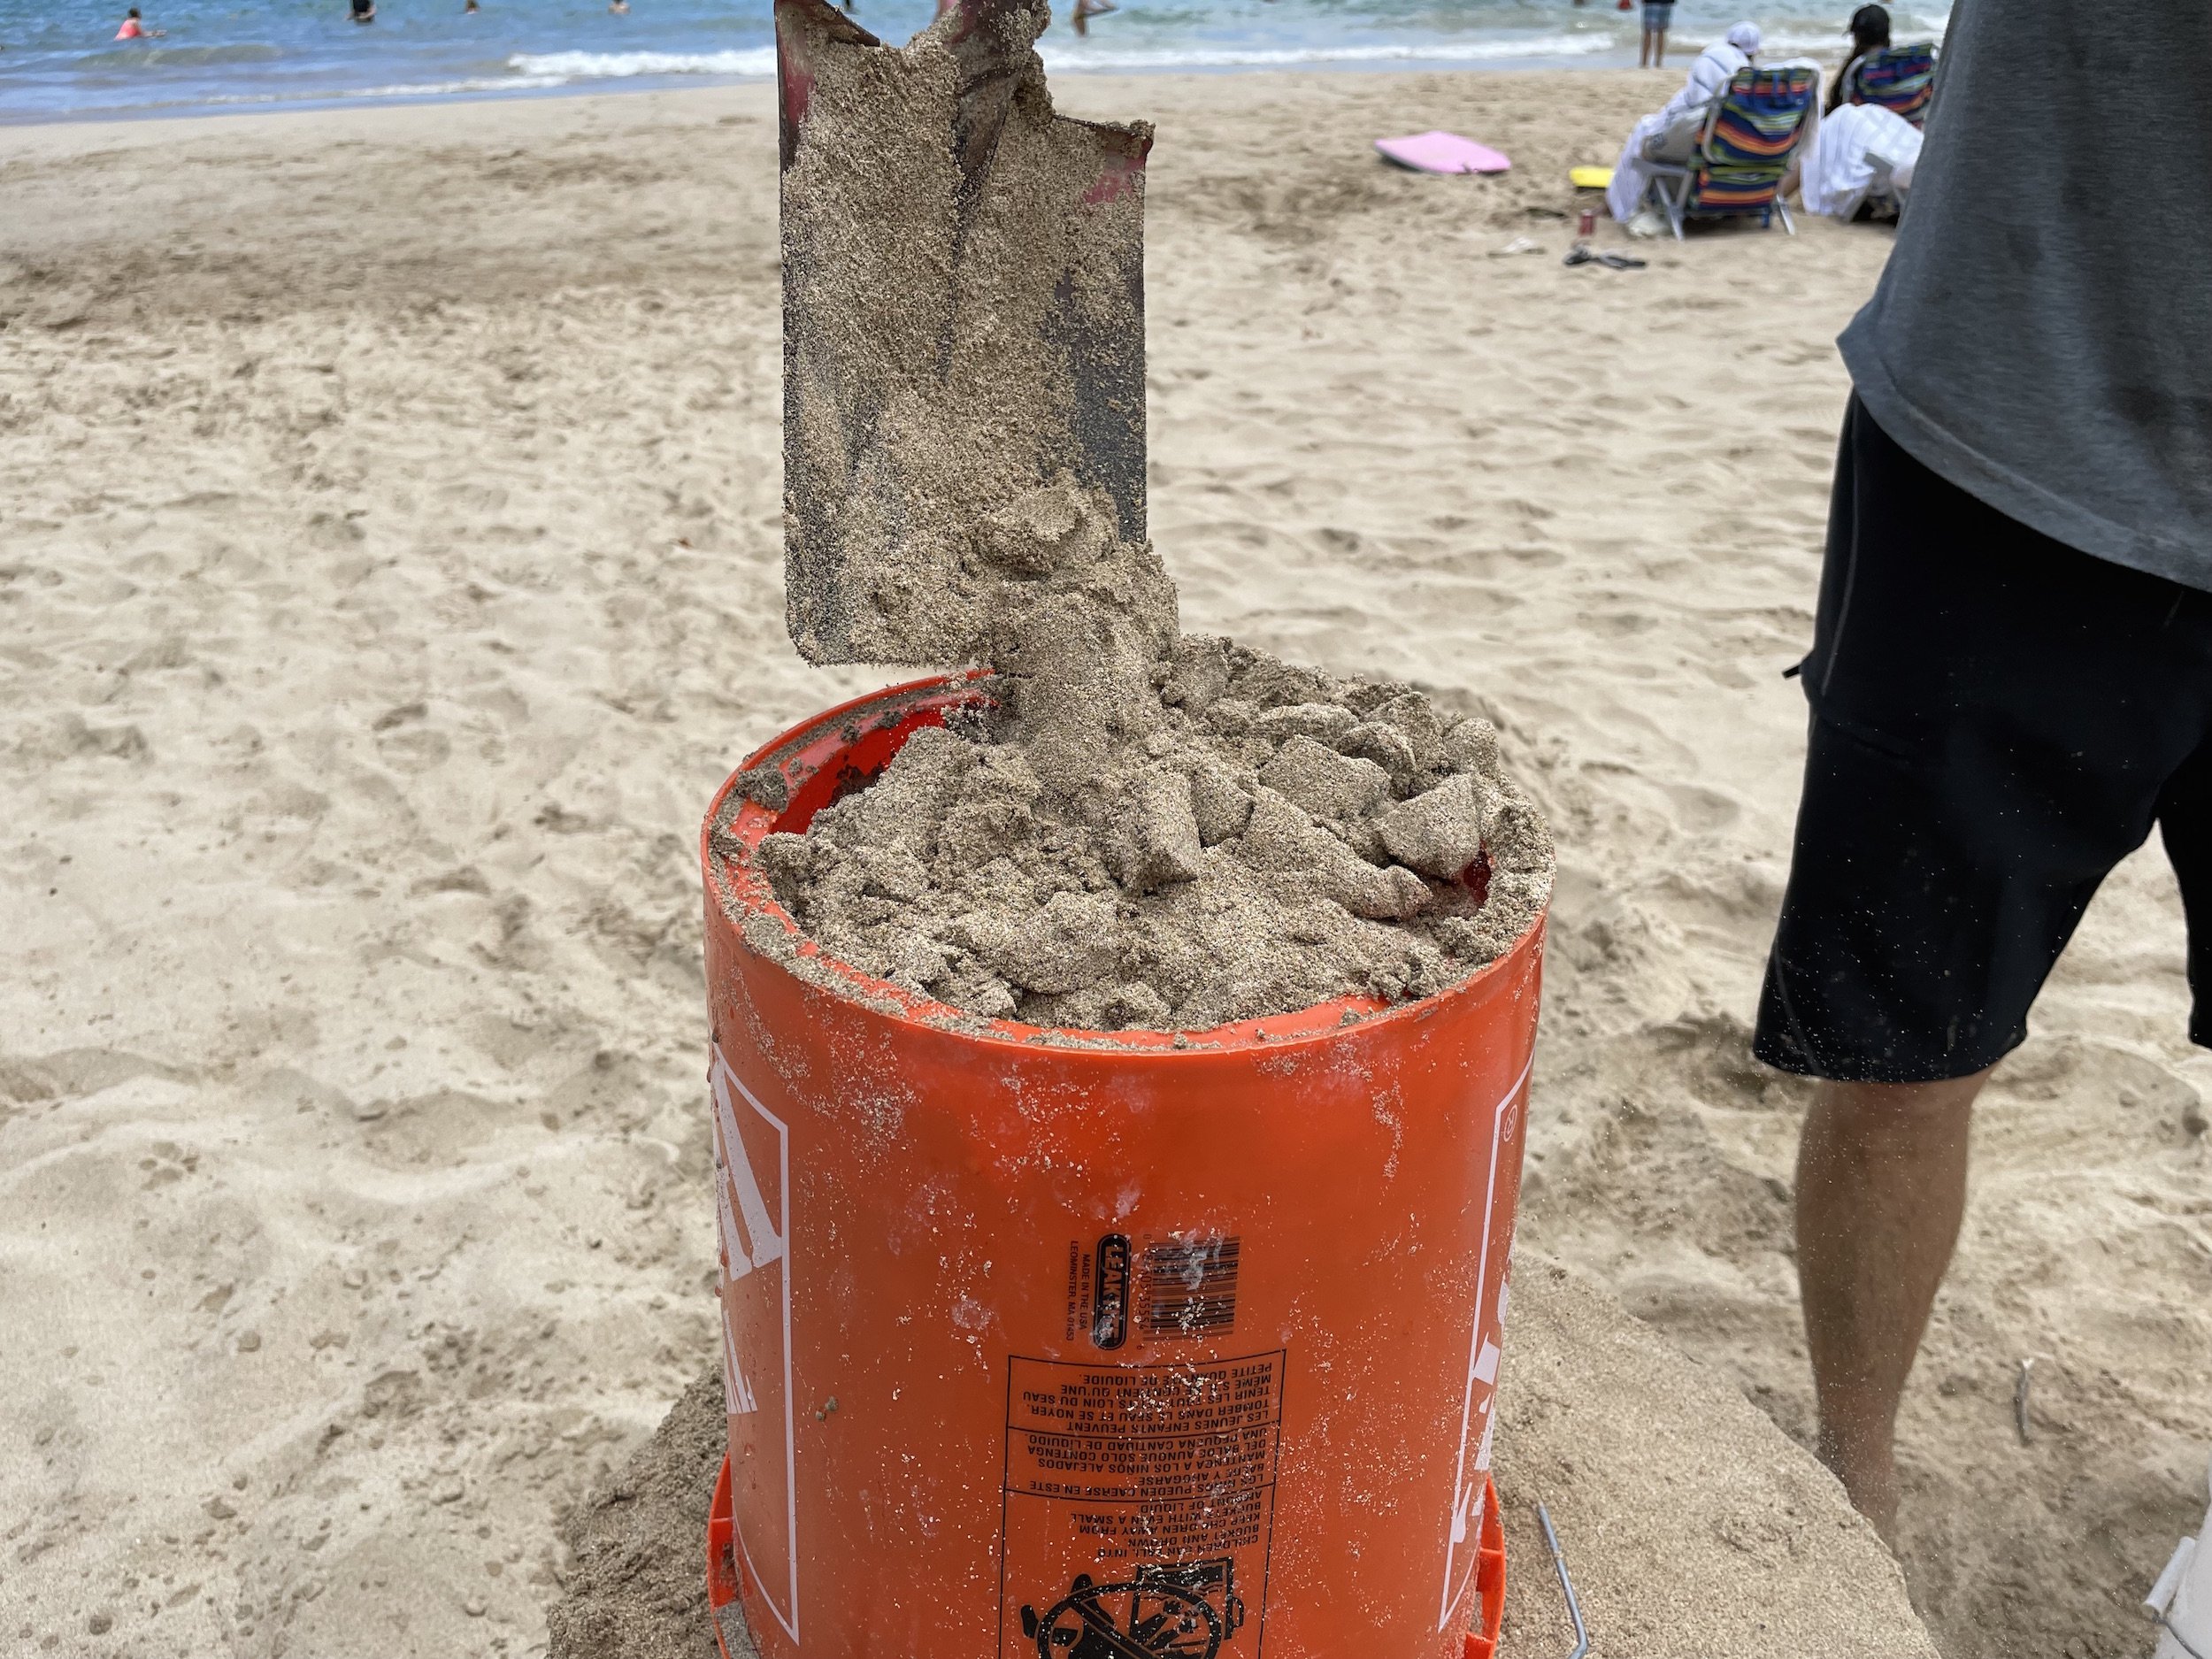
First and foremost you’ll need some type of form to pack your sand in. There are all types of forms we use out there, though ultimately it’s the size/shape of your sculpture that dictates the size/type of the forms that are used. You have to crawl before you walk so for this purpose we’ll keep things simple, and forms don’t get much simpler than ‘flexie’ forms (polyethylene plastic sheets). After that you’ll need a shovel, some duct tape, a few five gallon buckets, and some small c-clamps.
Almost anything can be used to carve sand. Used kitchen utensils from a thrift store work well and can be super cheap. Masonry tools also work well, and even cake decorating tools (shown in pic)…Ateco #1385 is our fav.
The pound-up…
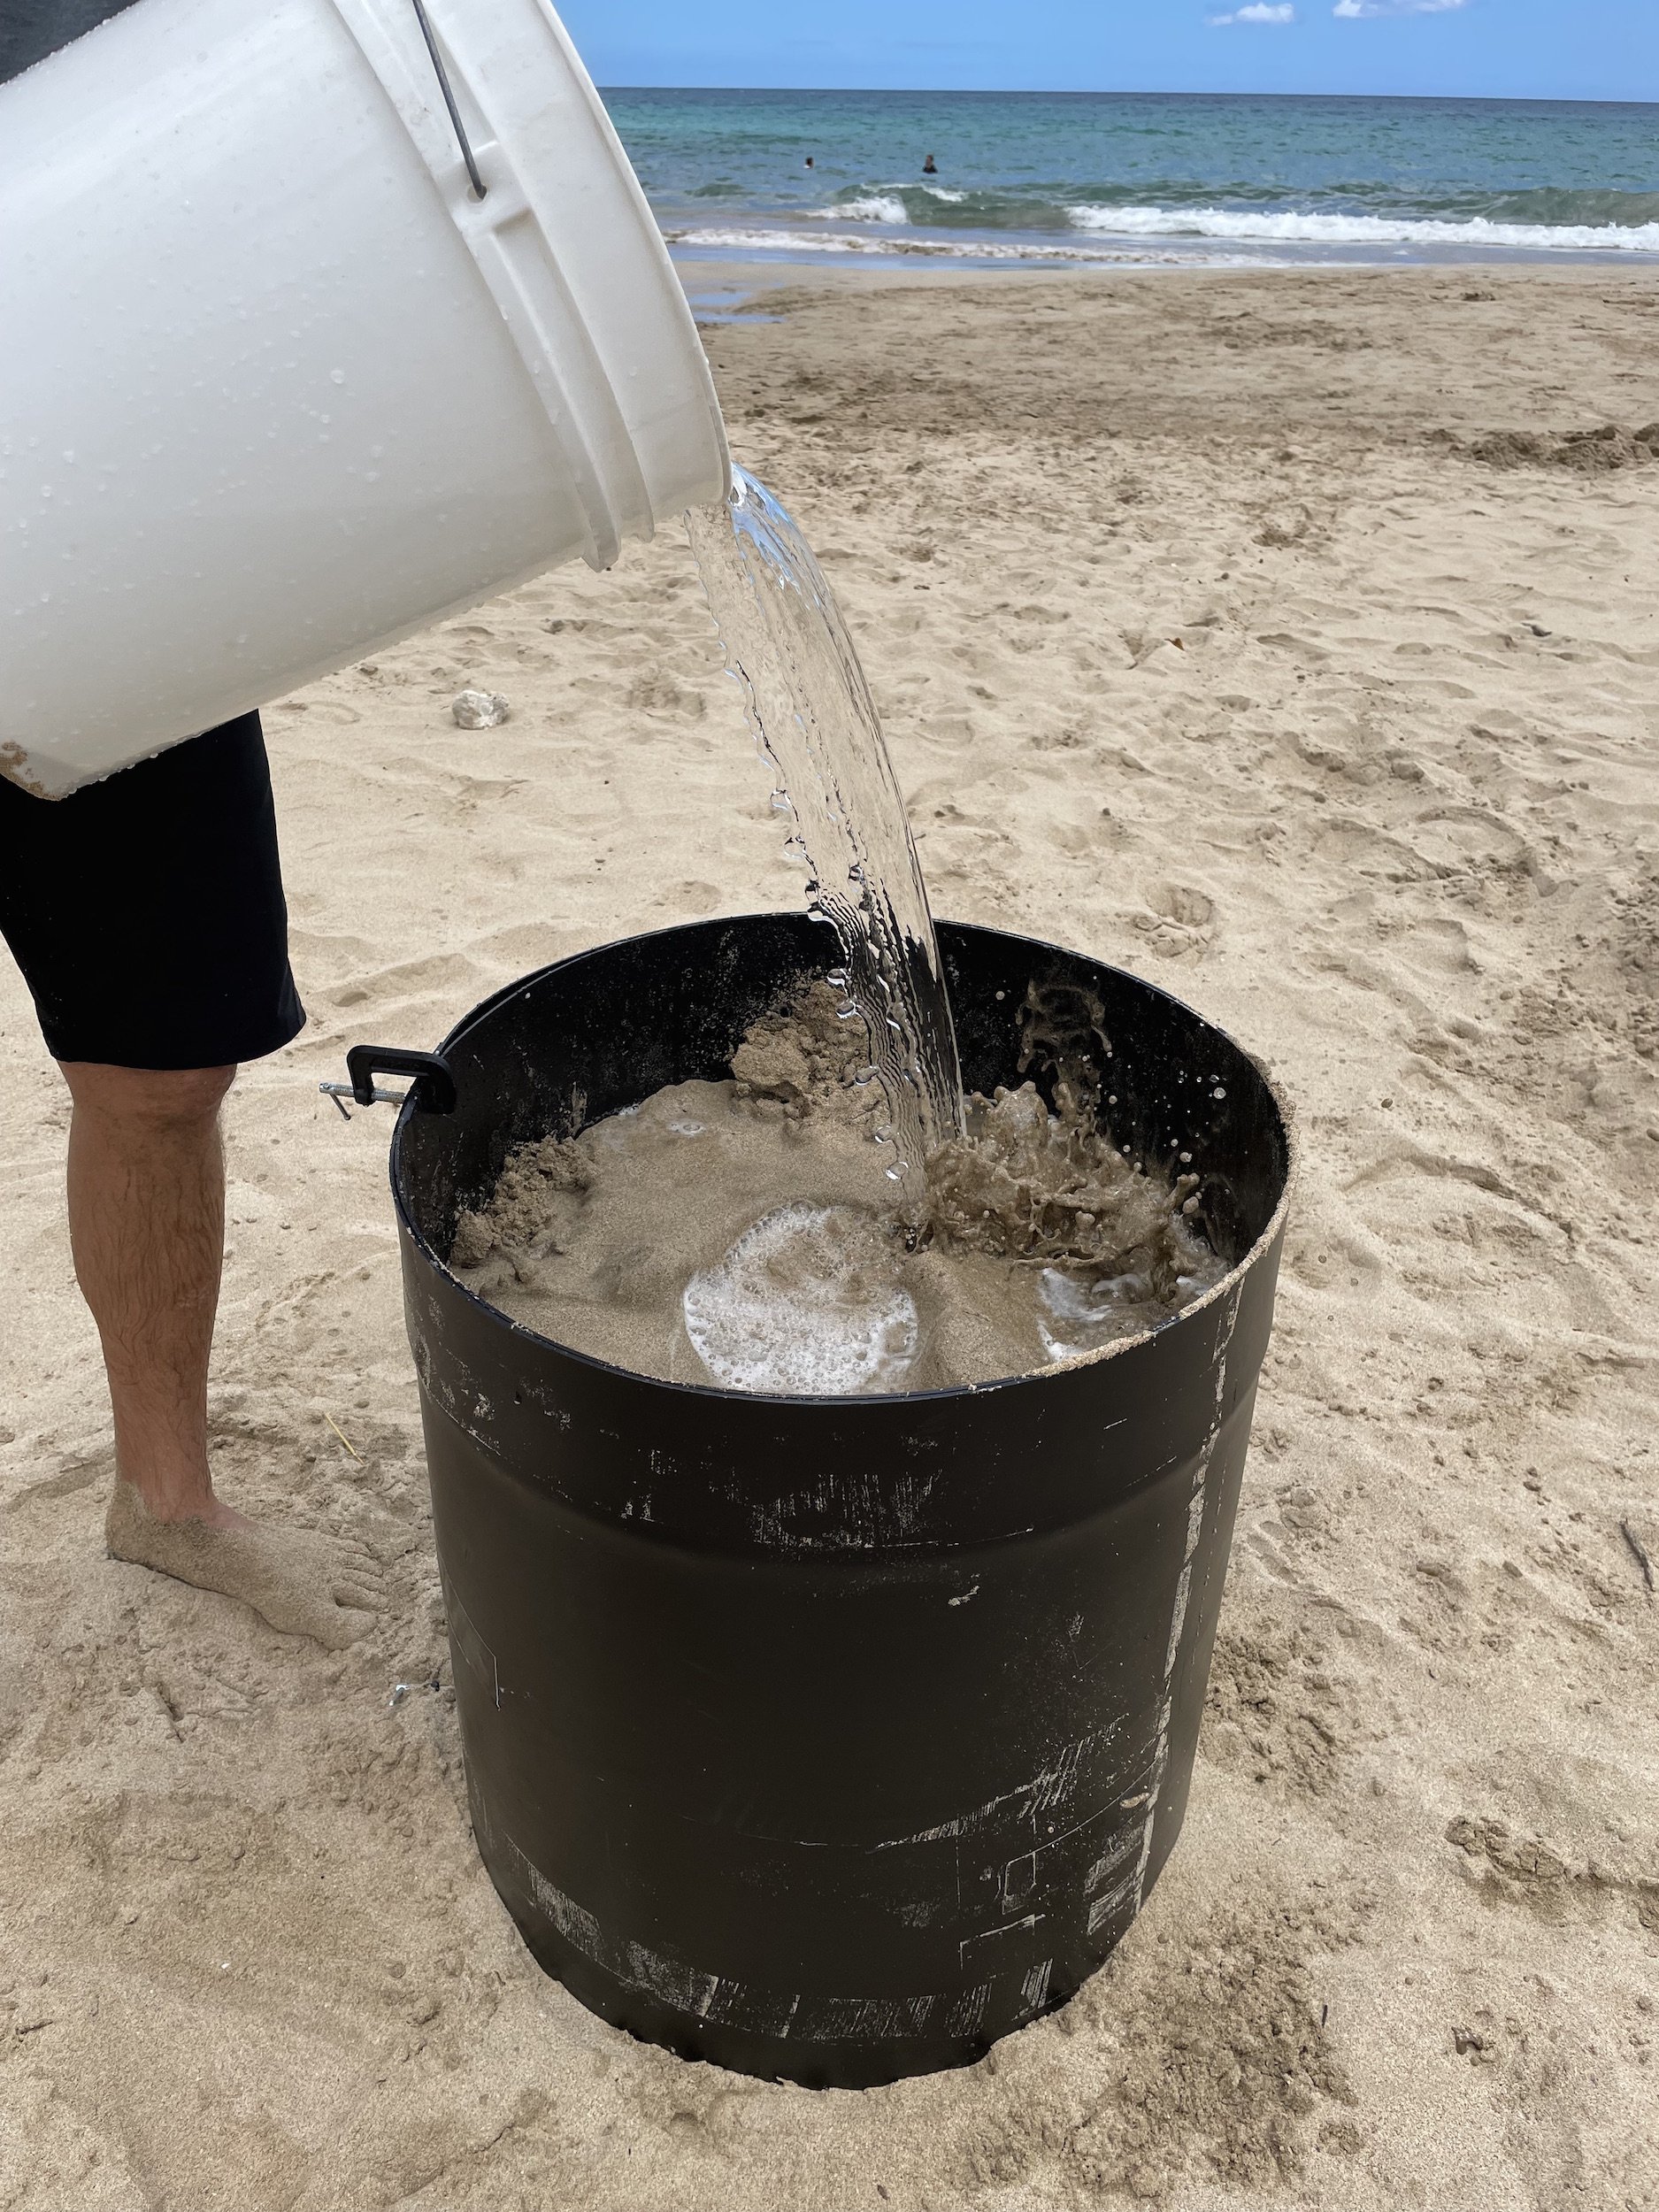
First, place your flexie form where you want your sculpture to be. Obviously, make sure your carving area is not within the high tide zone…duh.
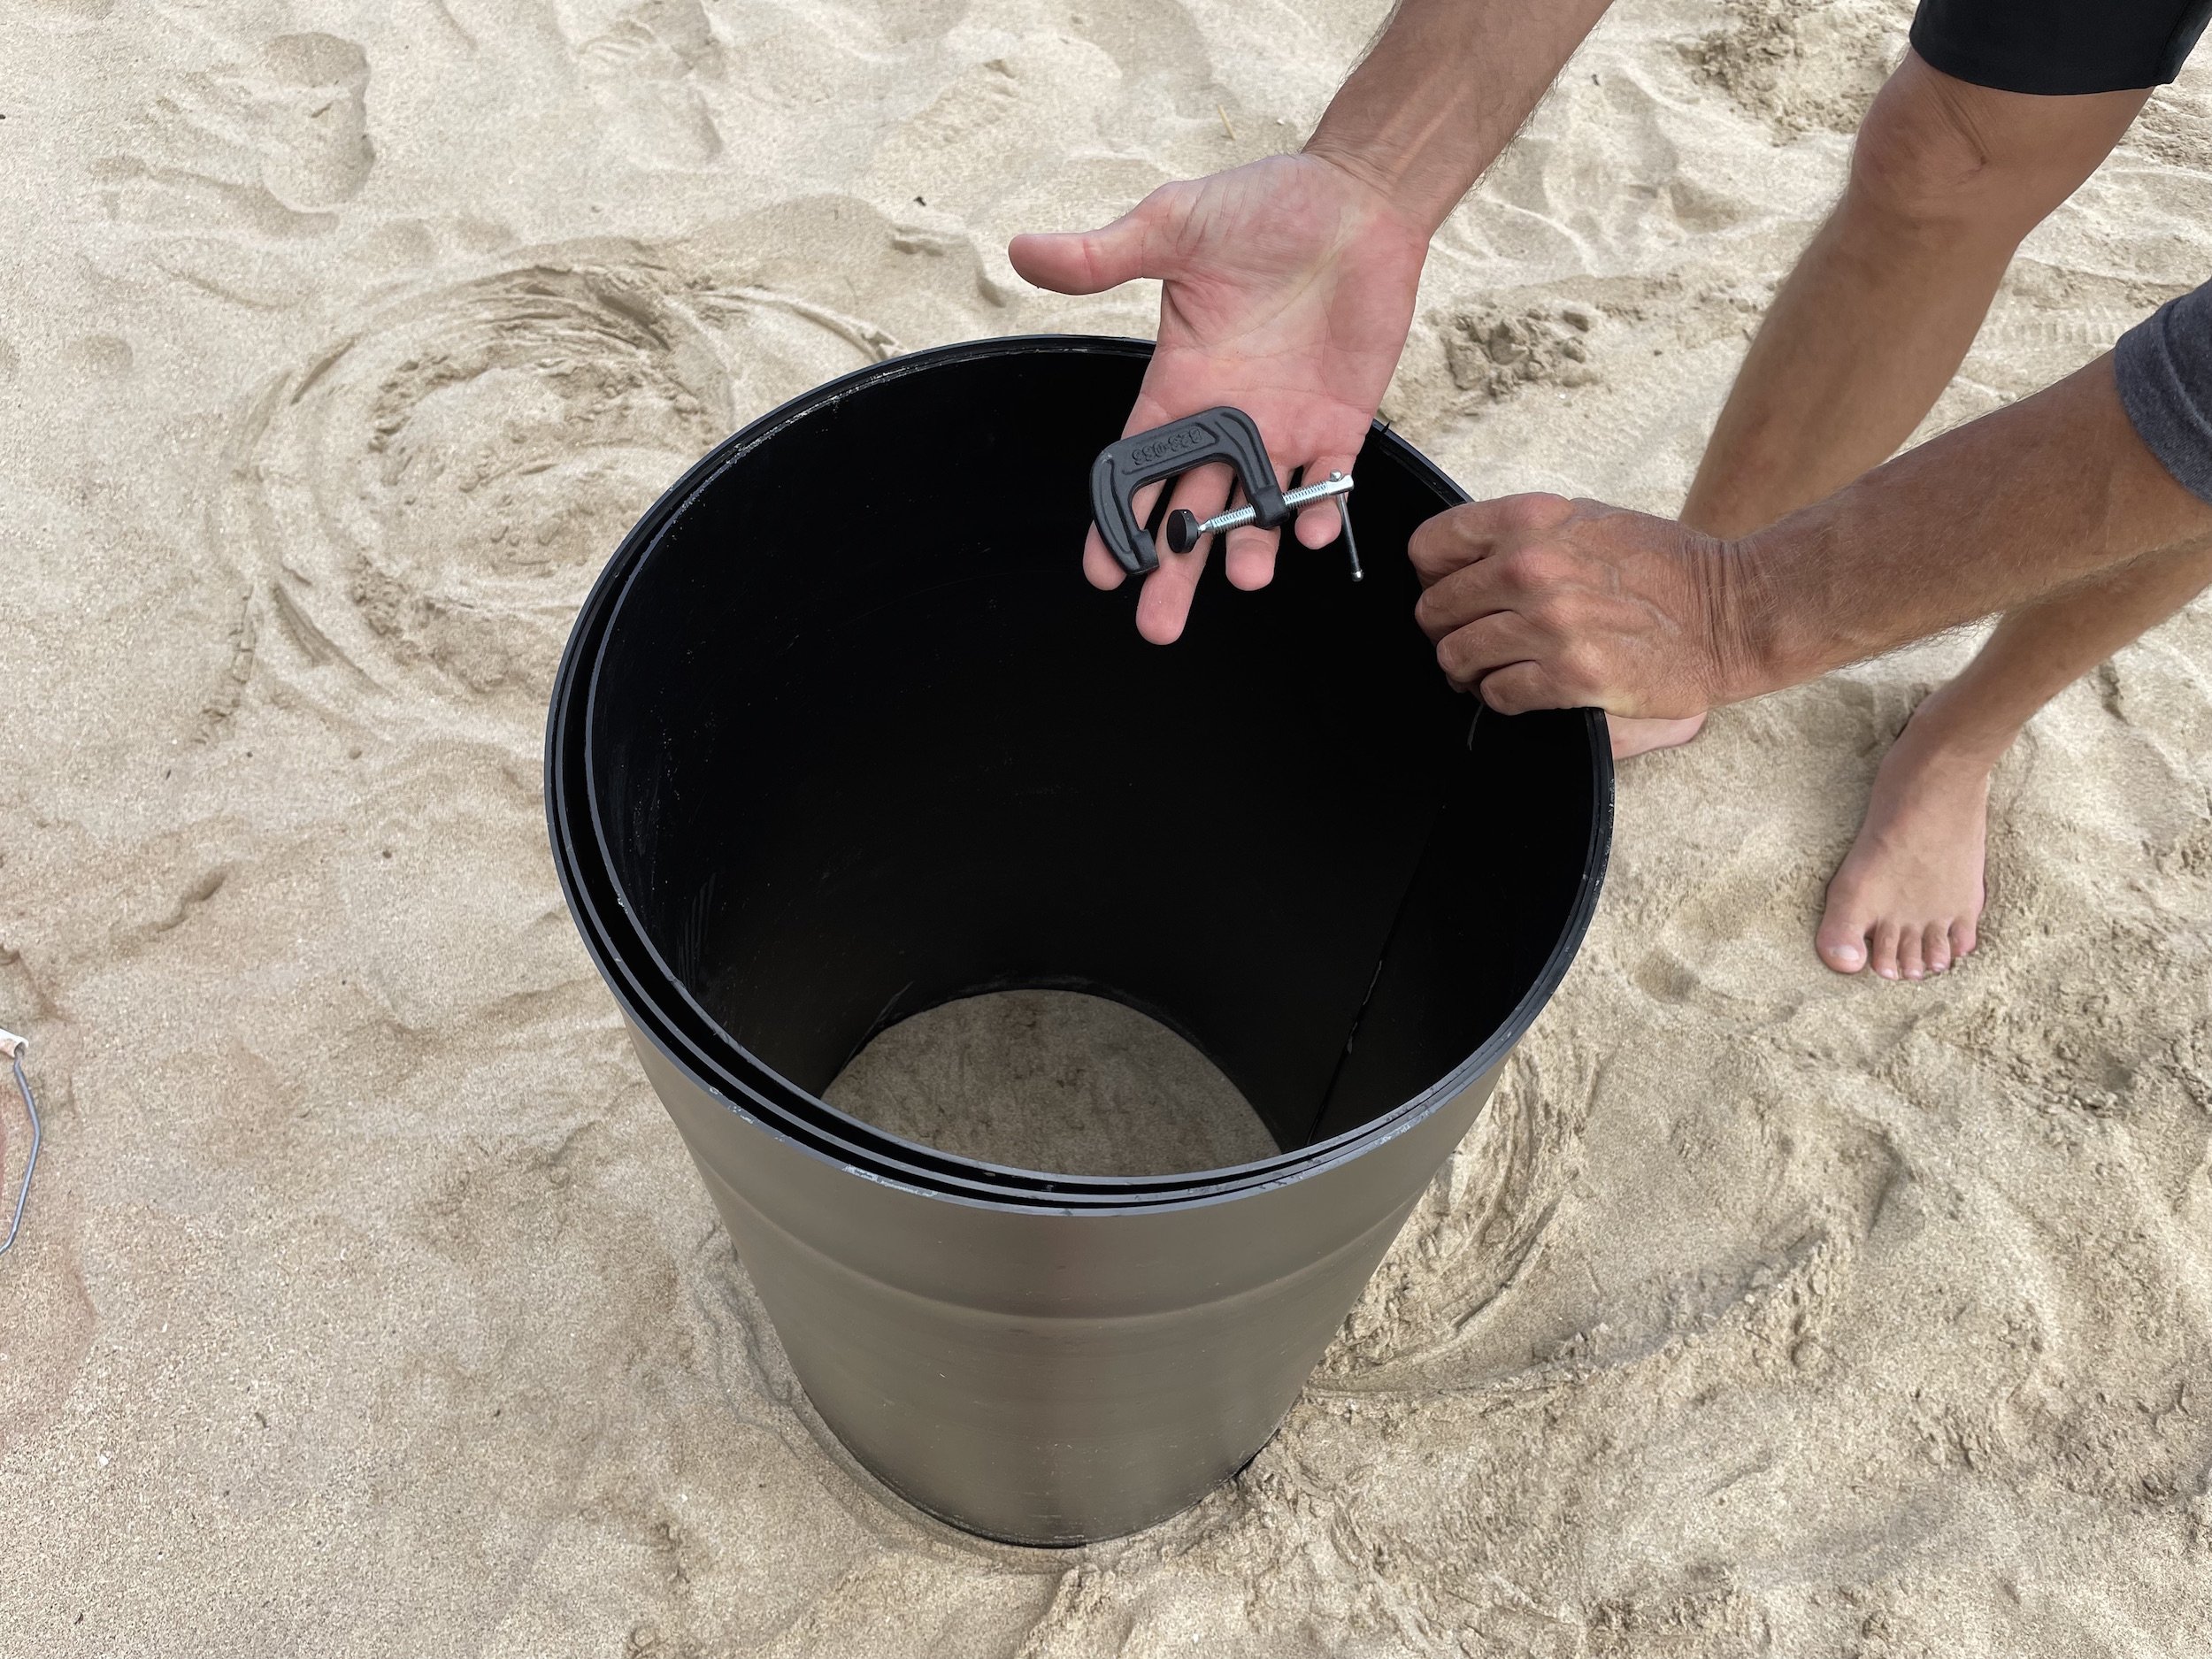
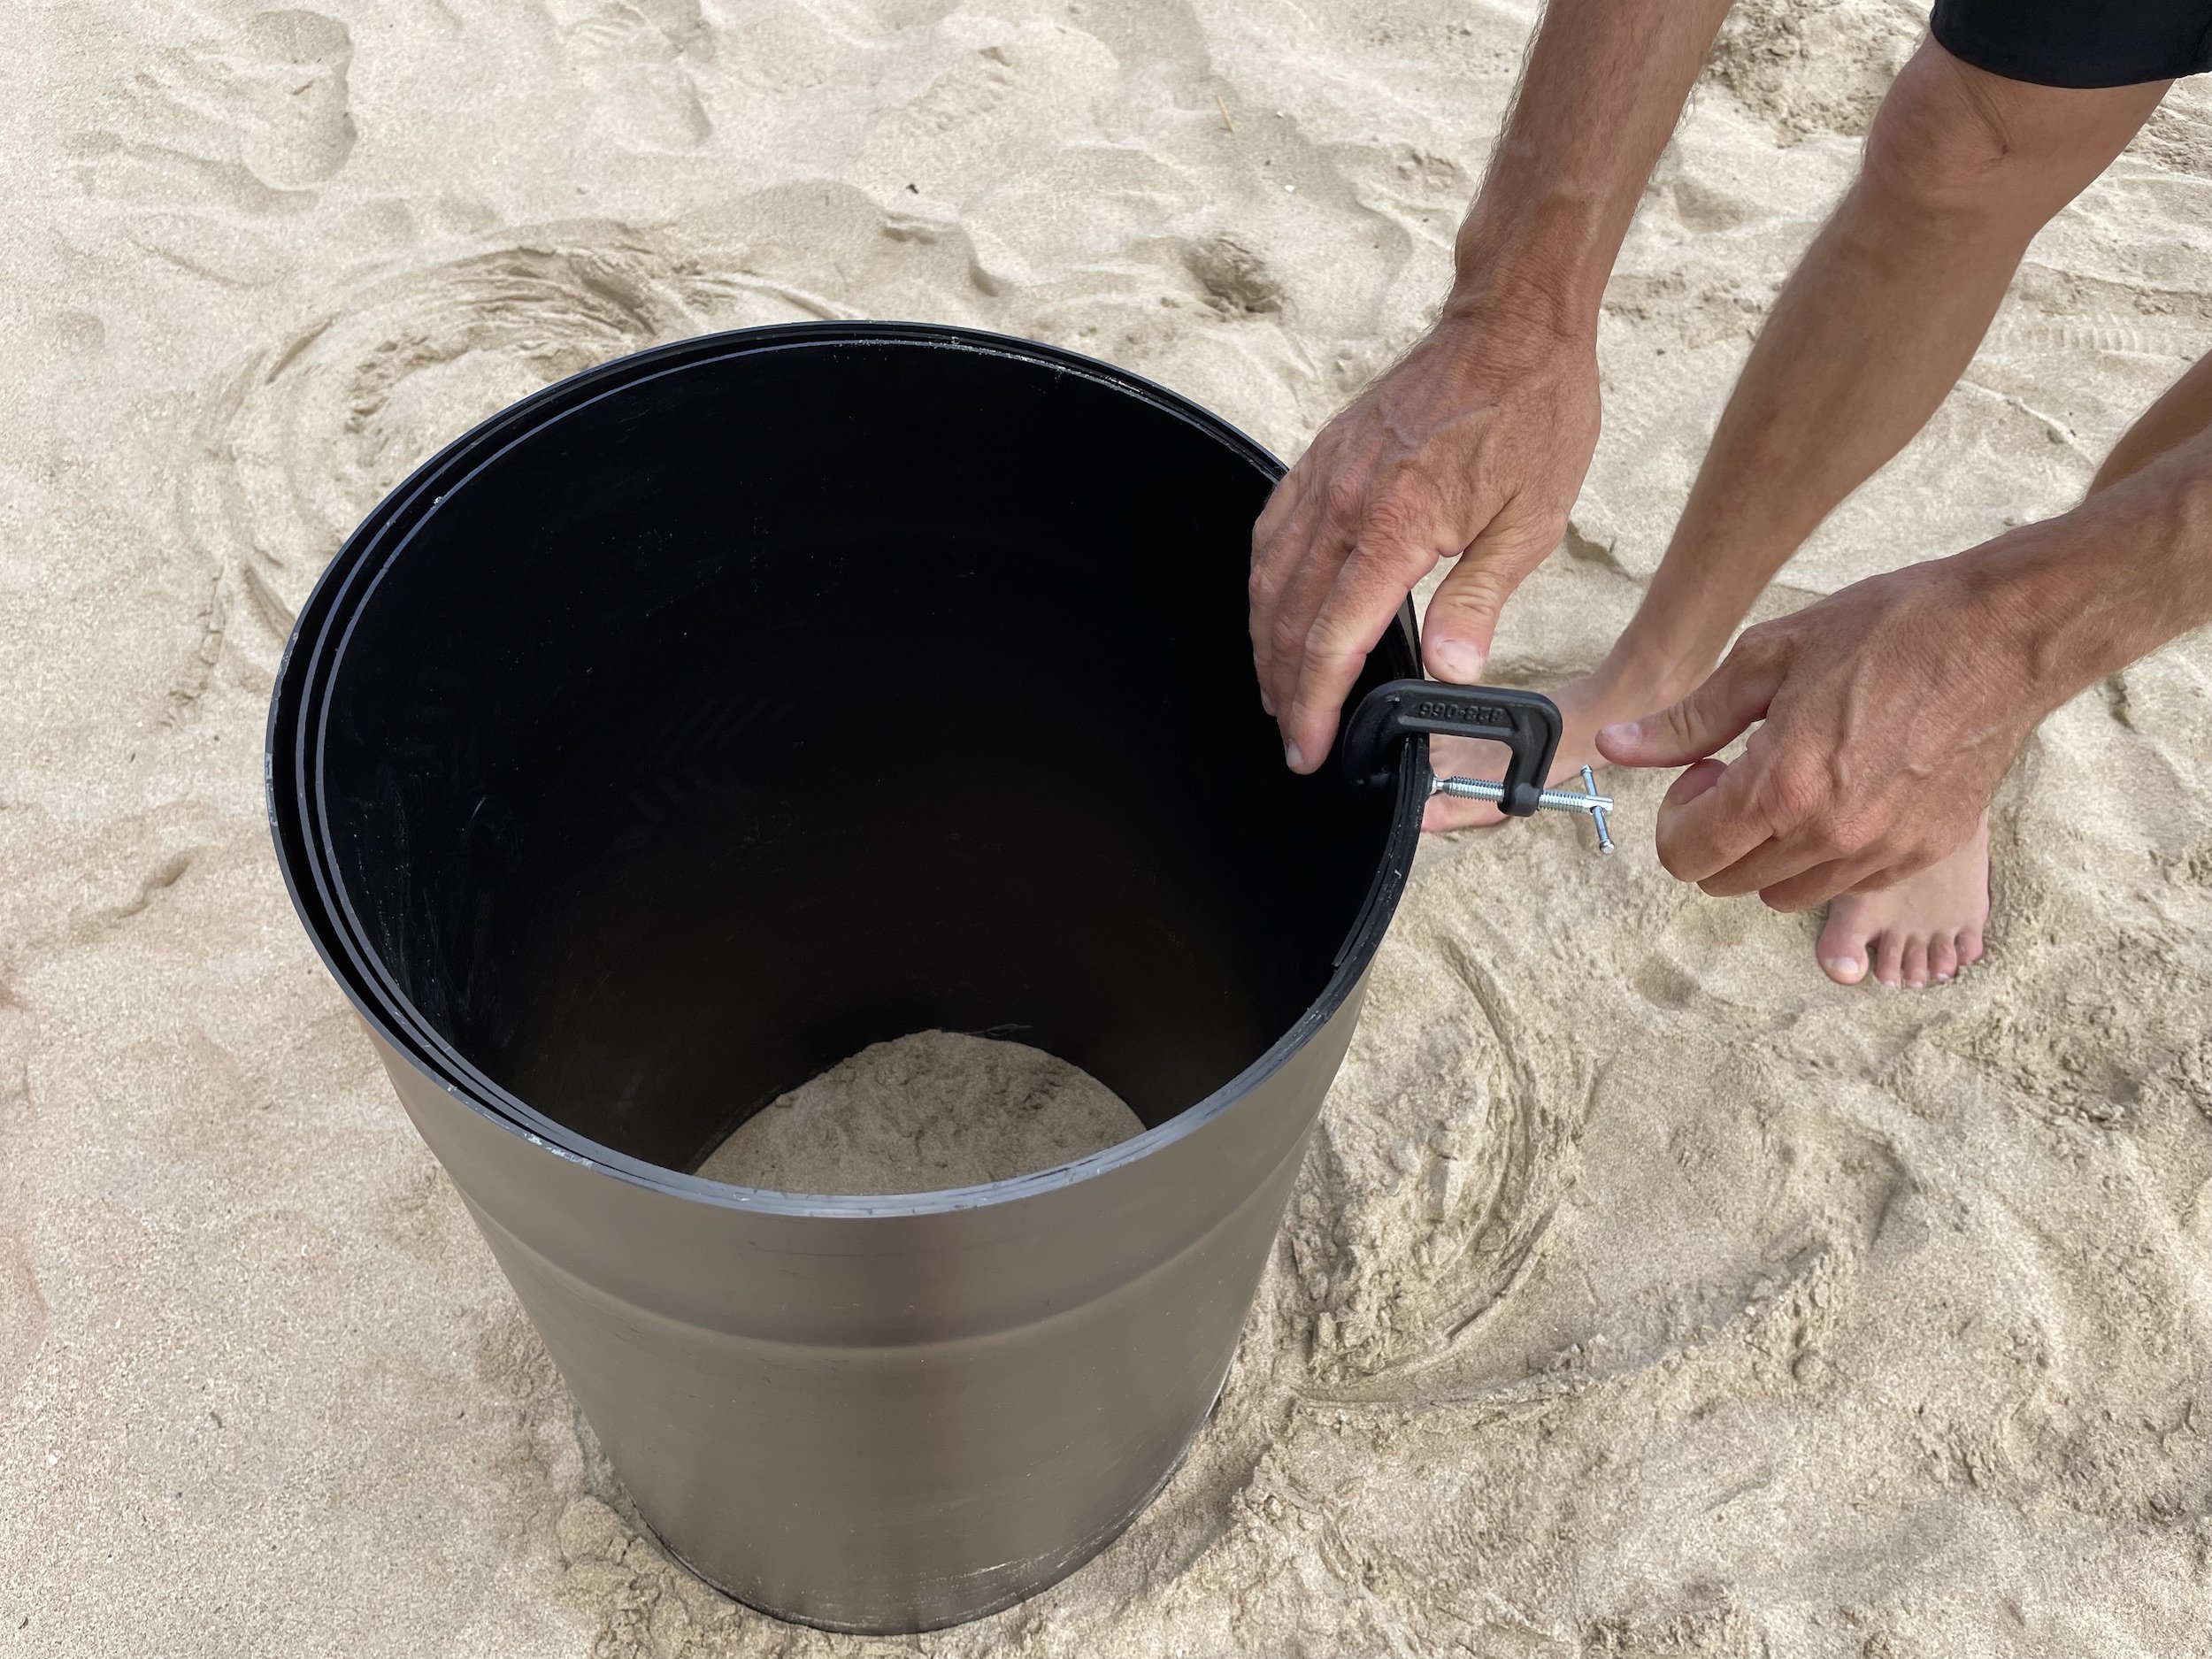
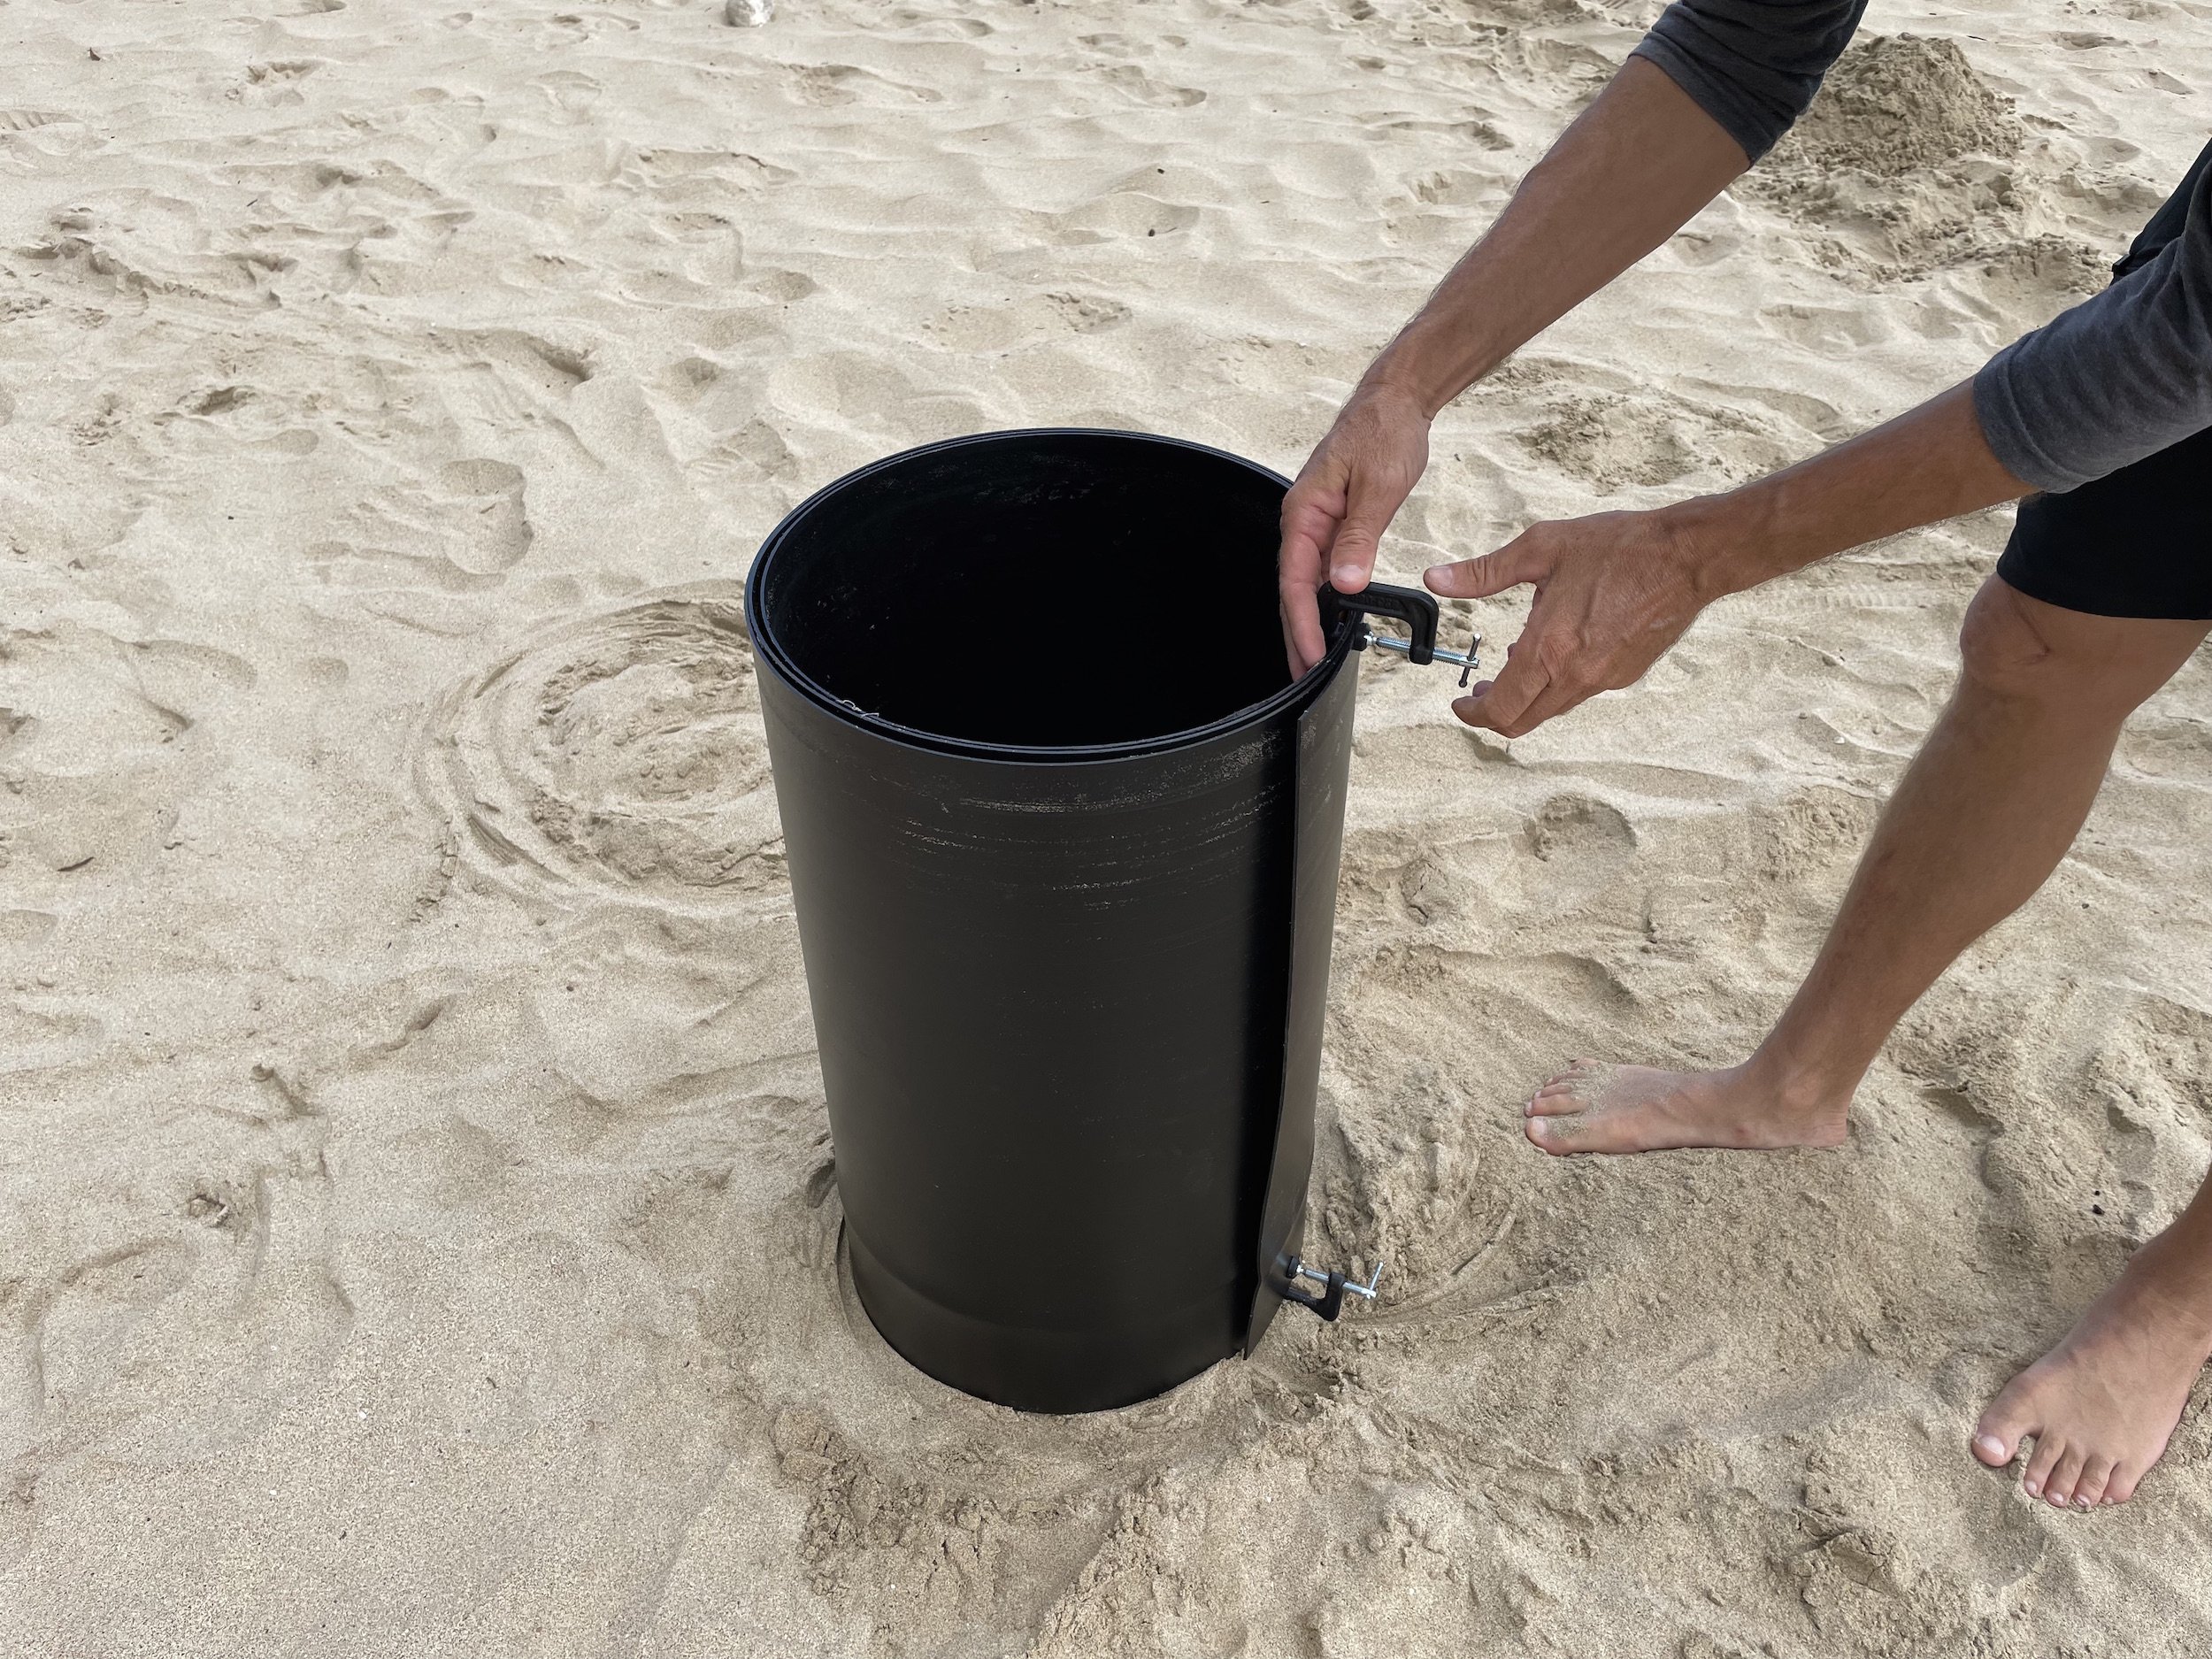
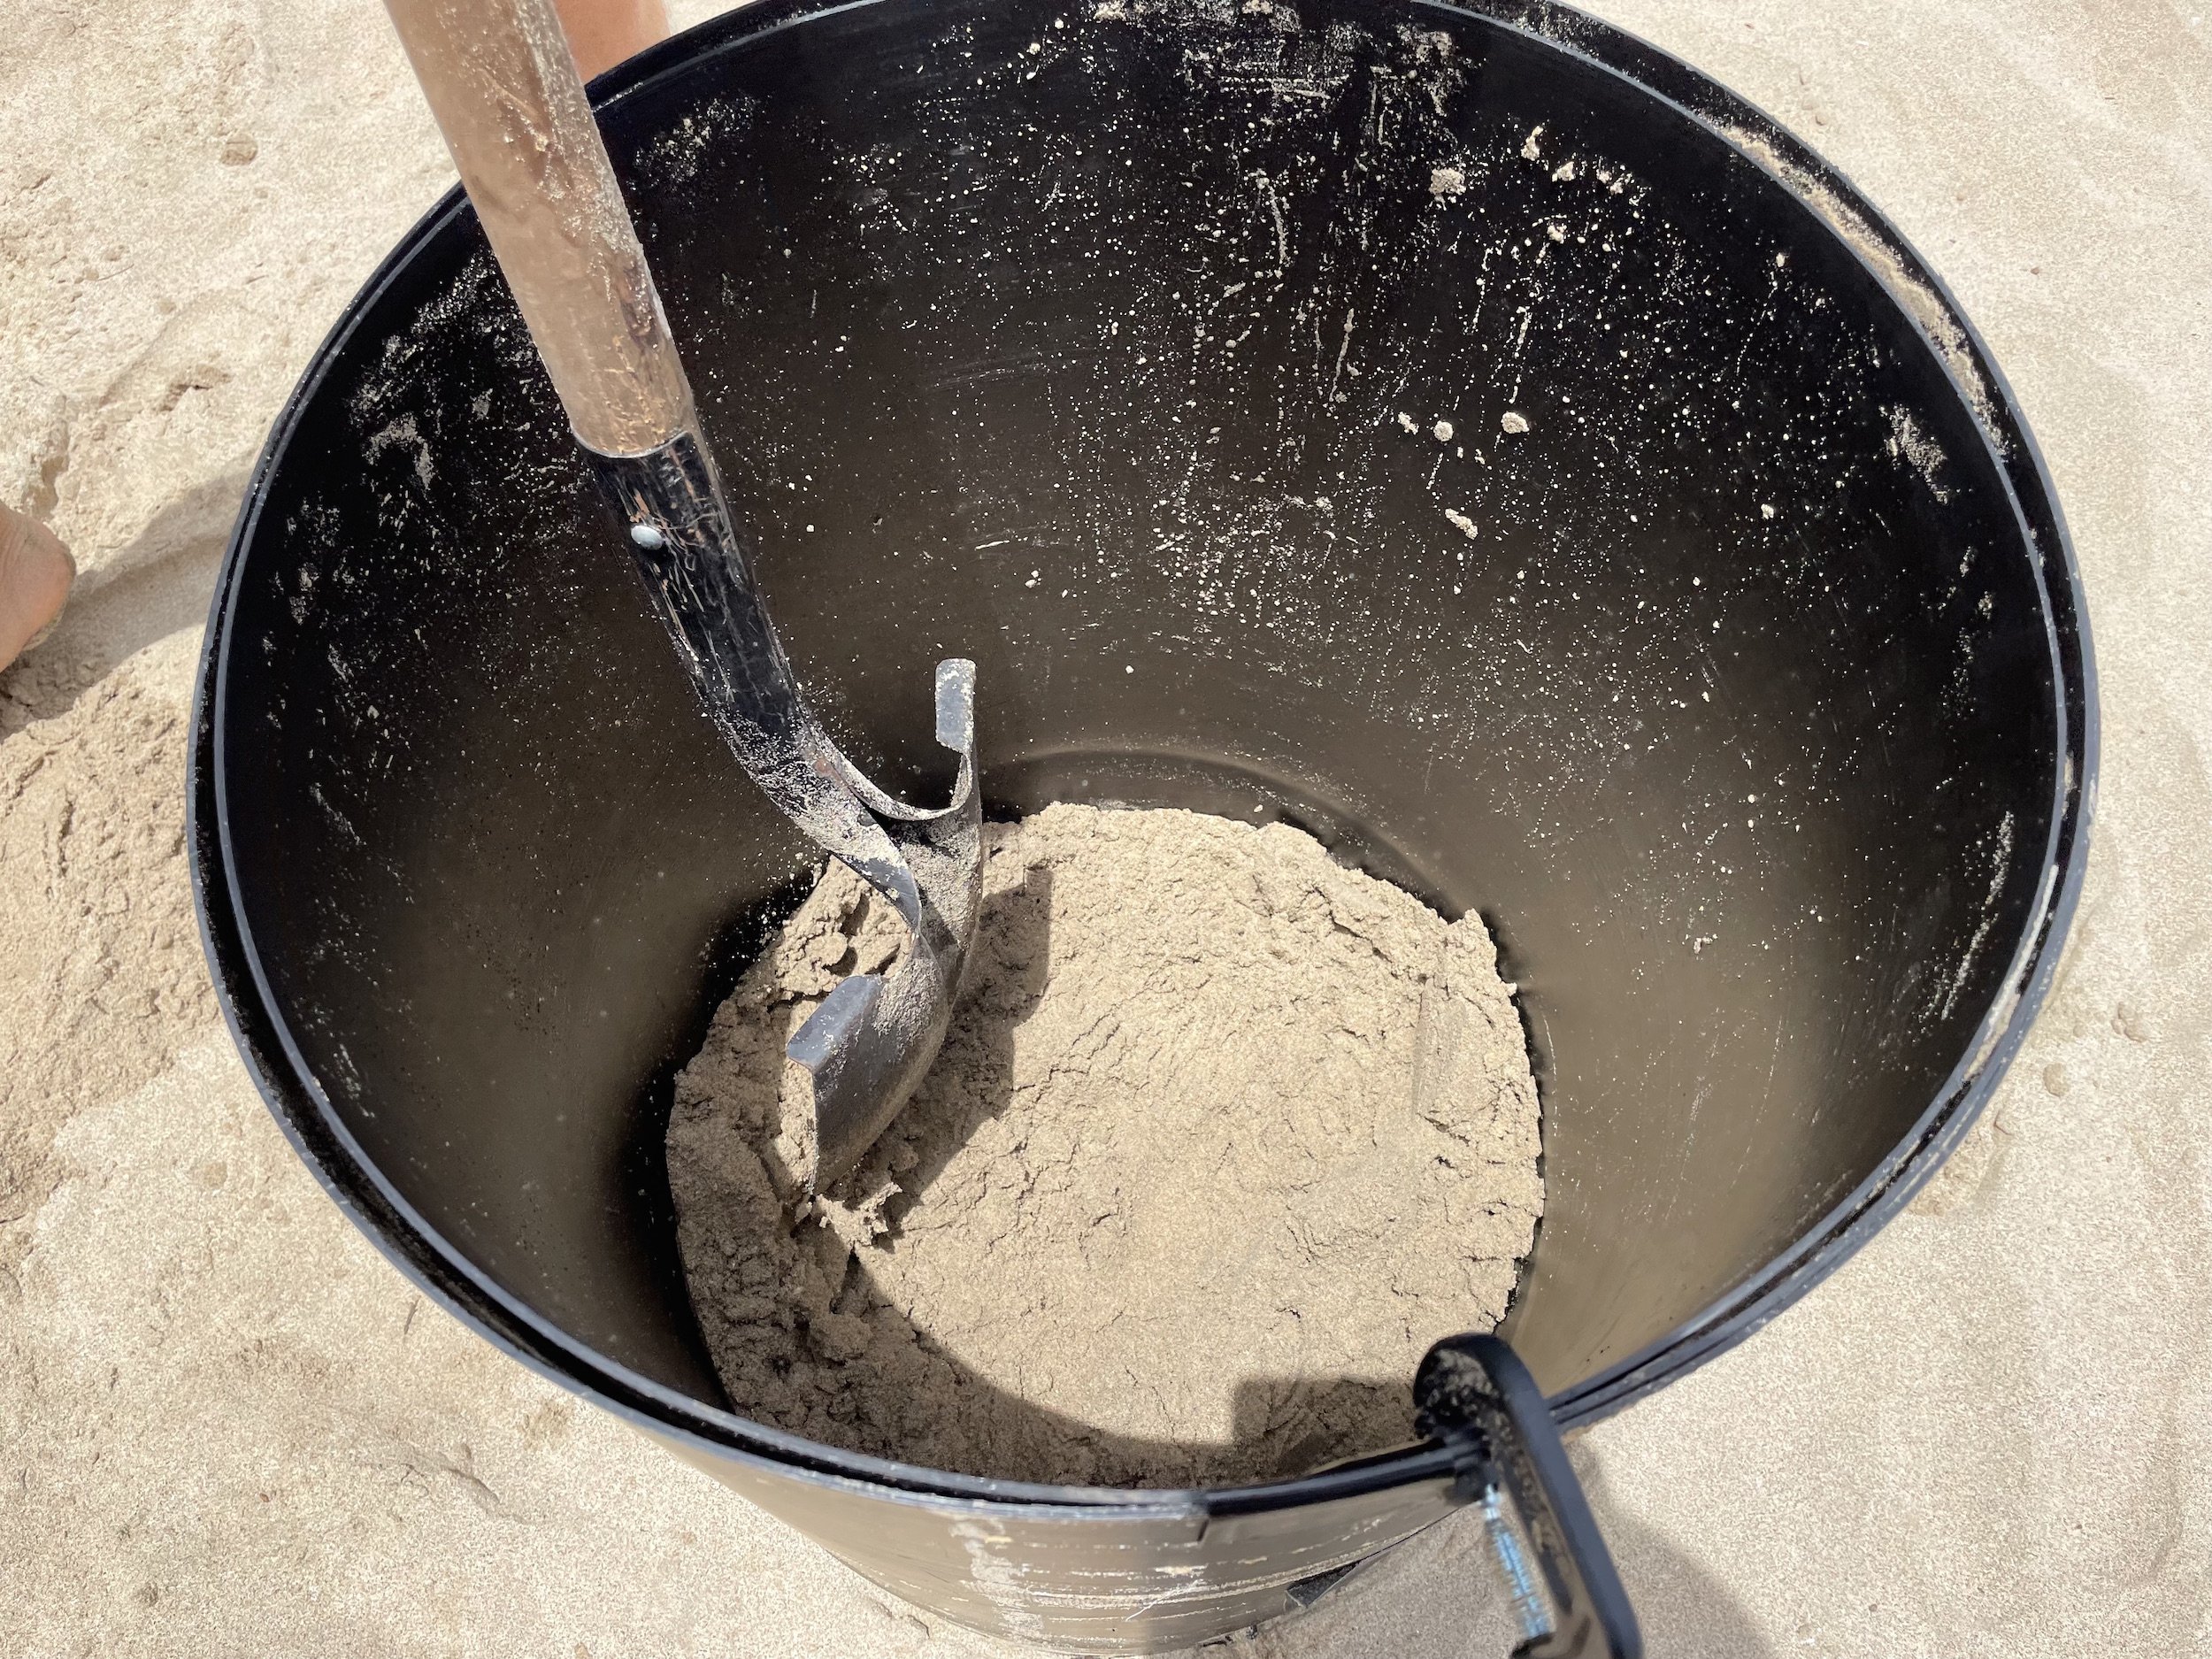
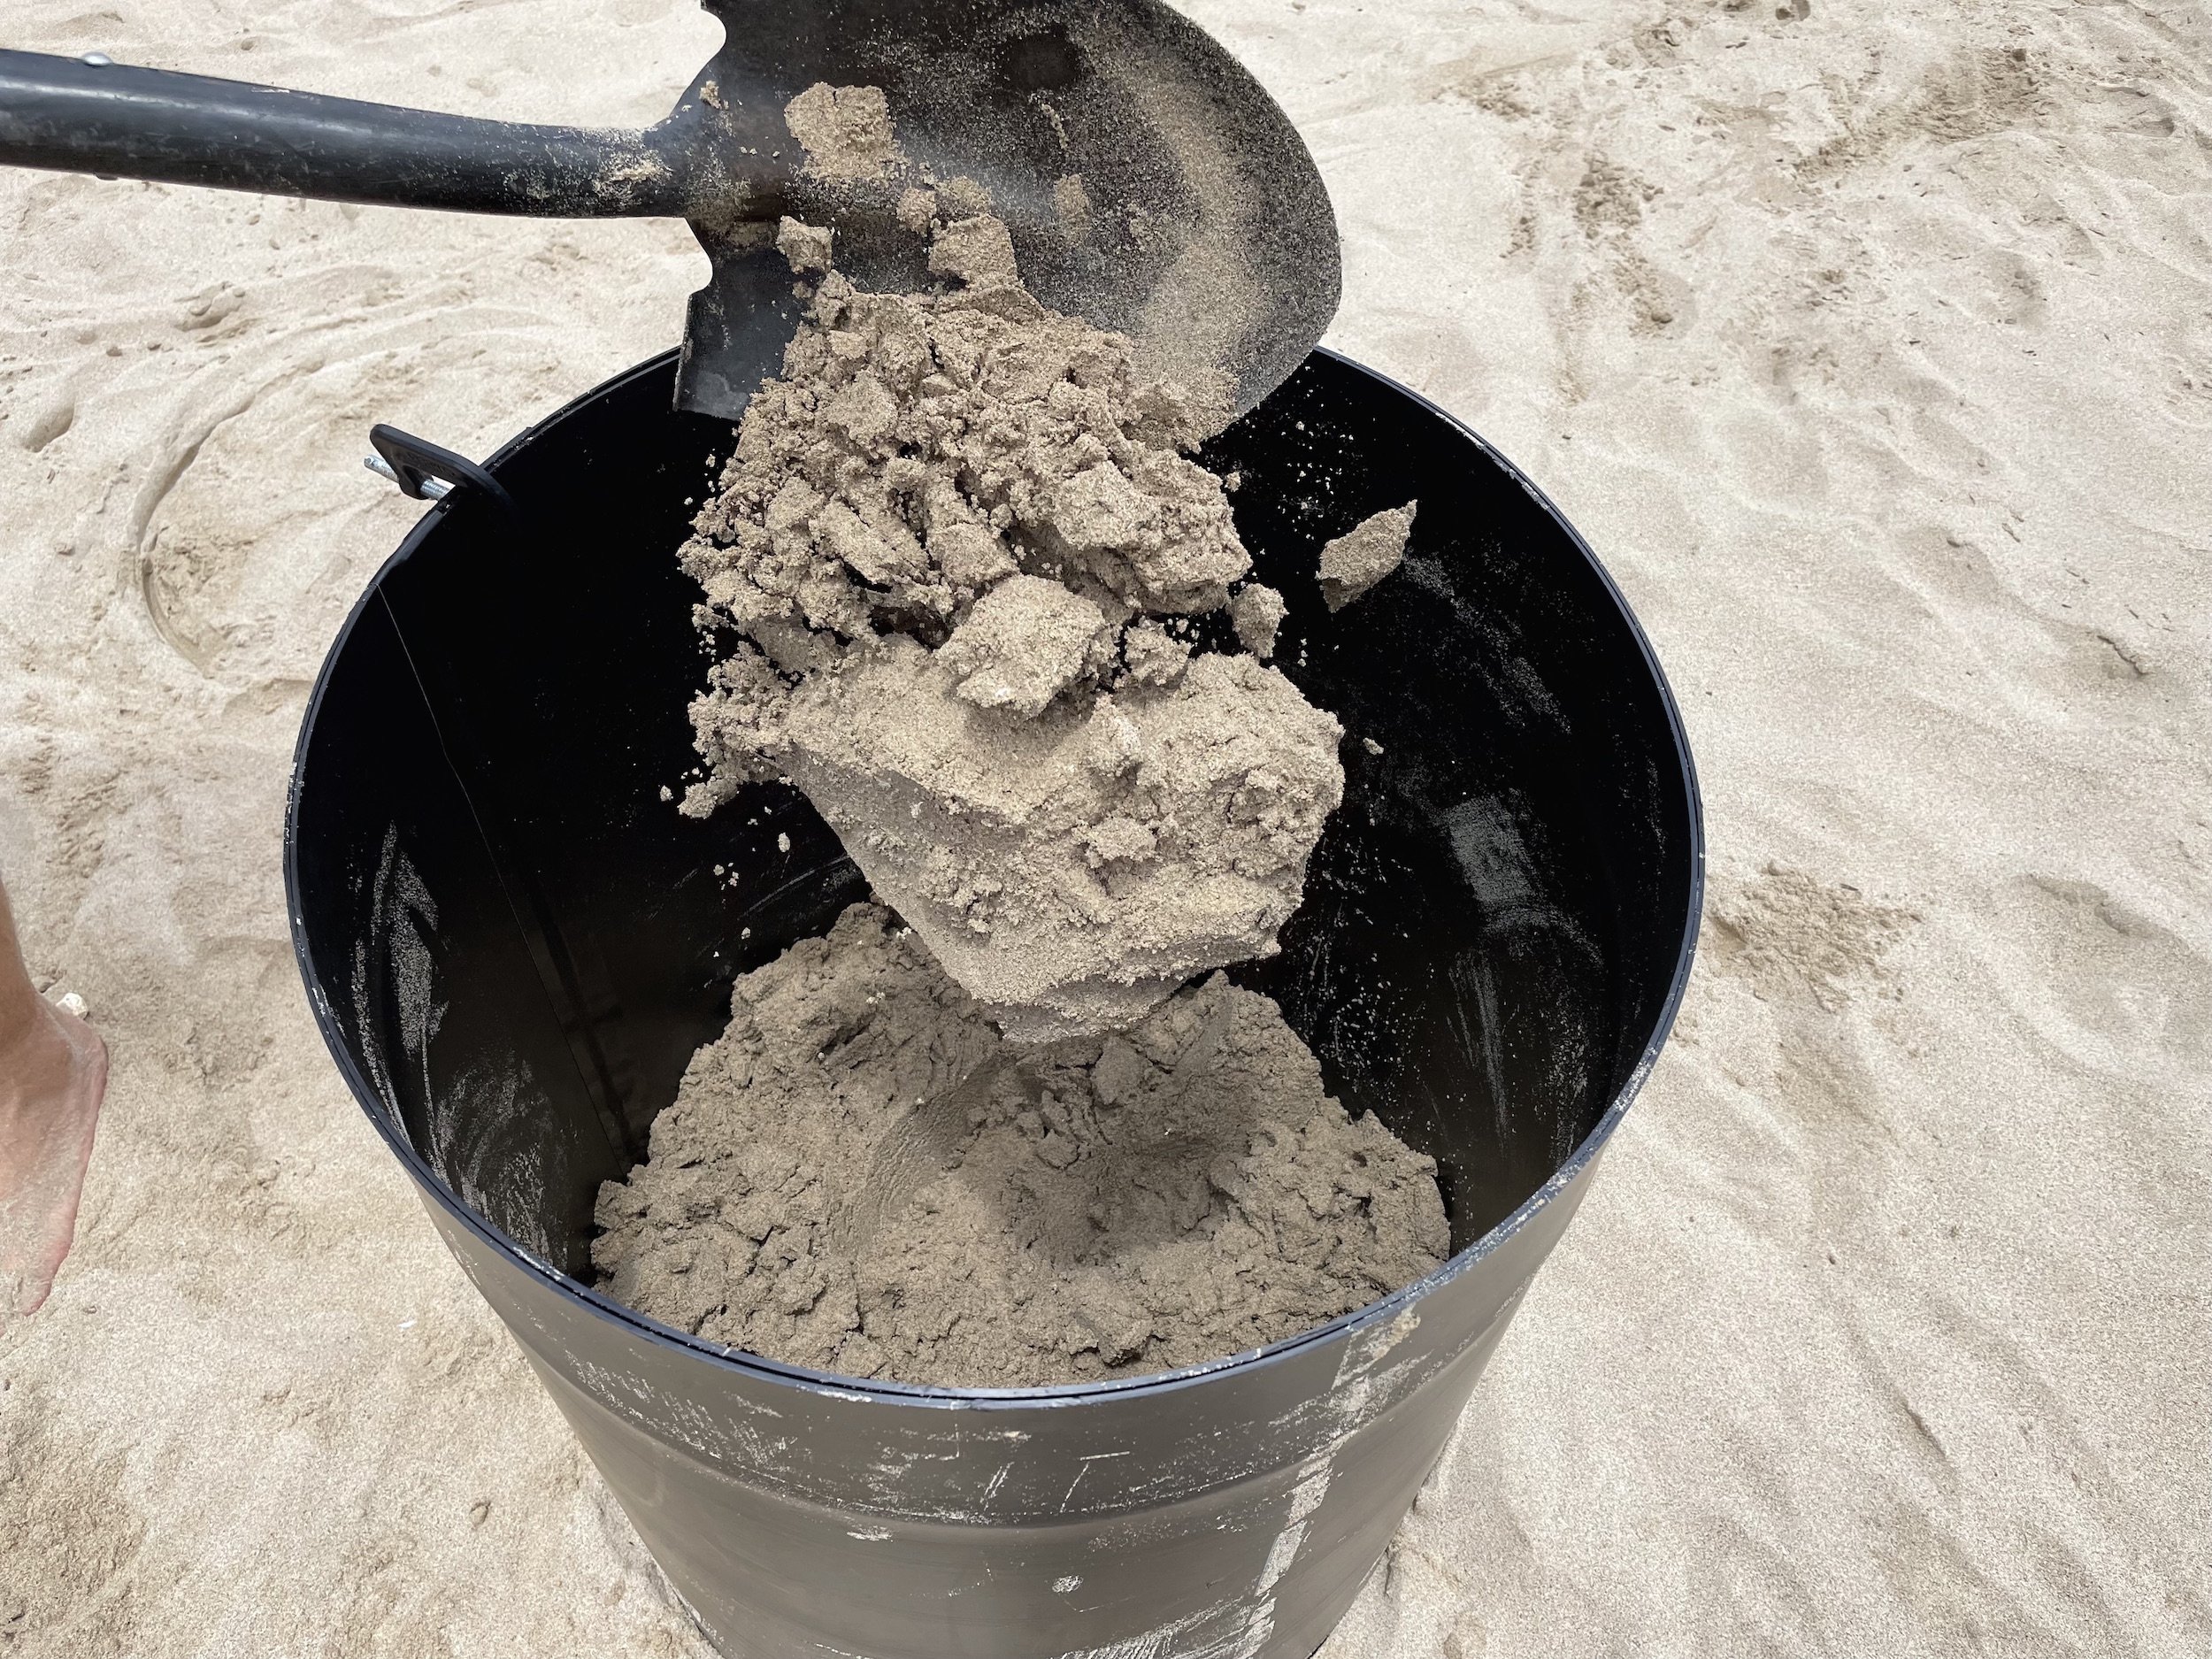
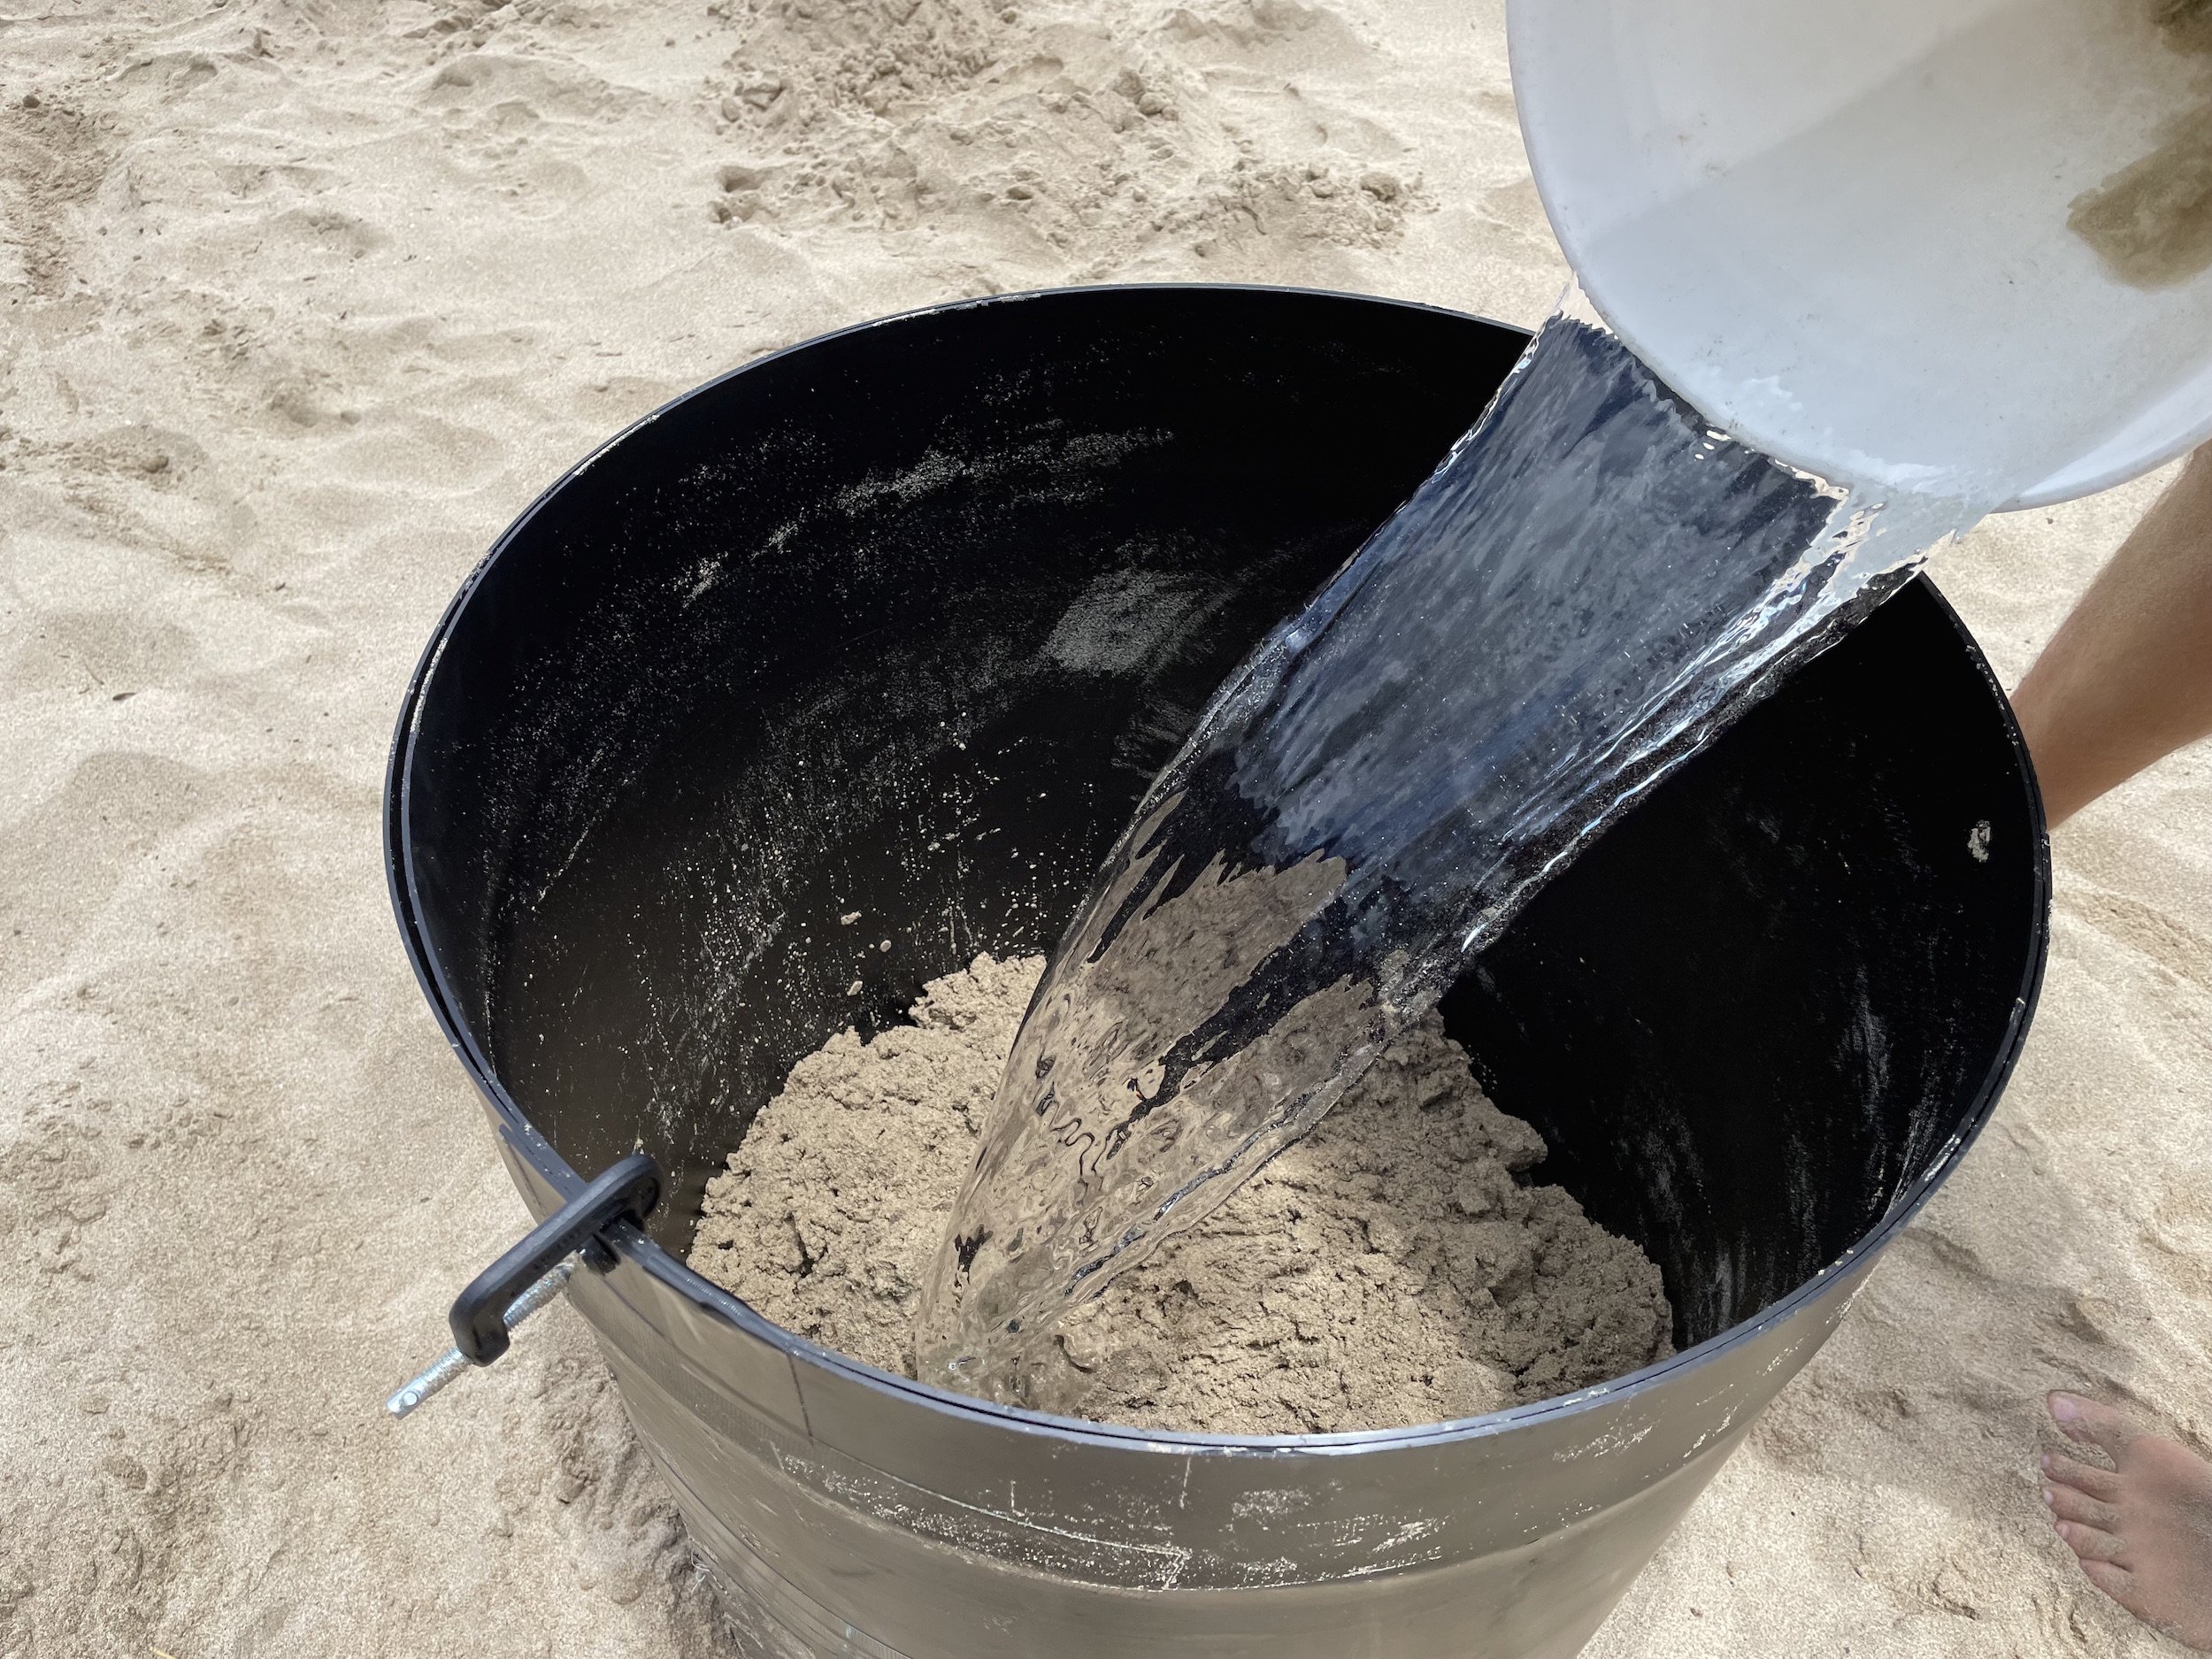
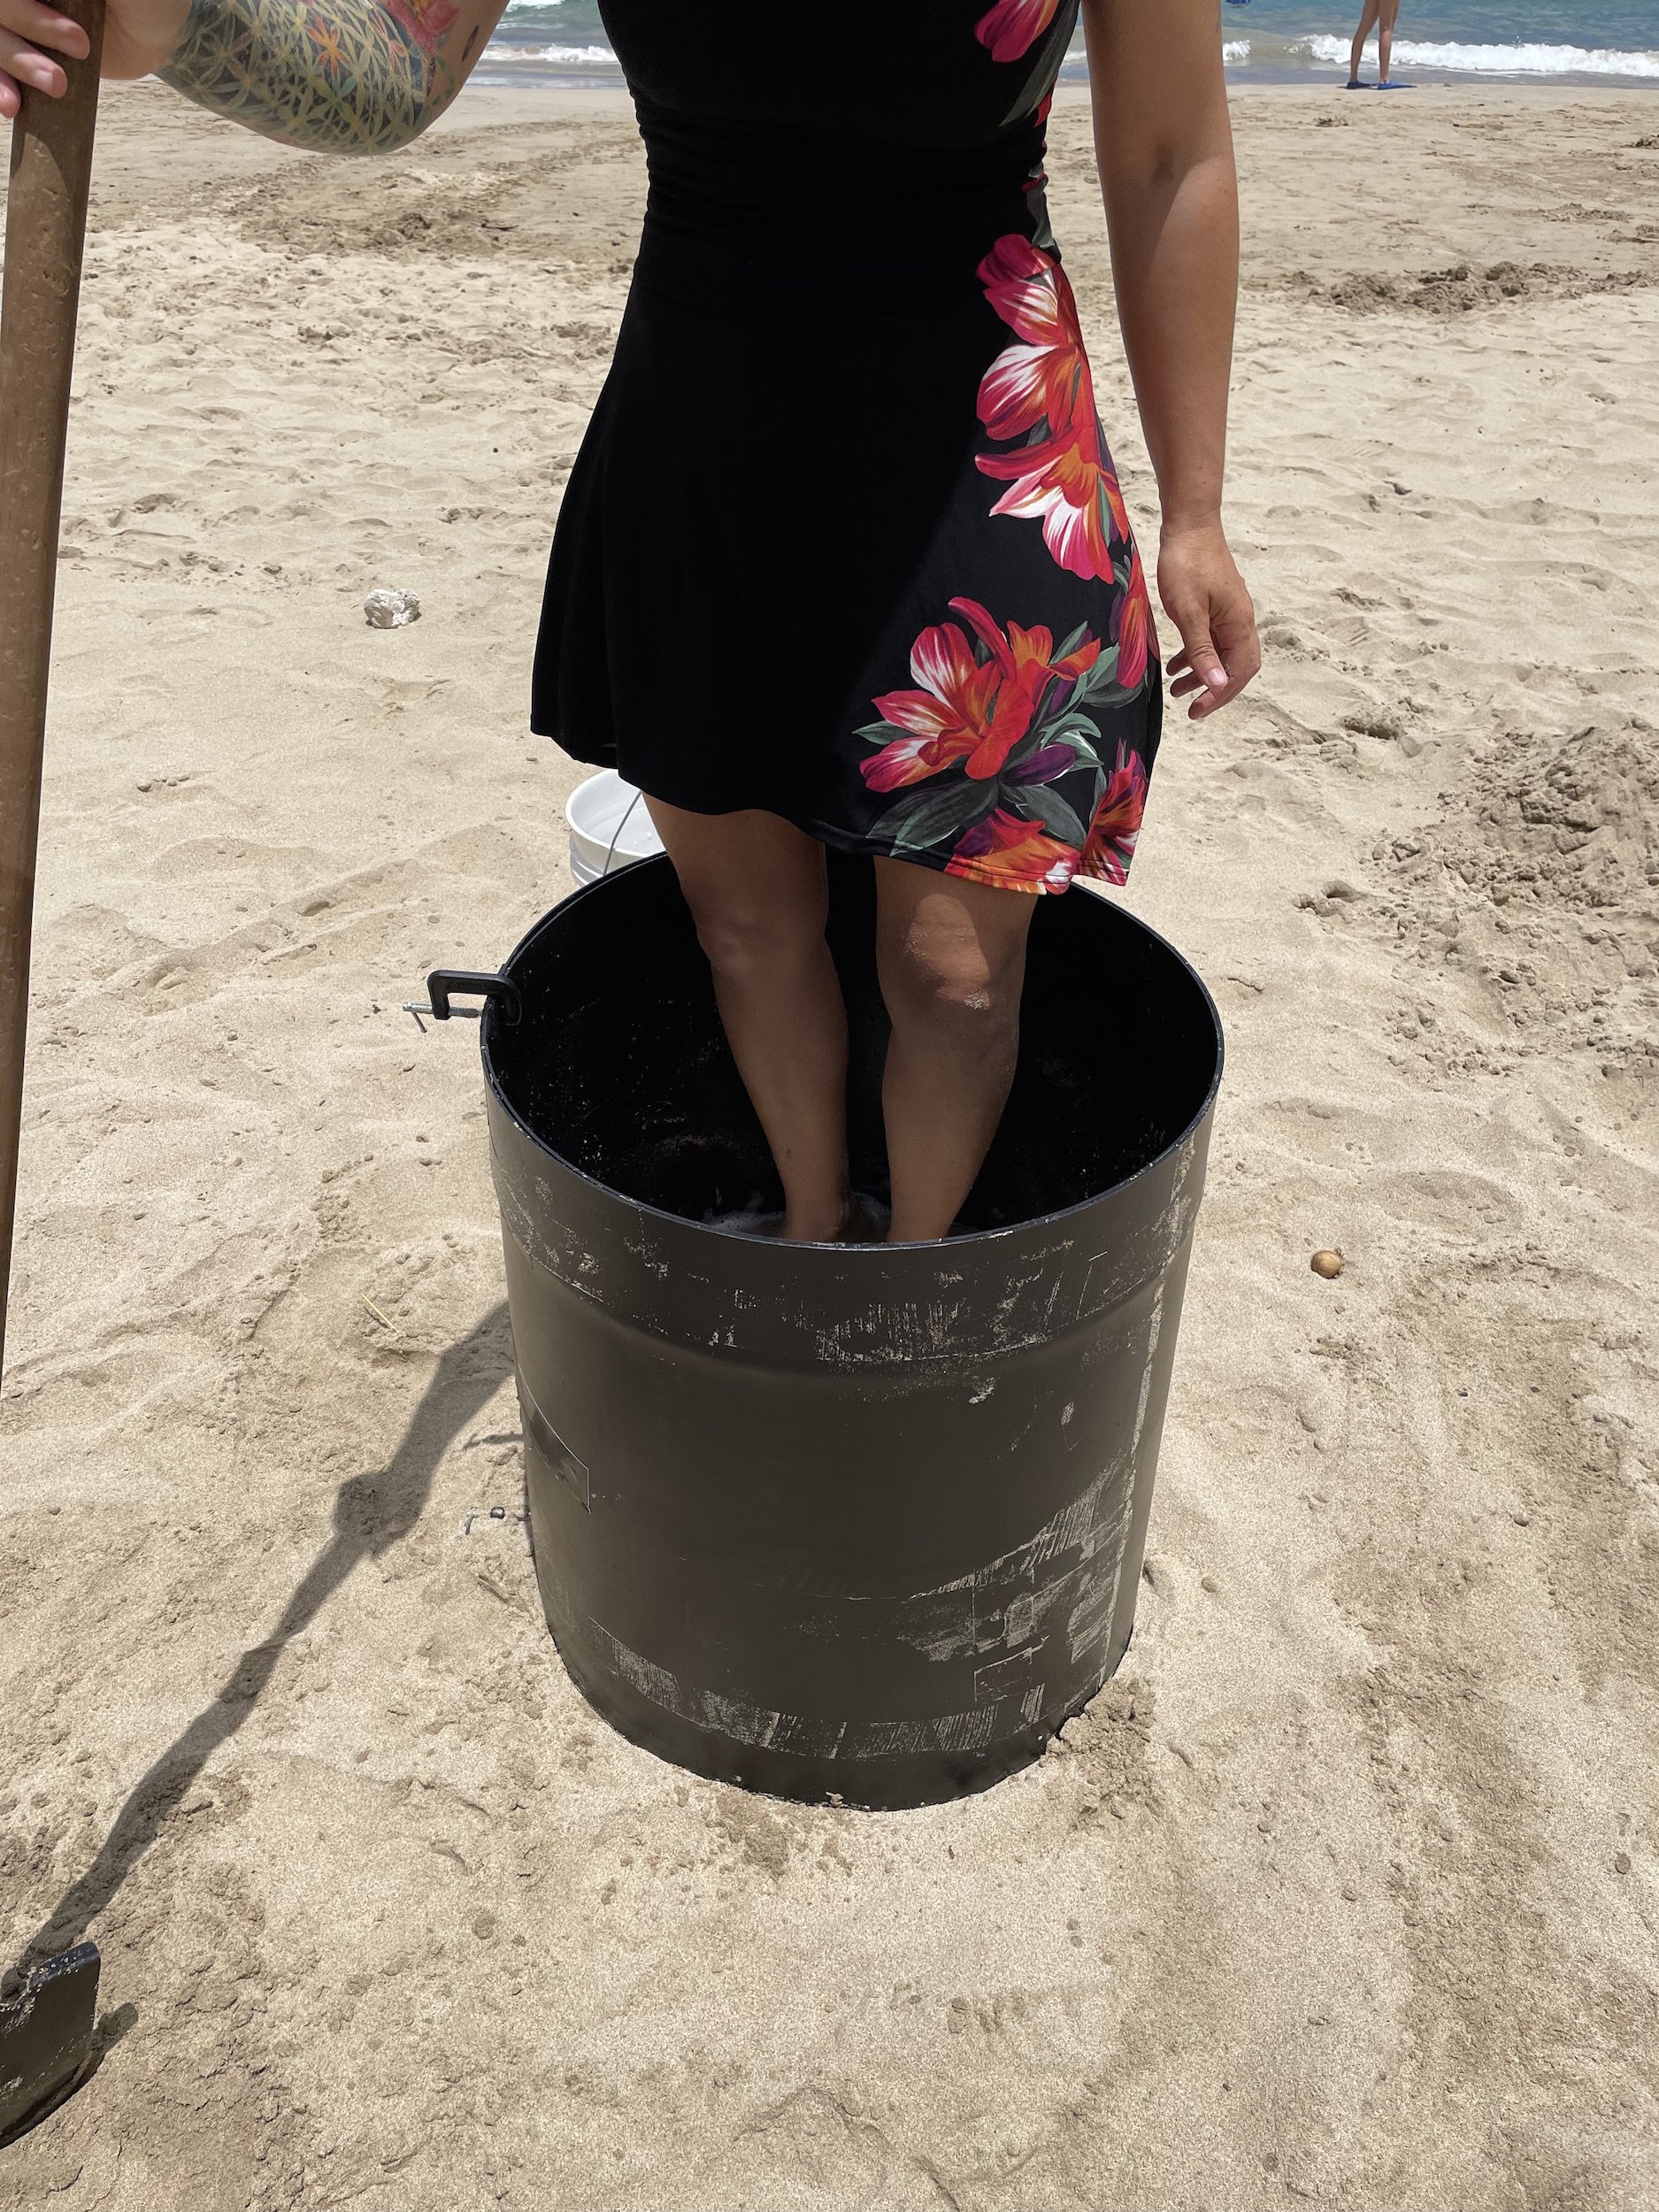
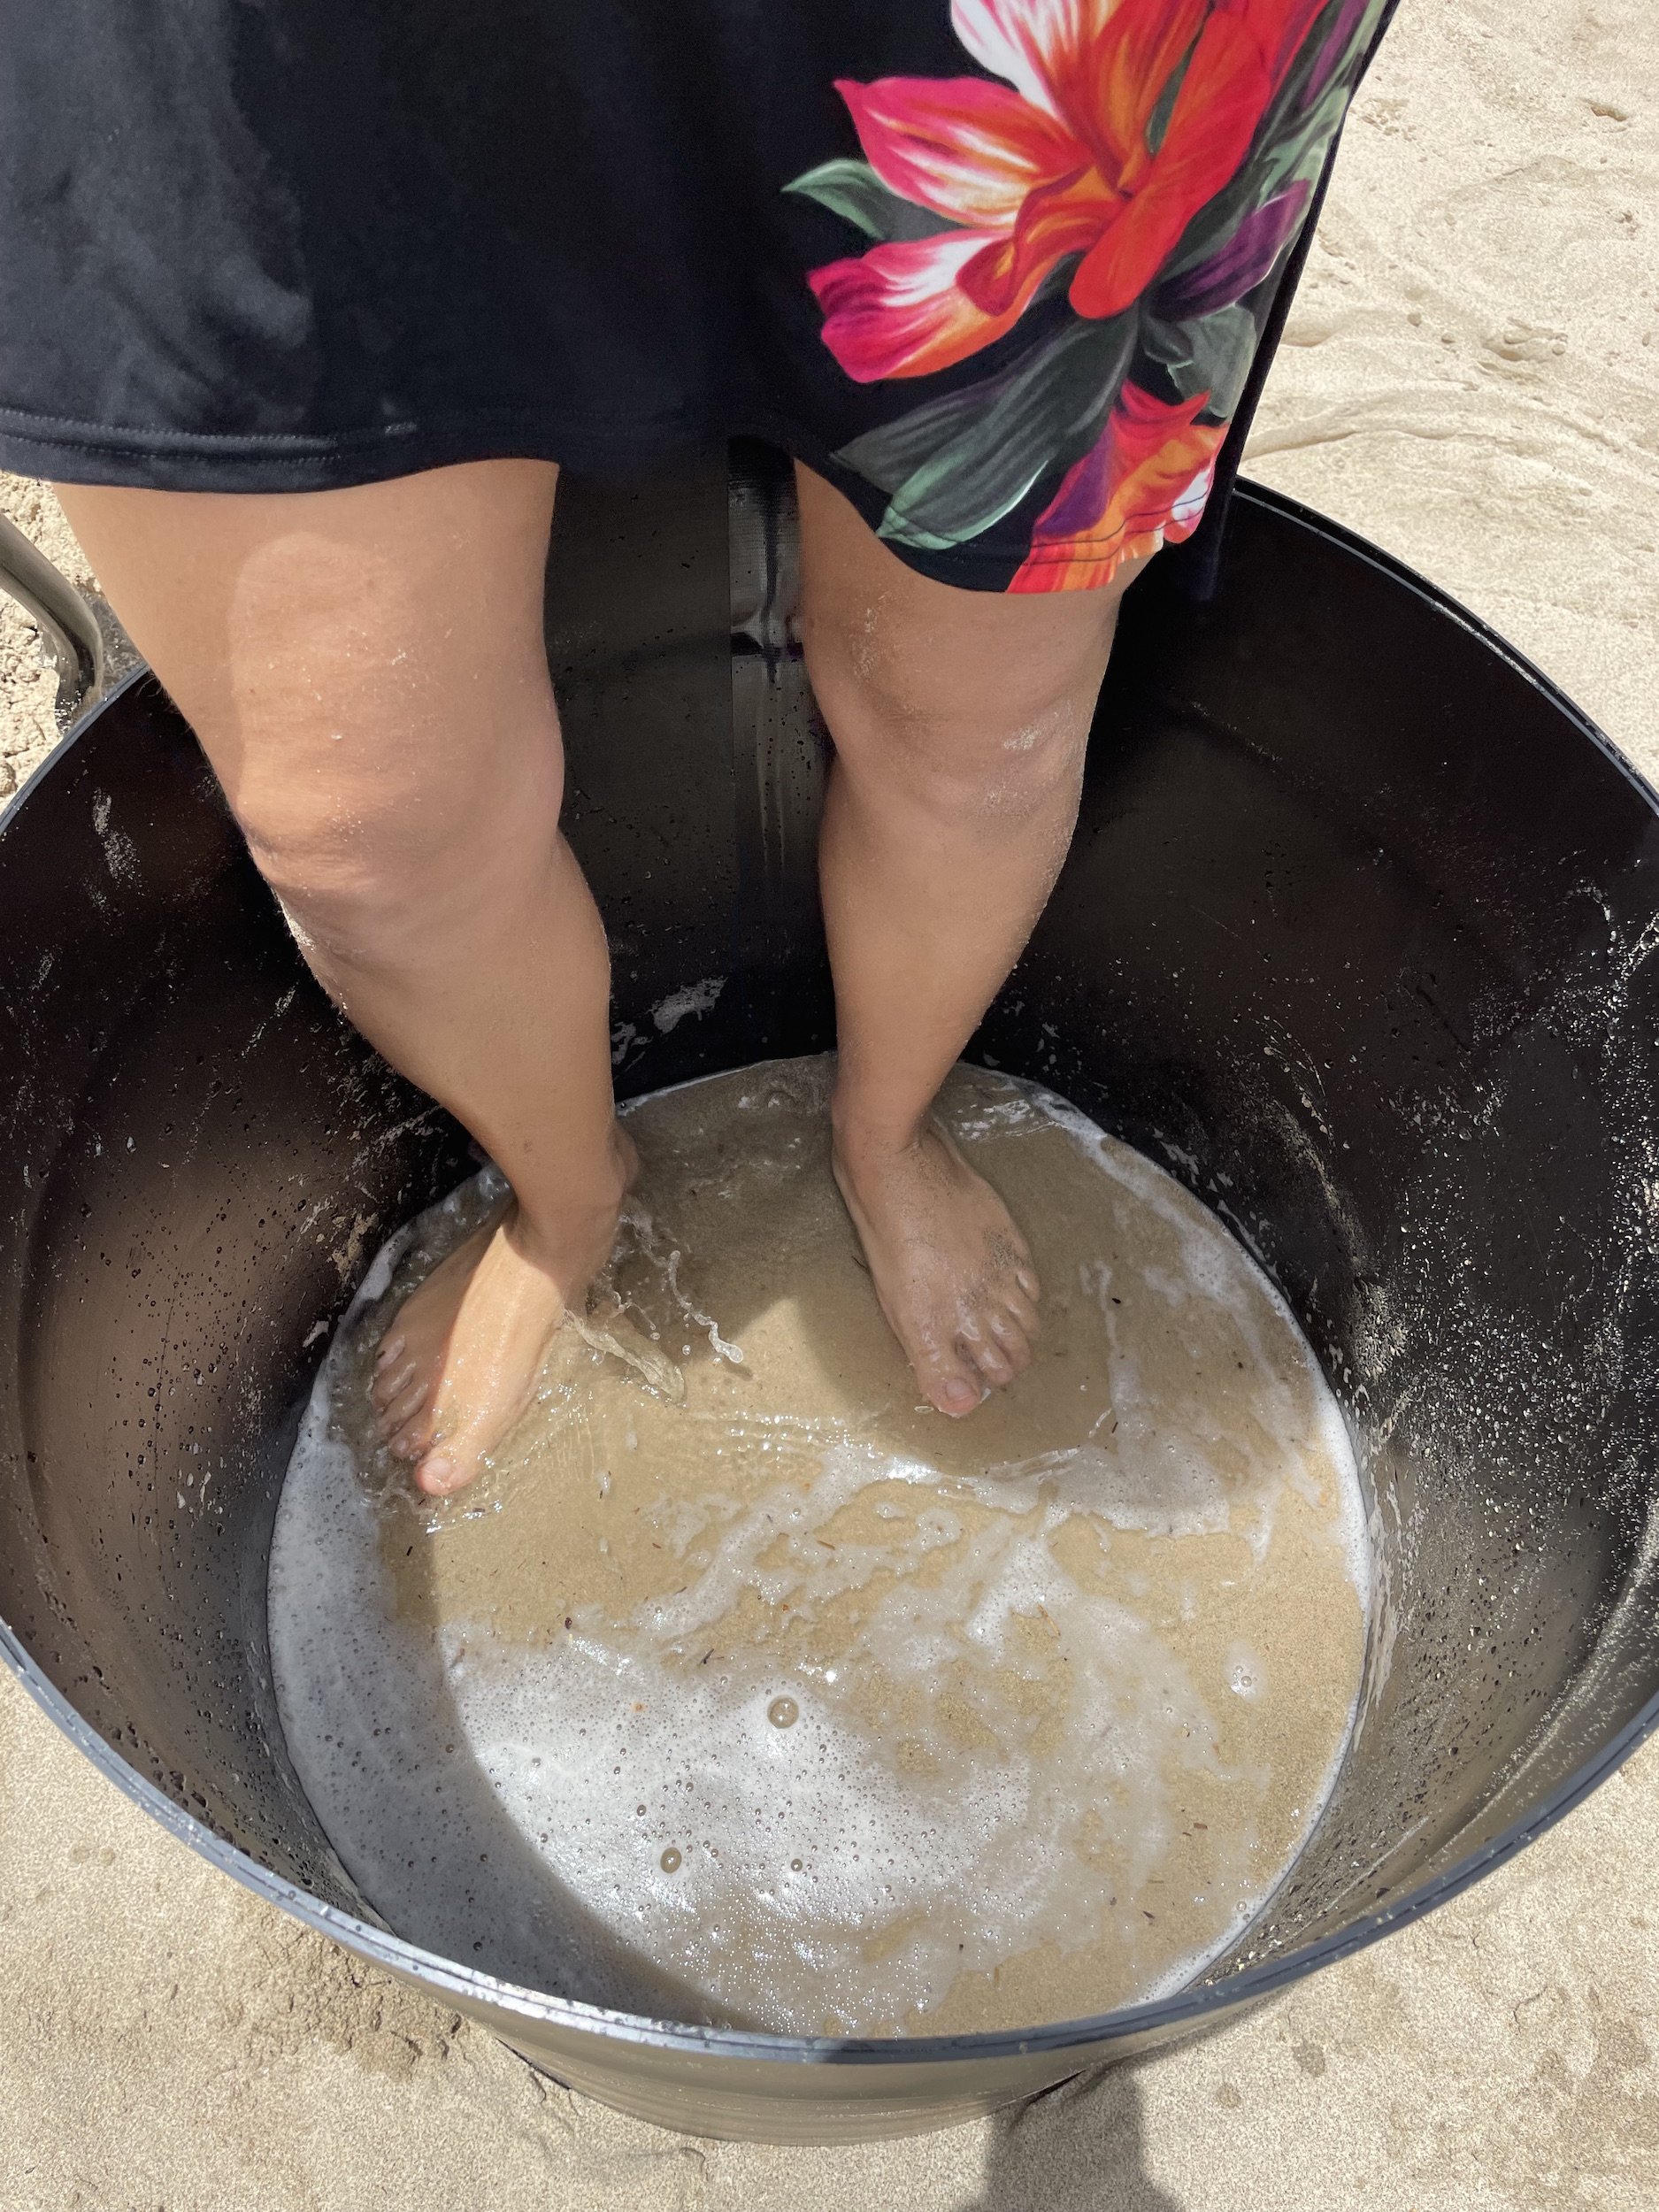
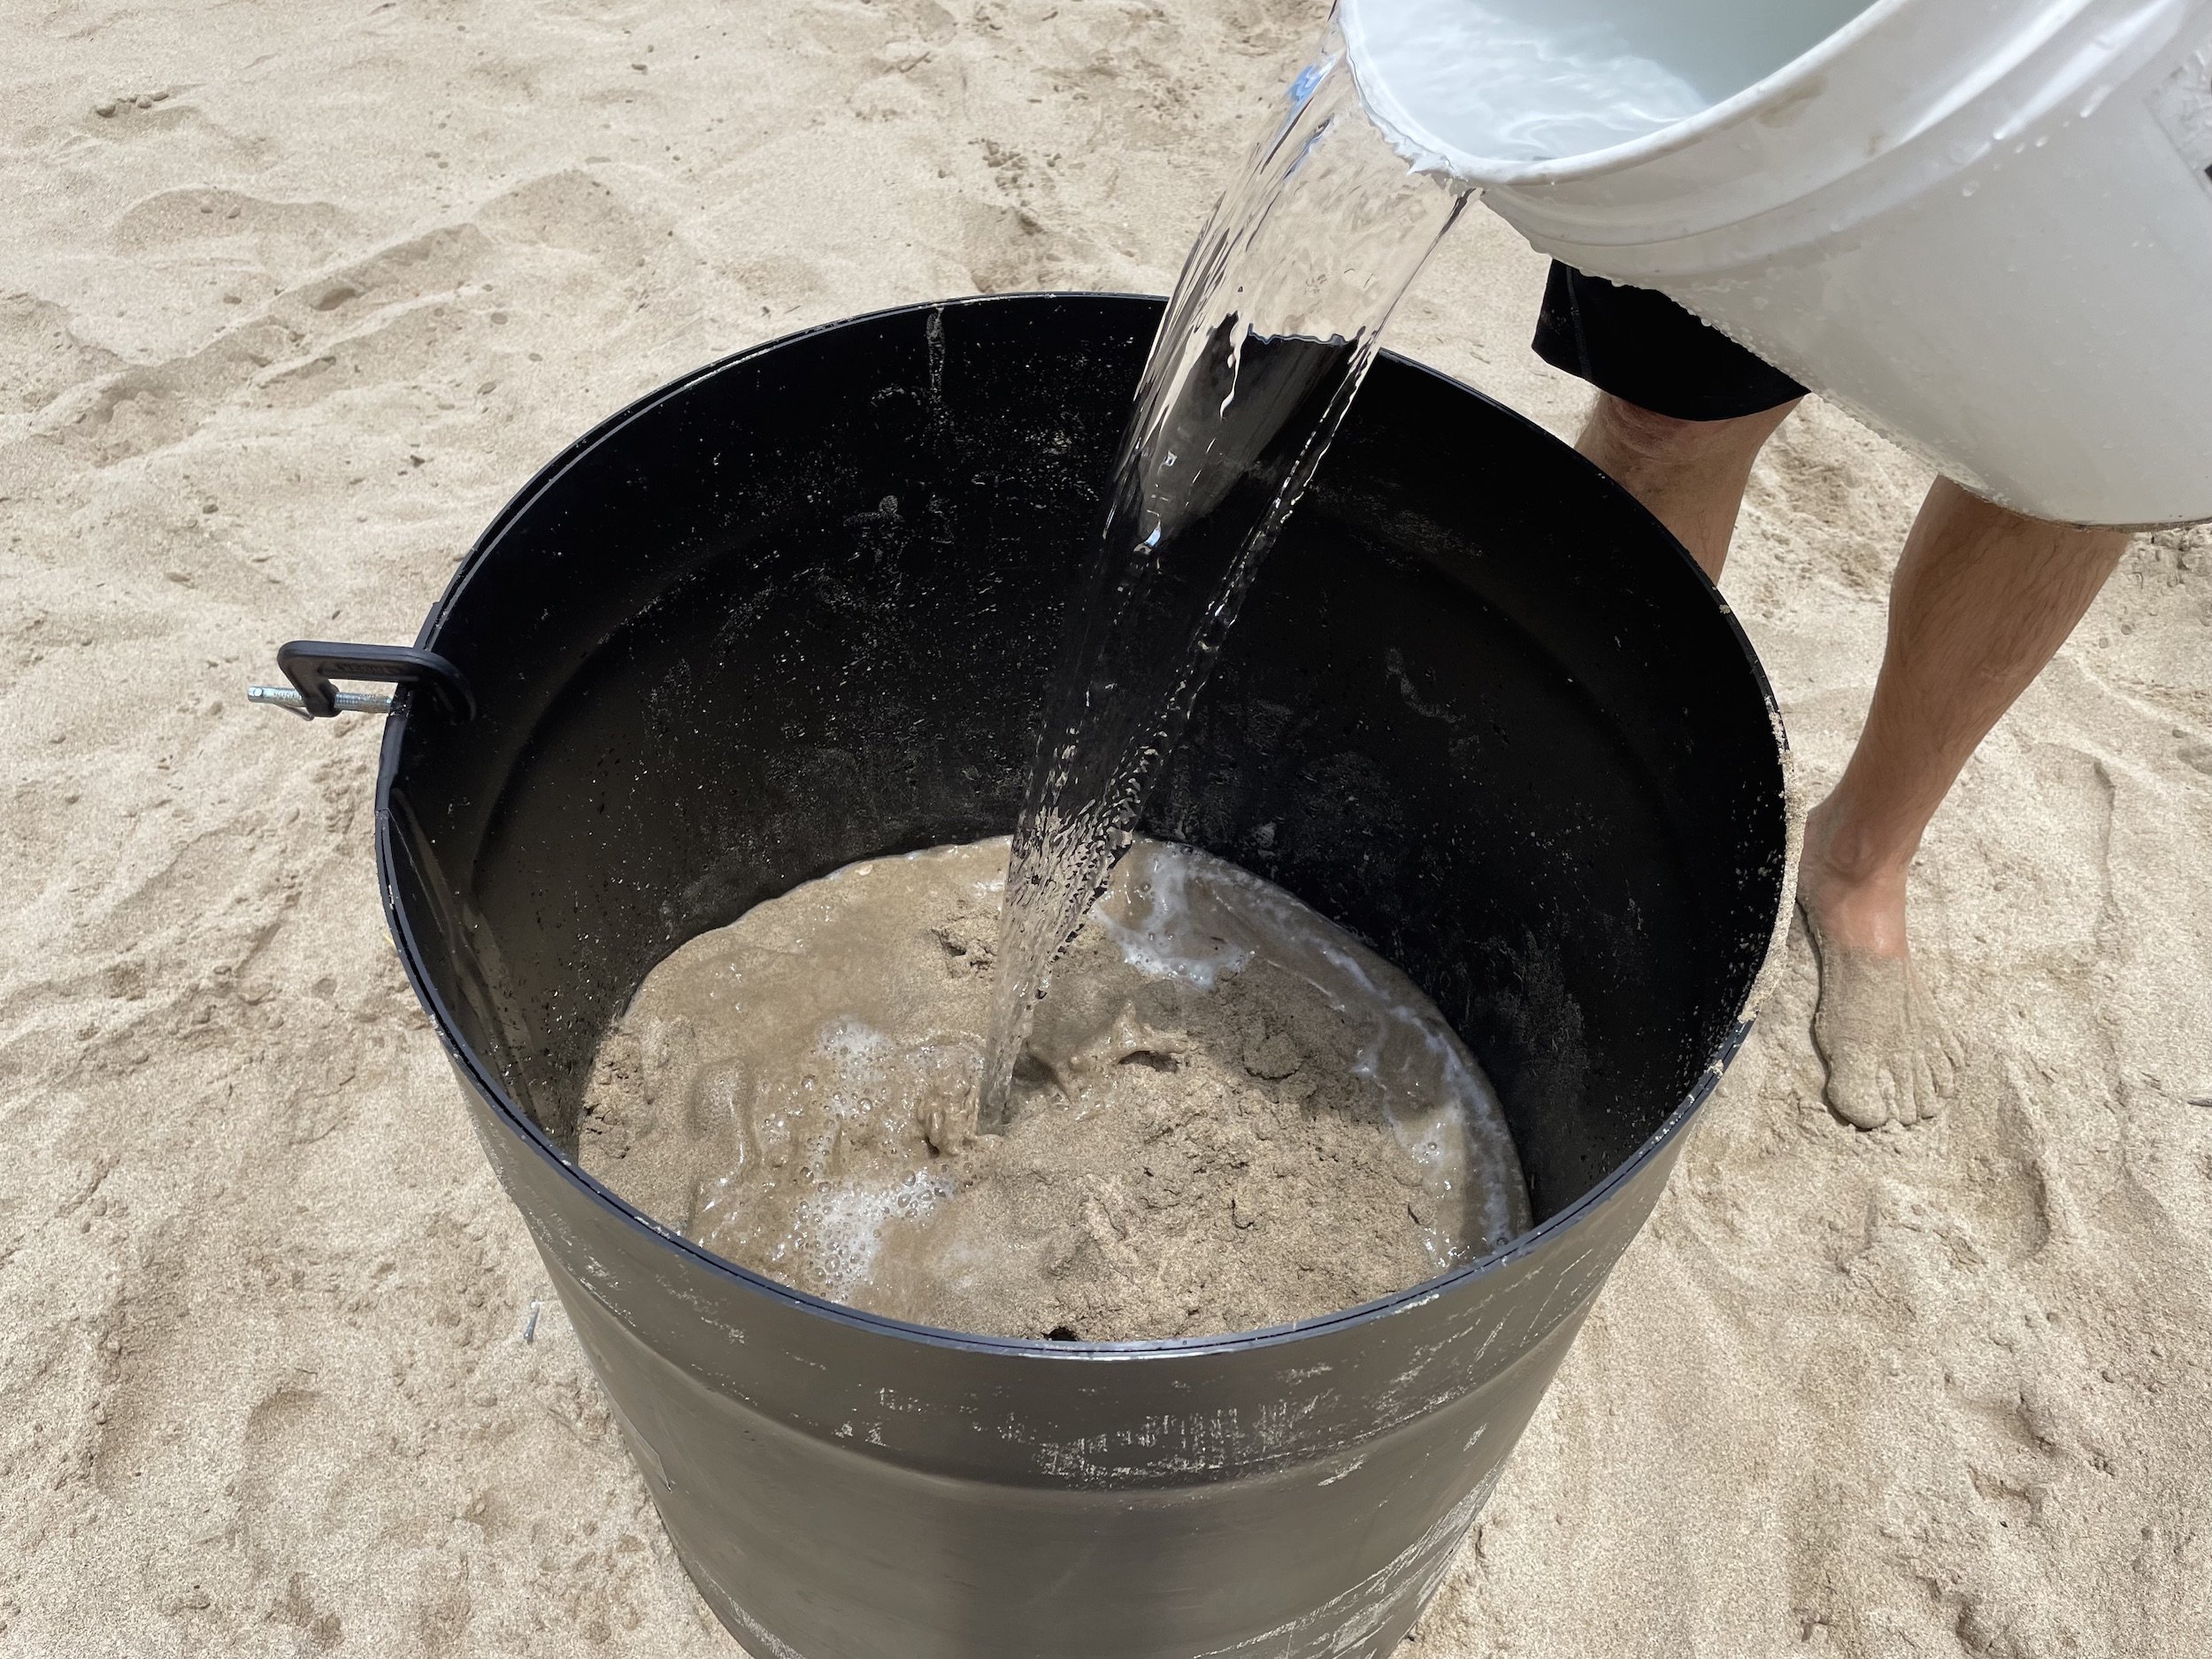
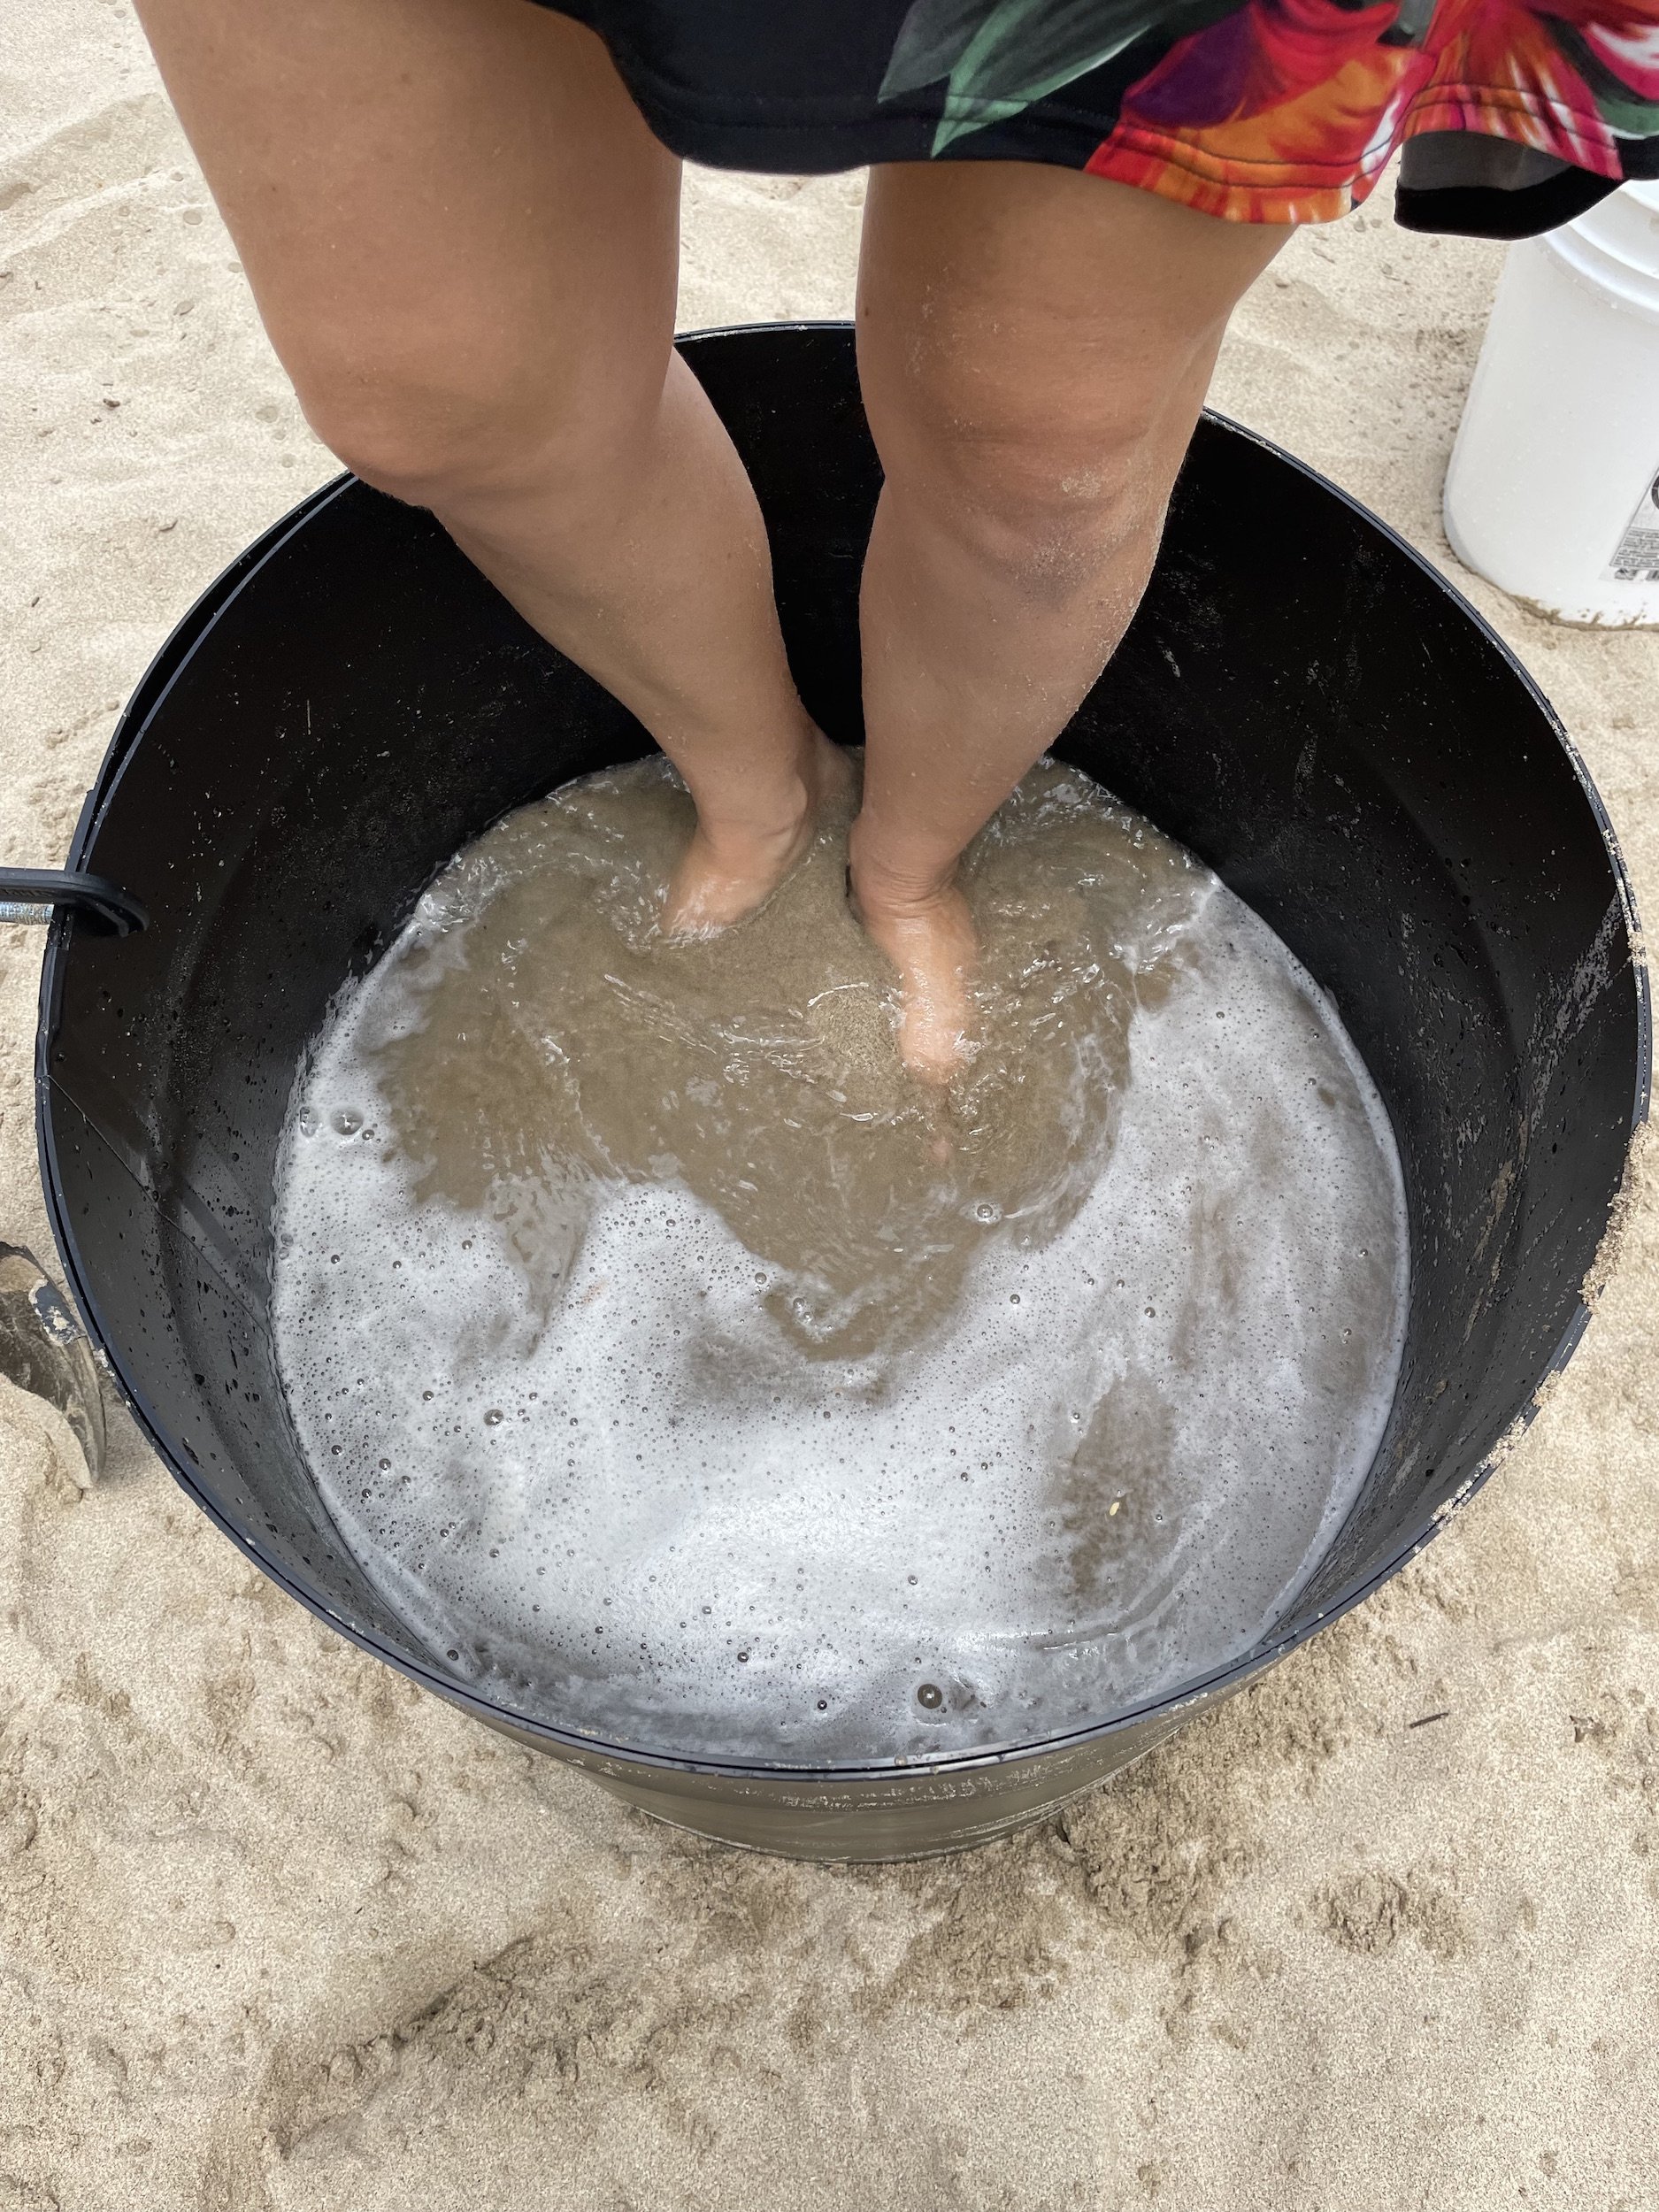
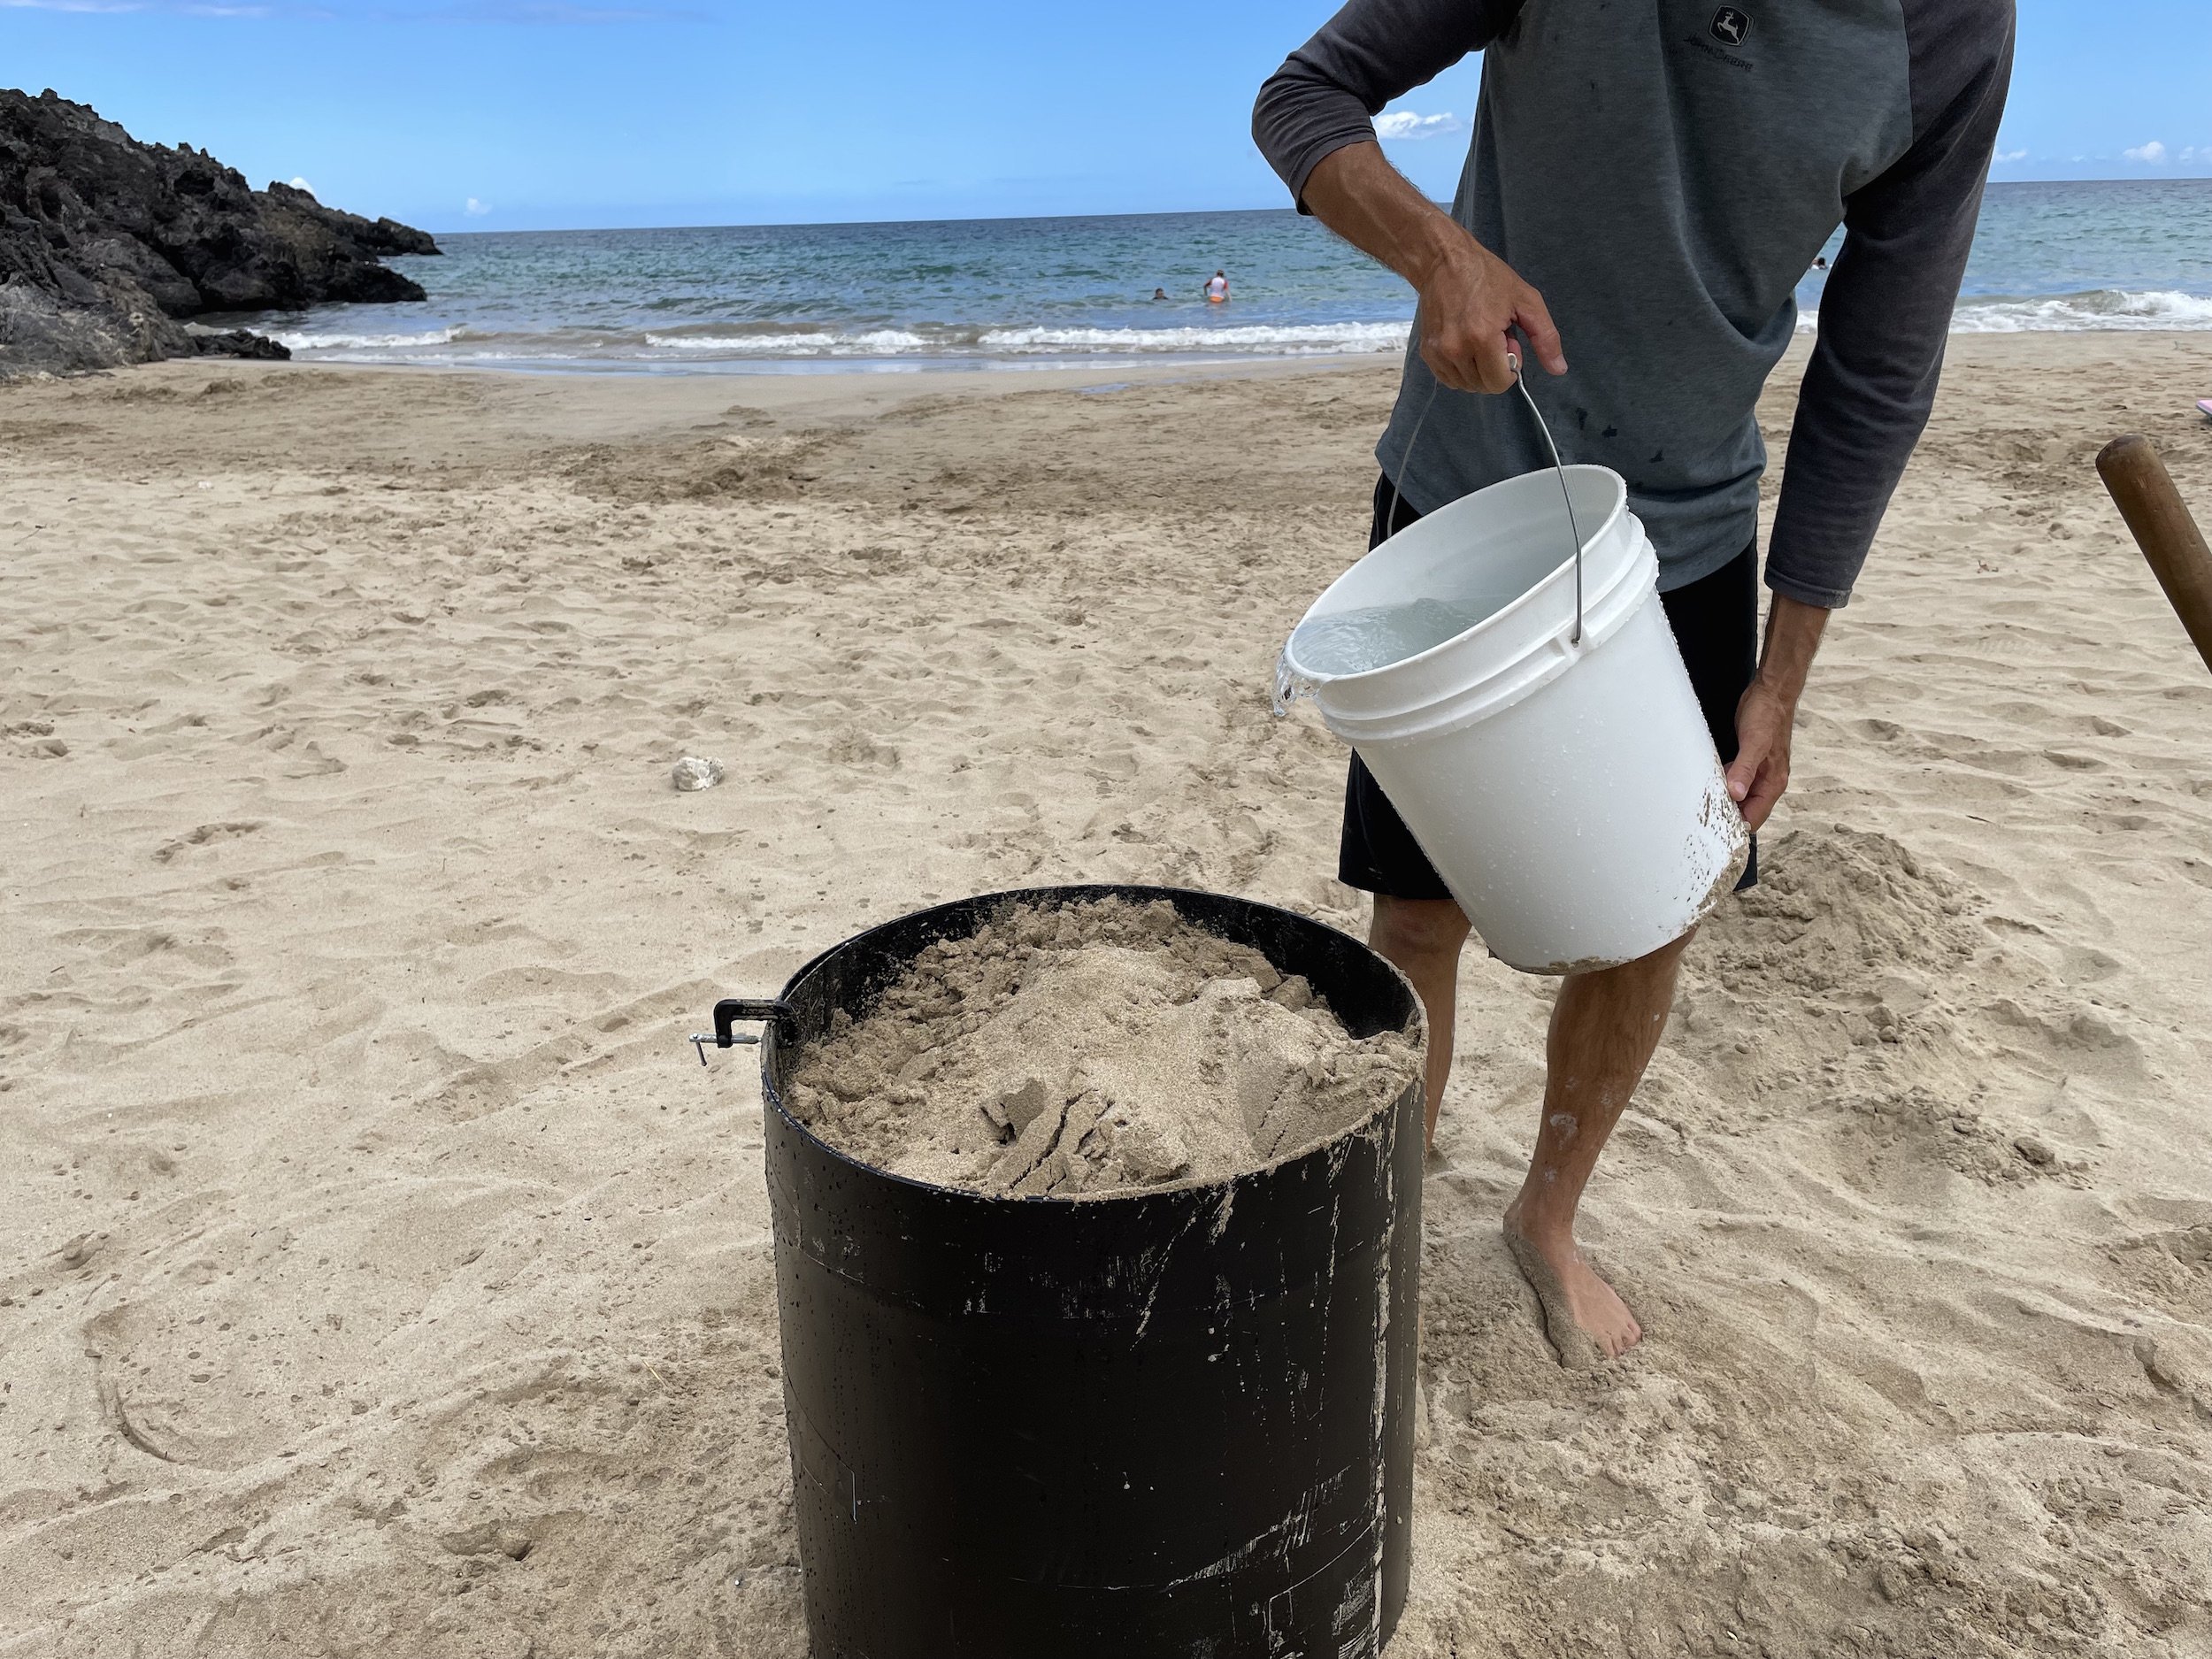
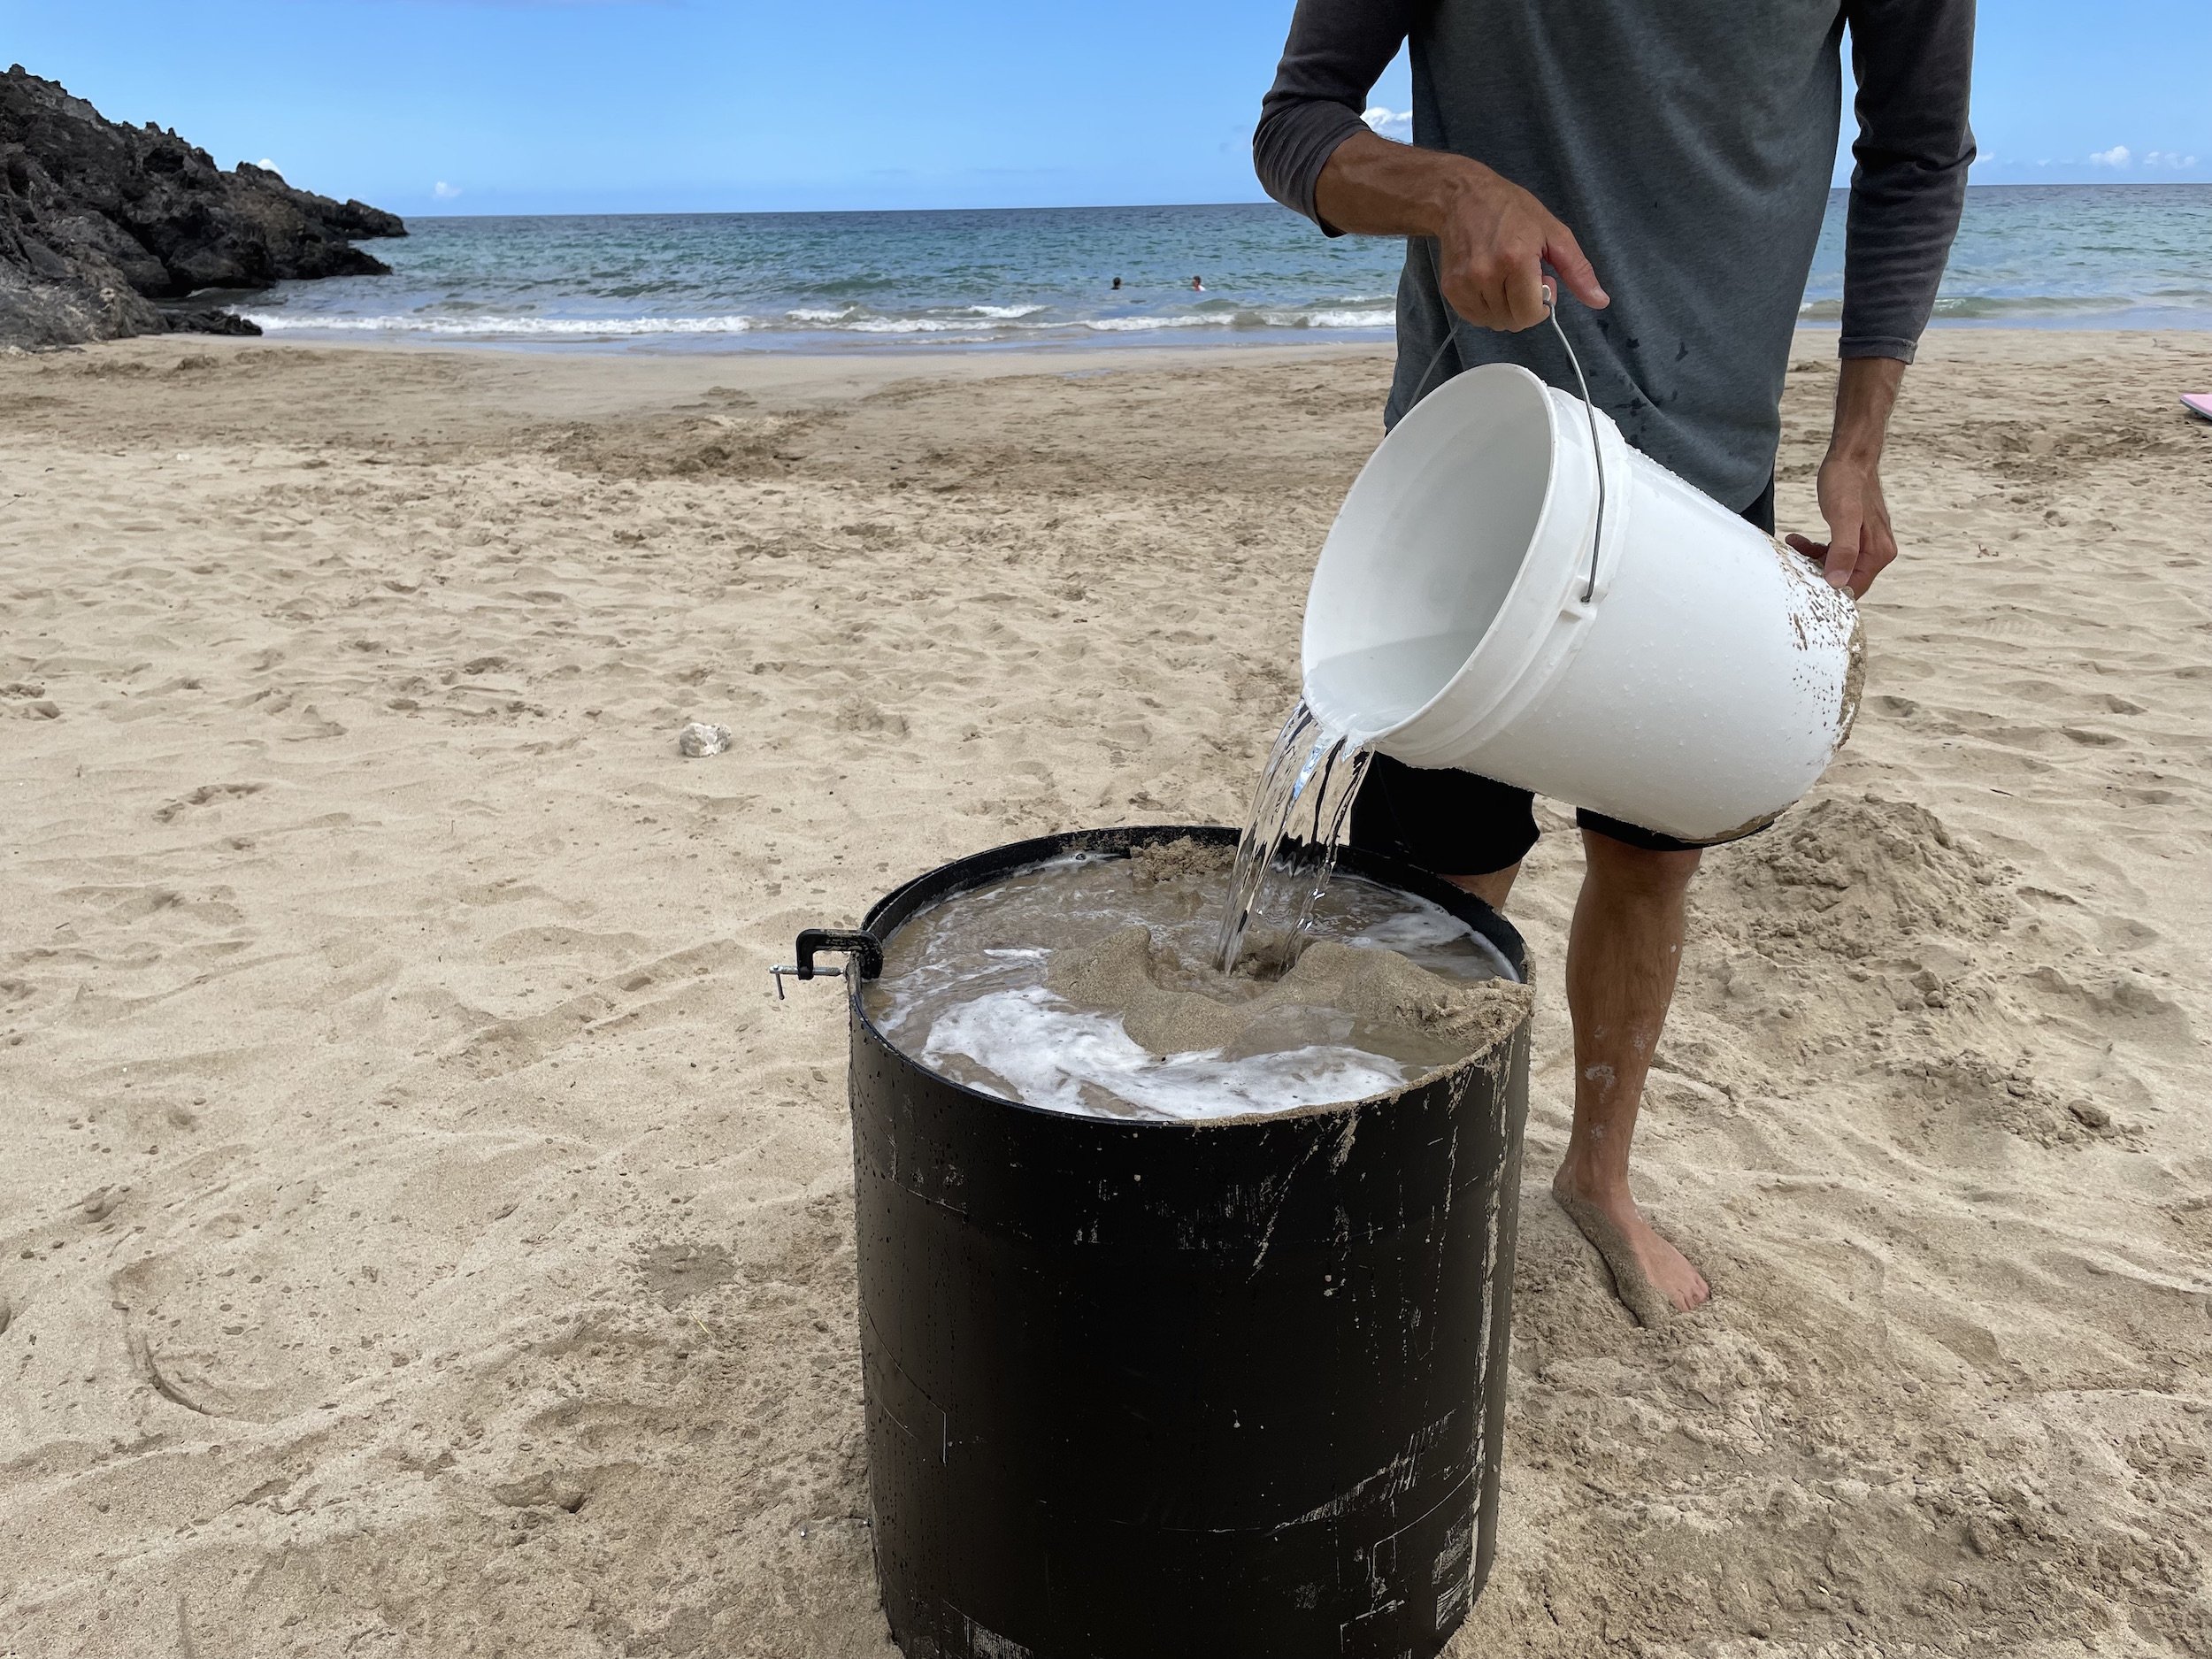
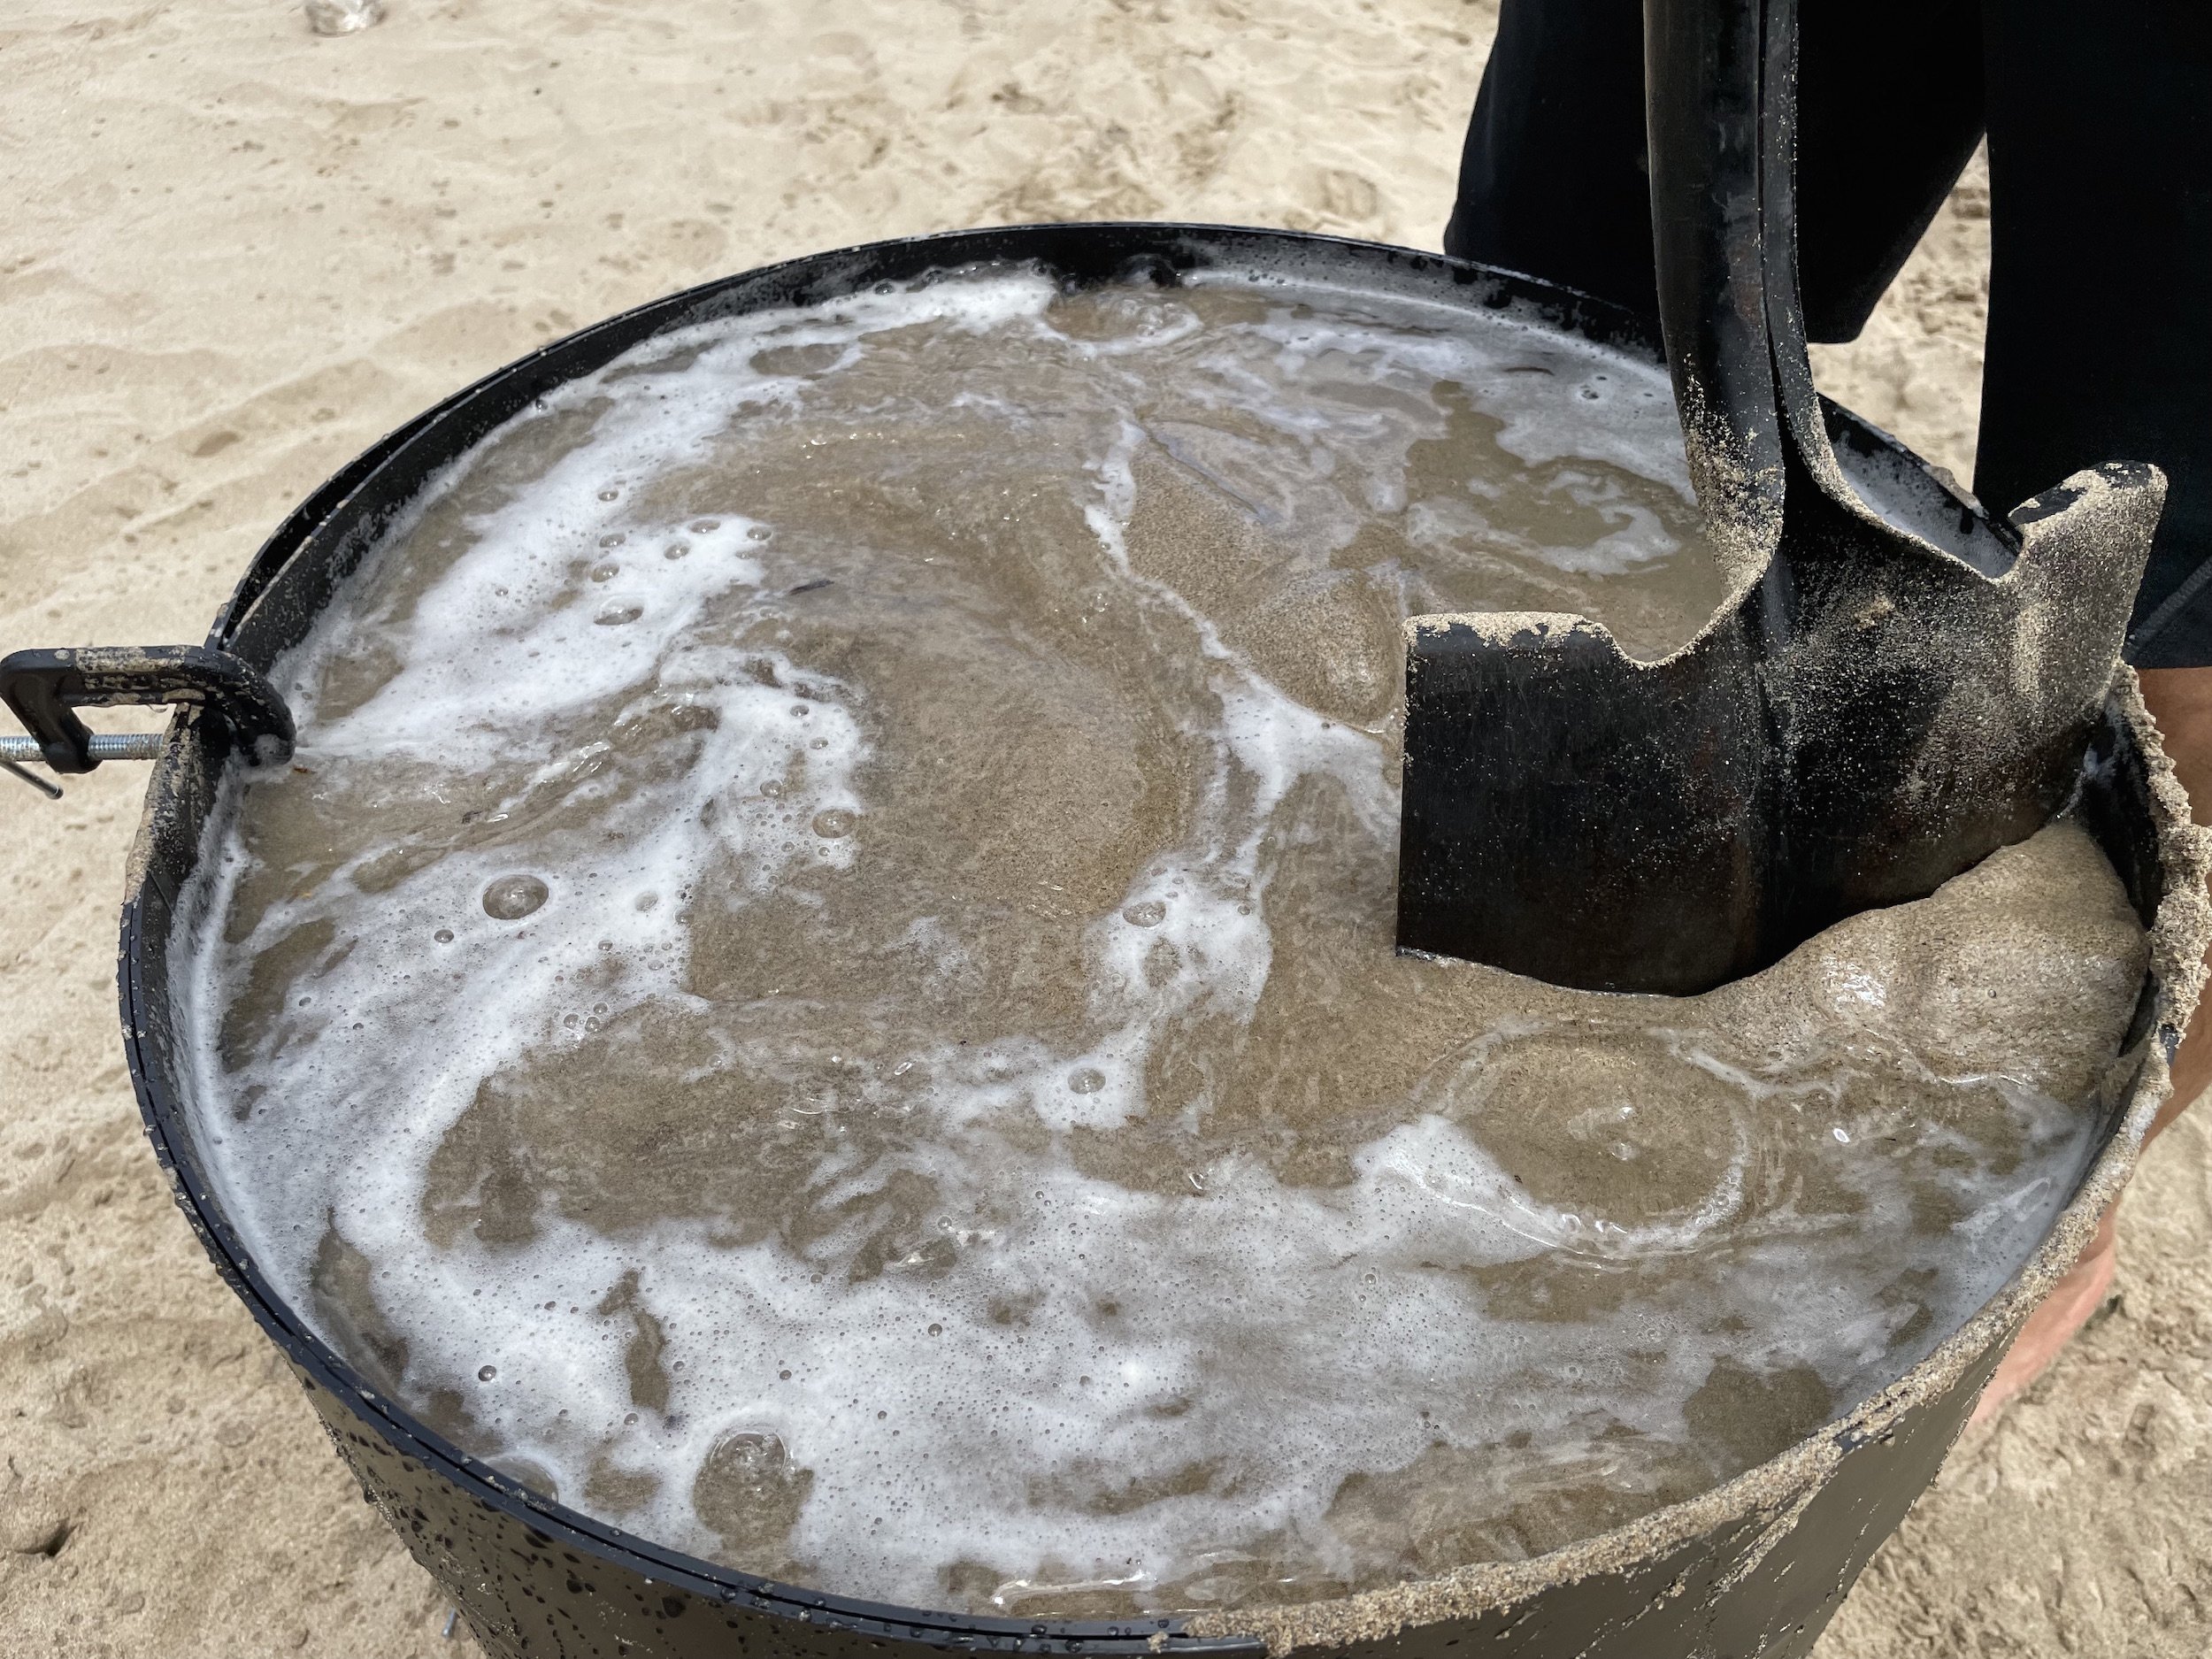
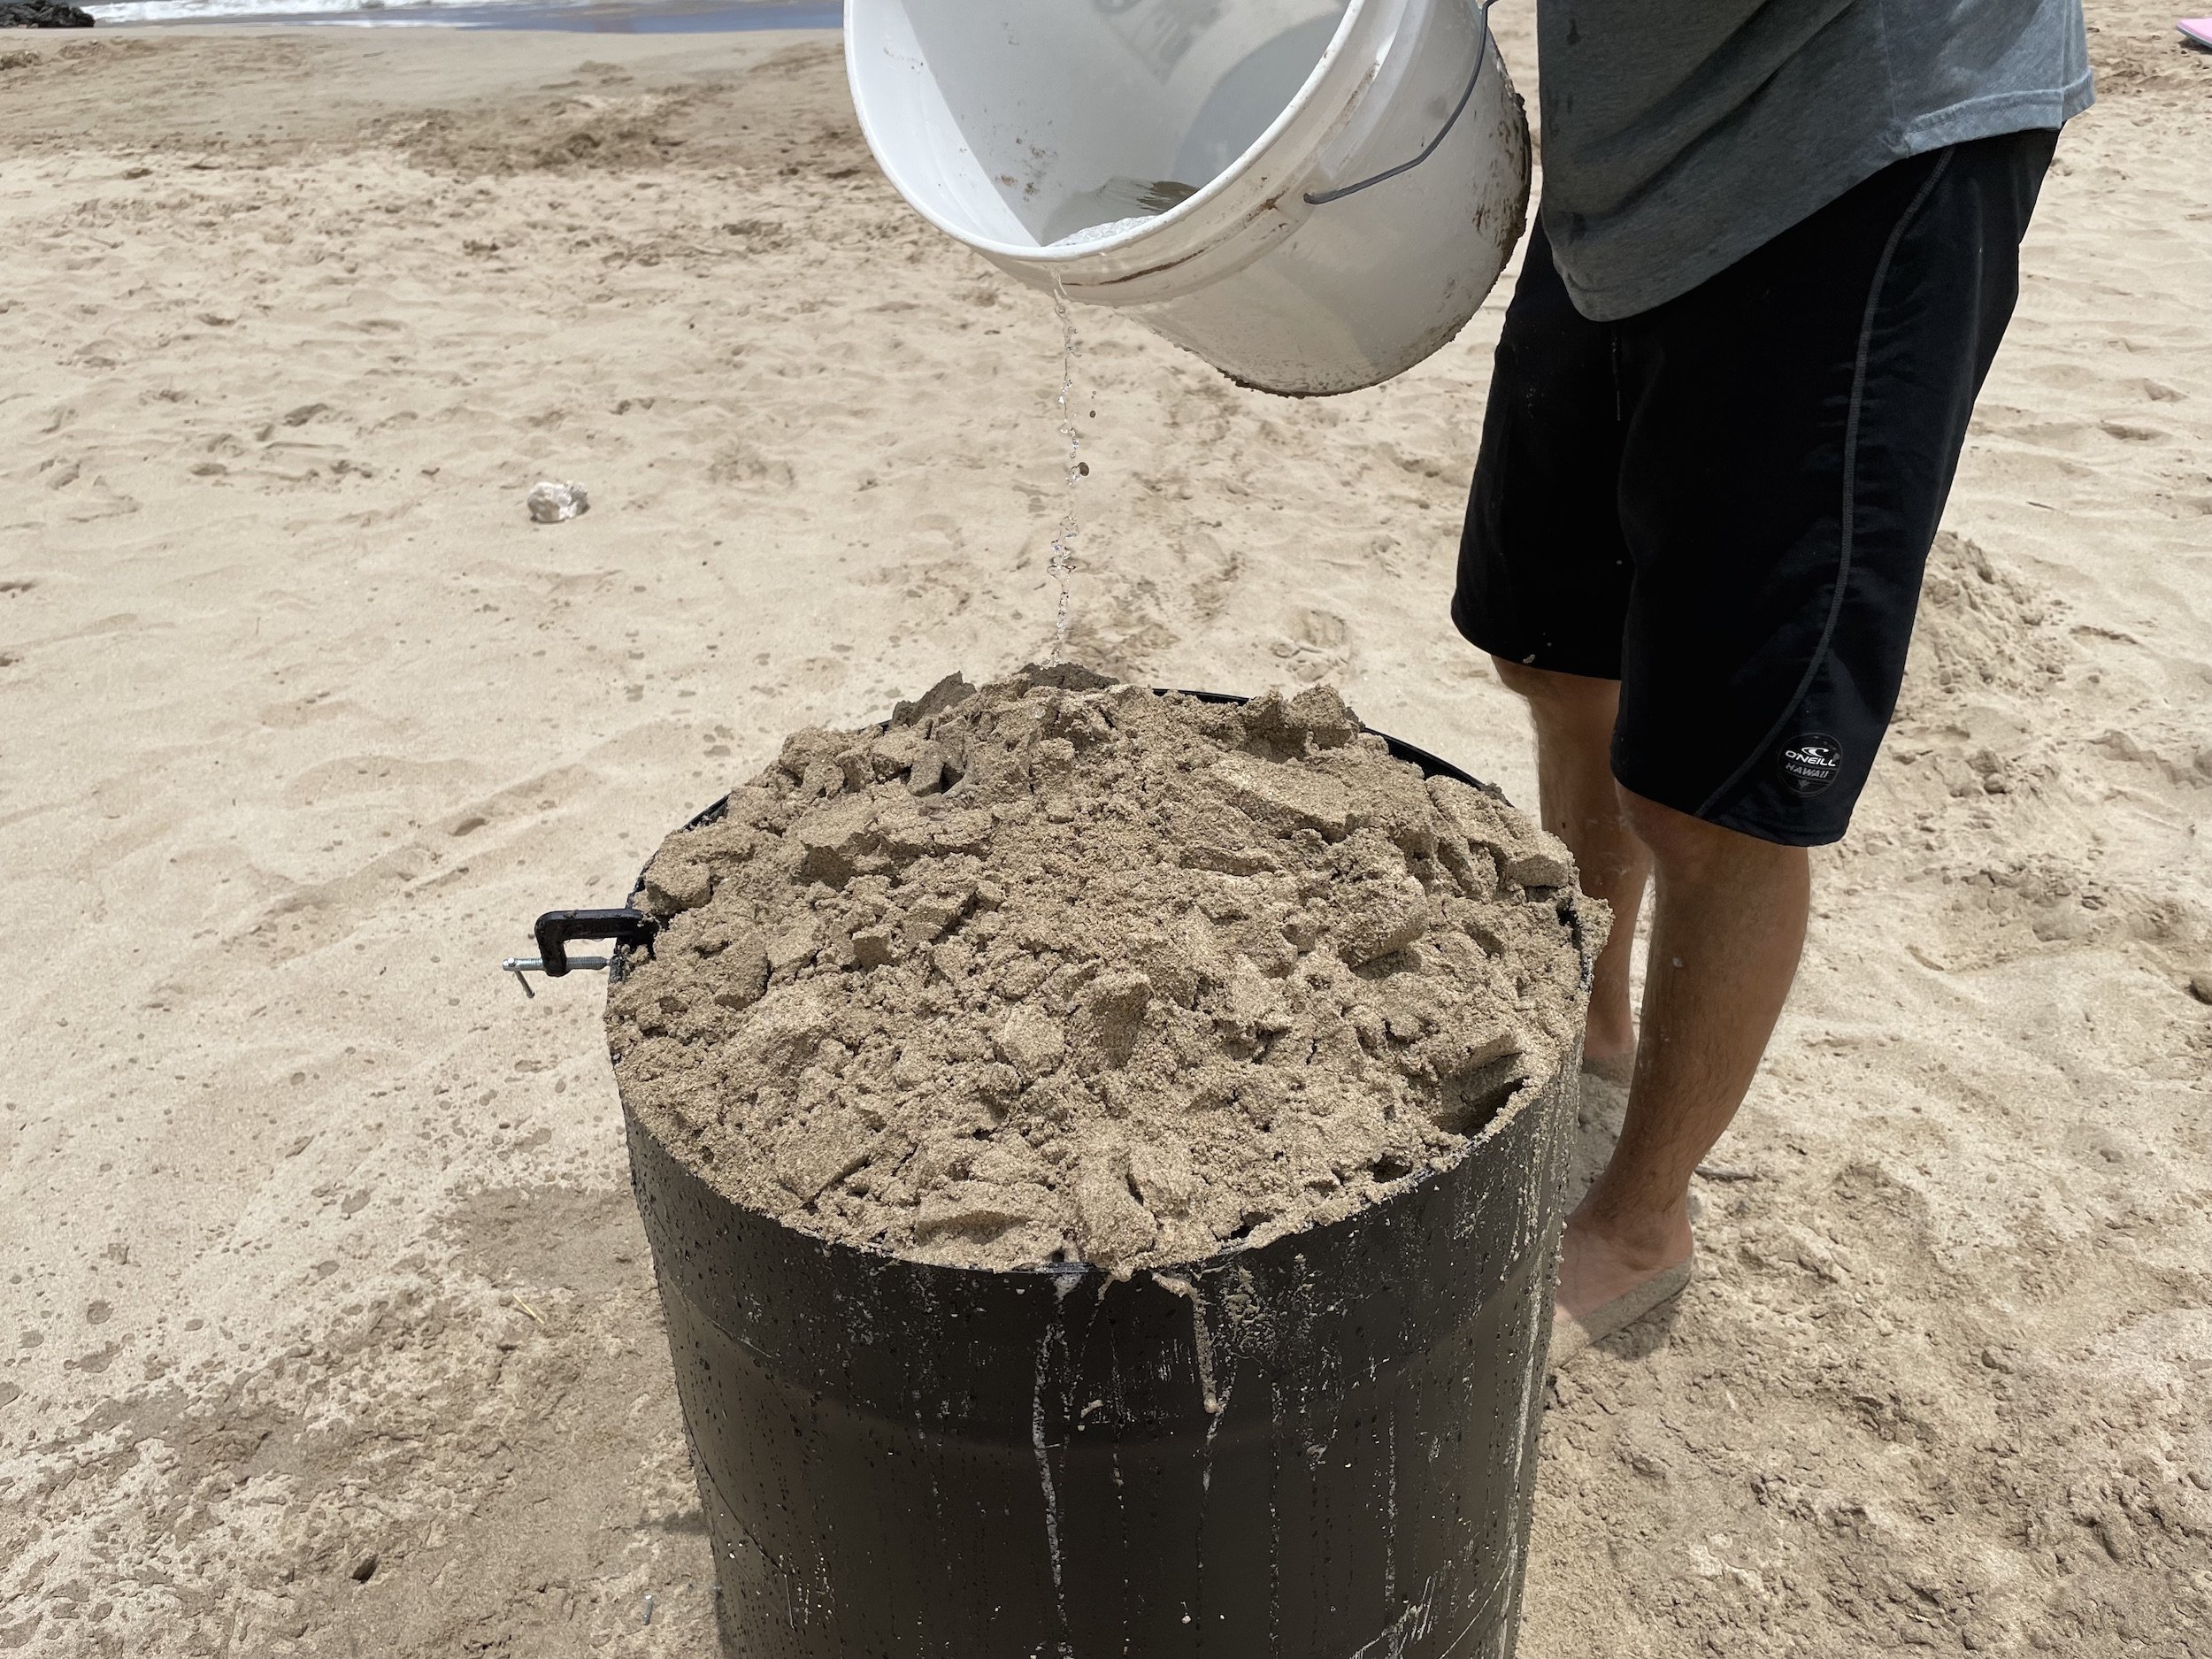
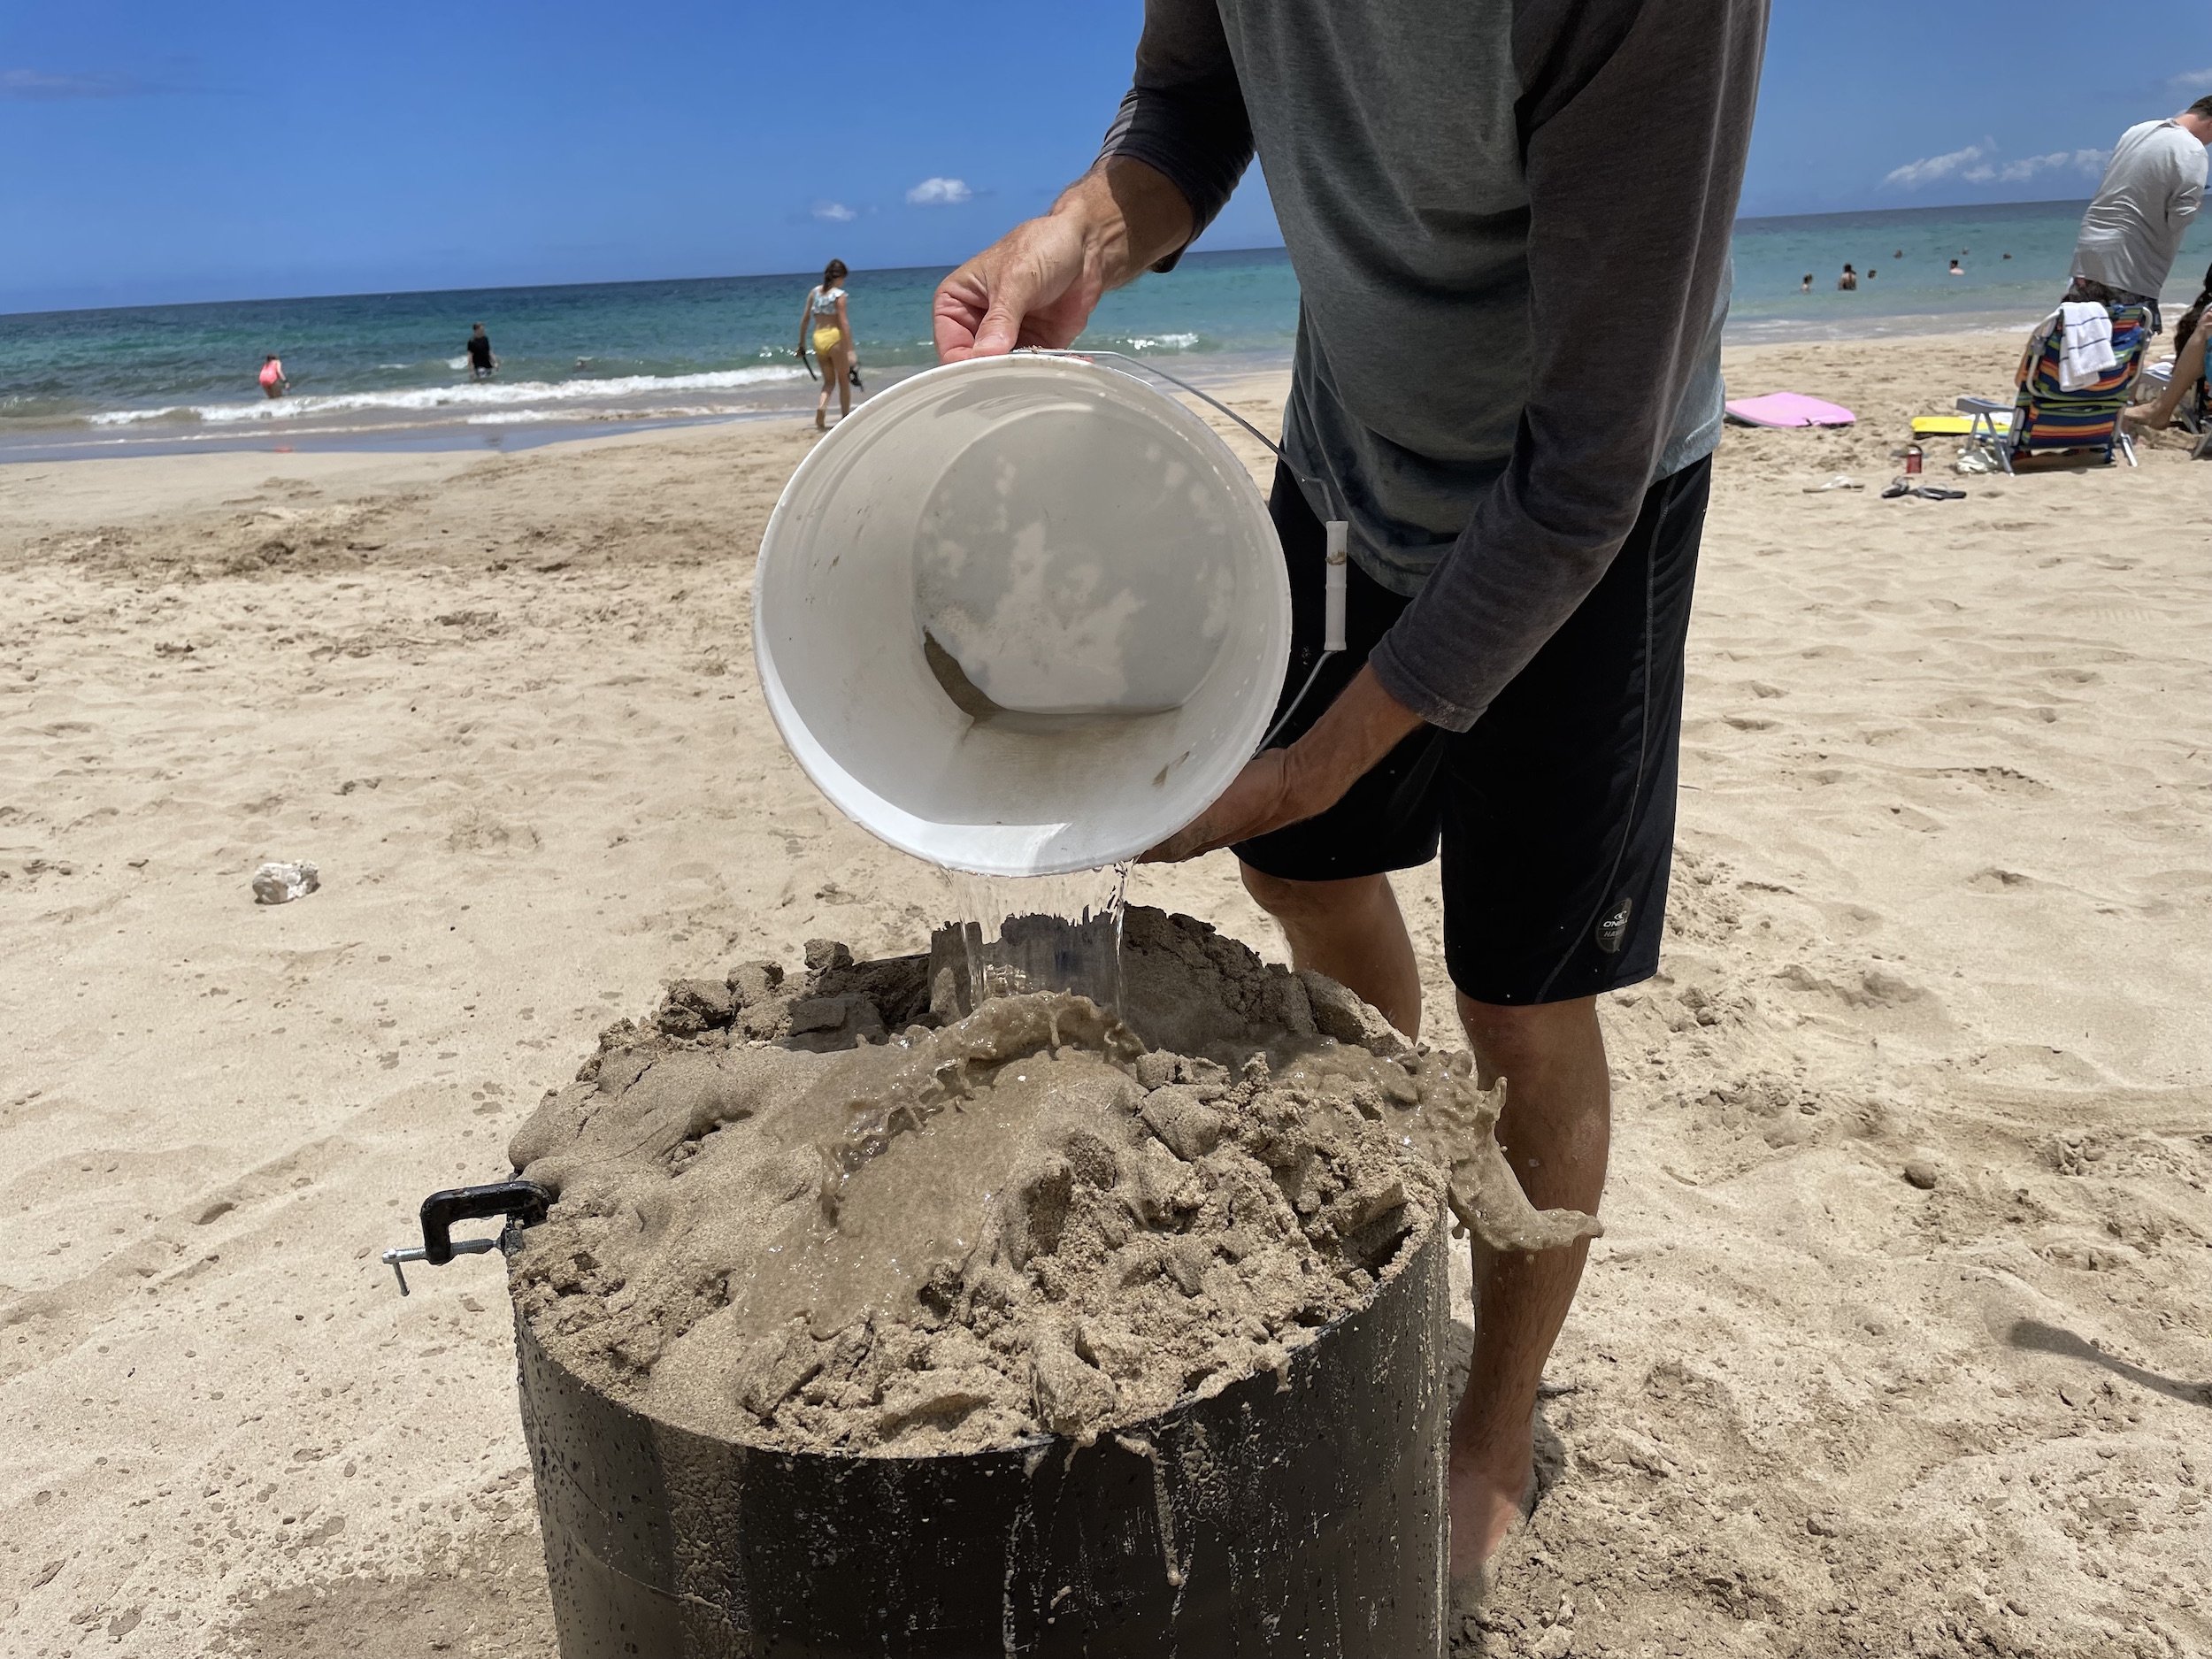
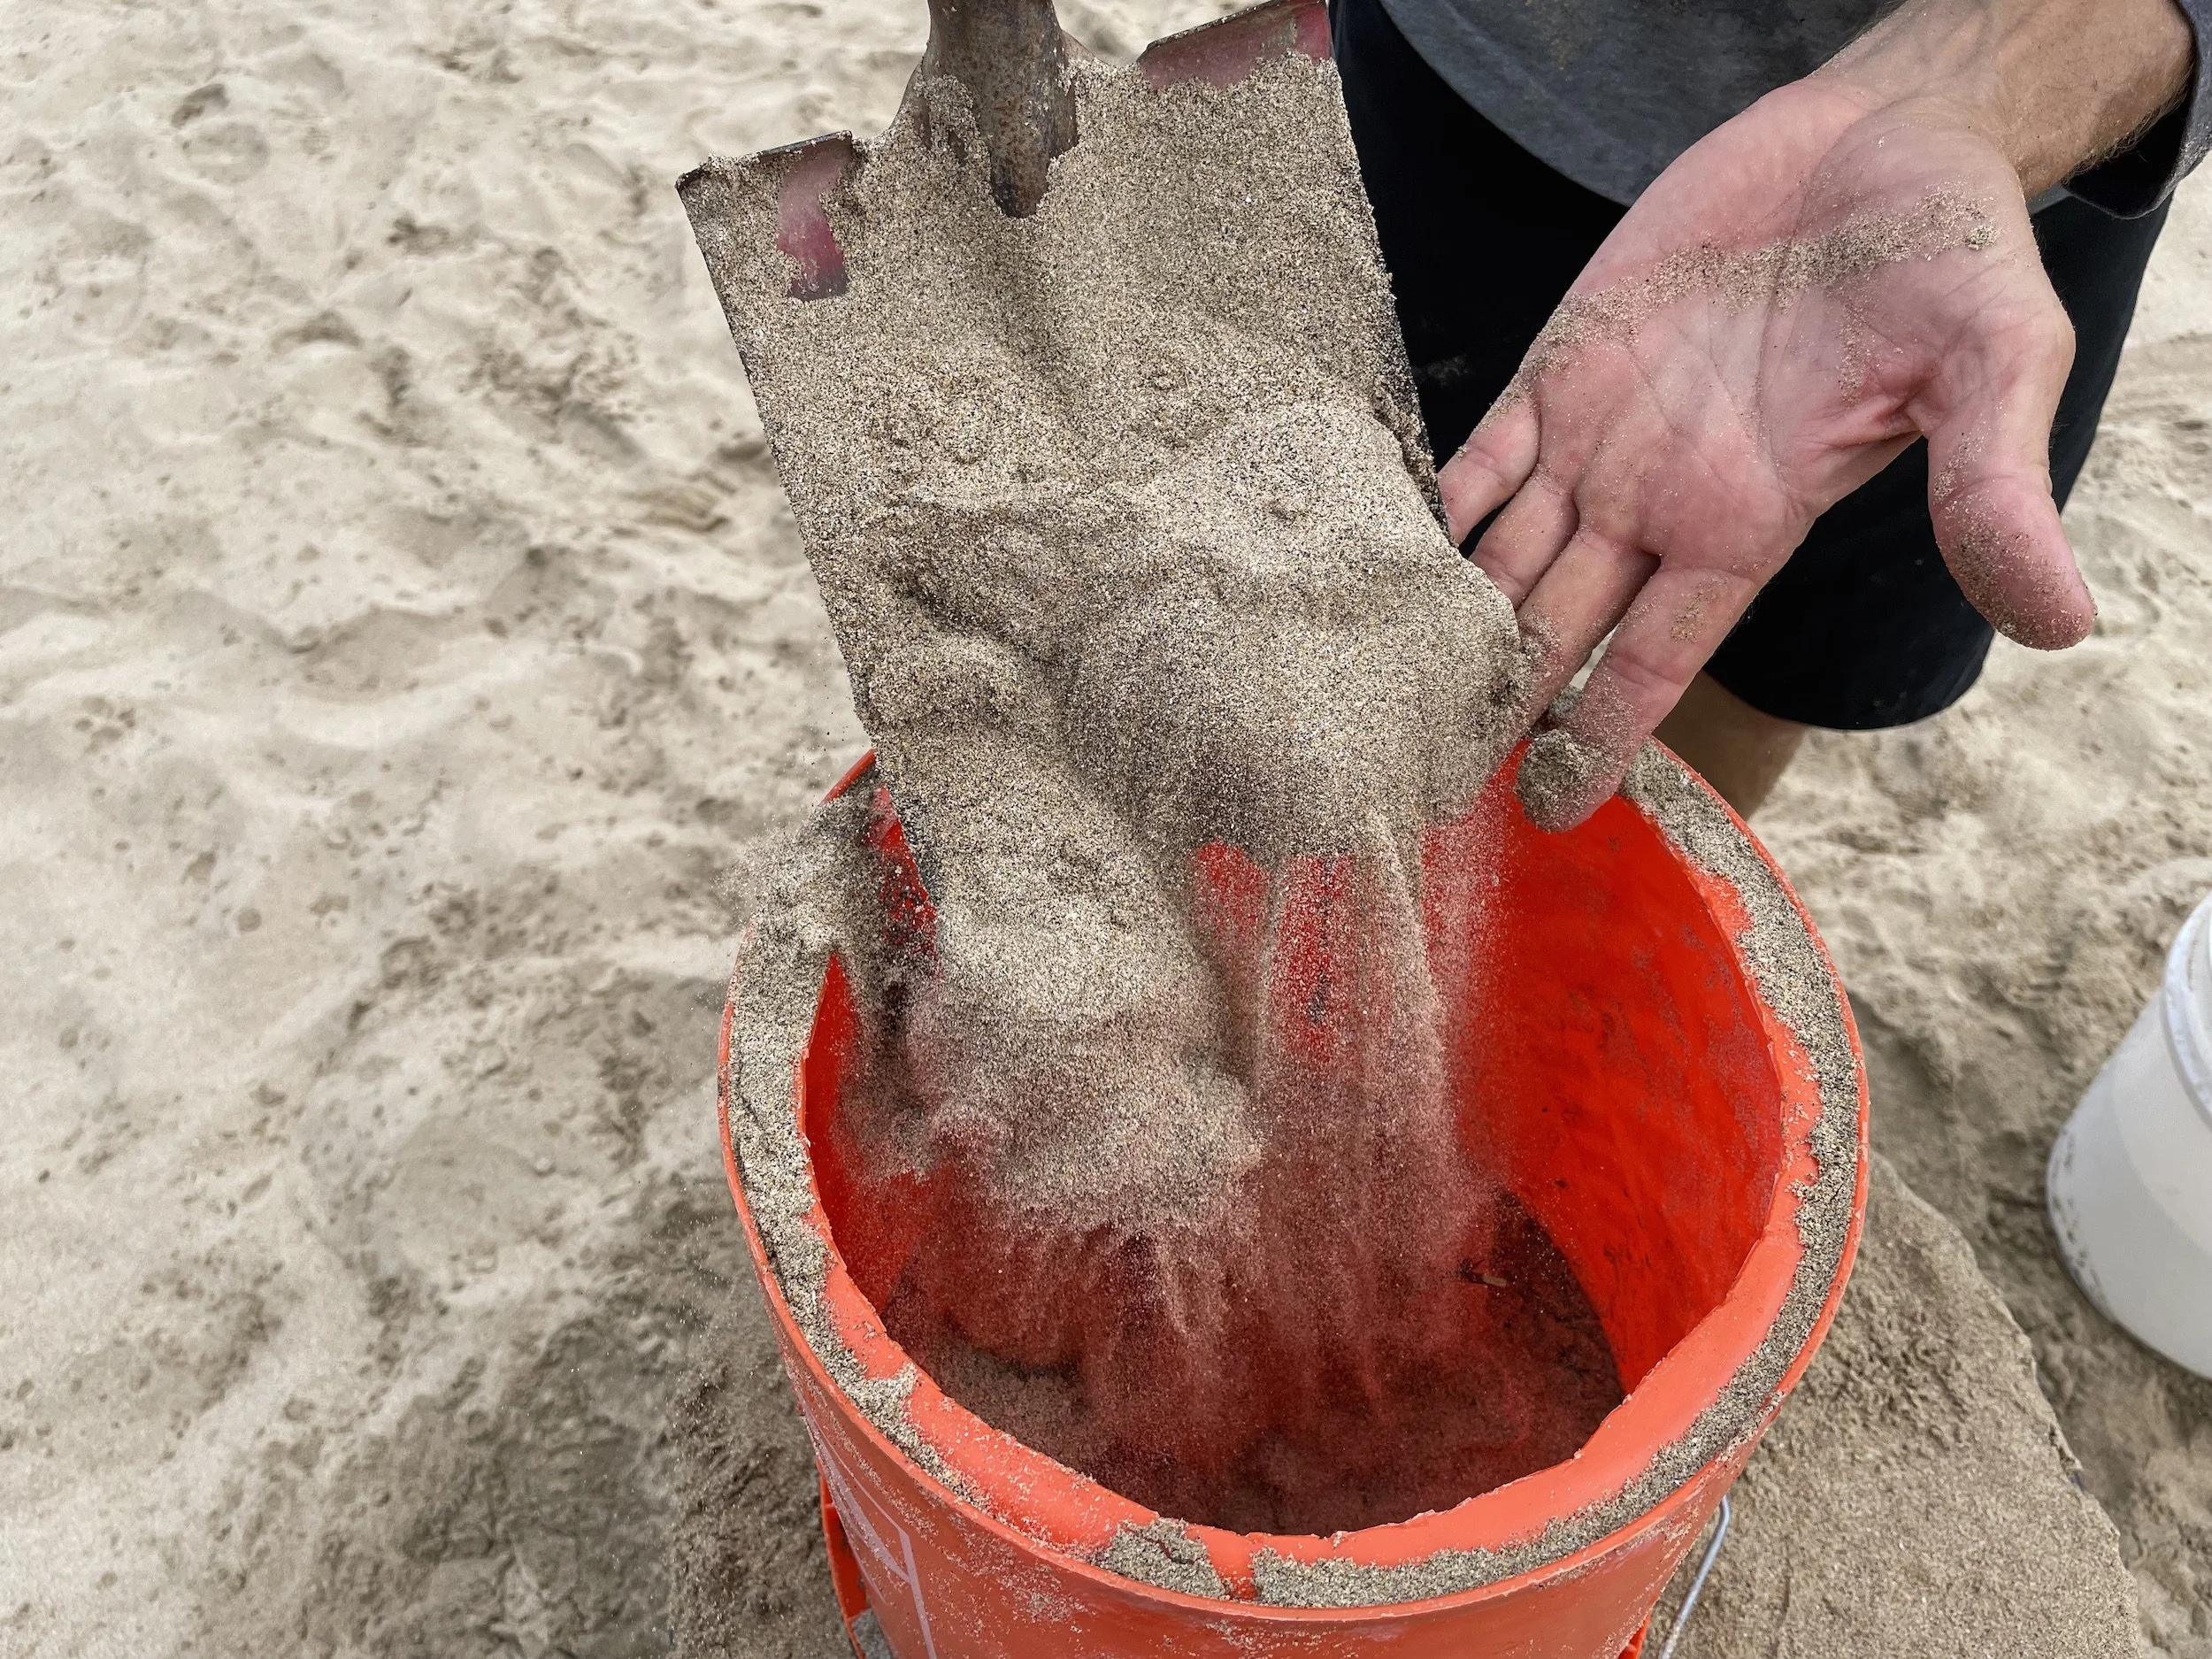
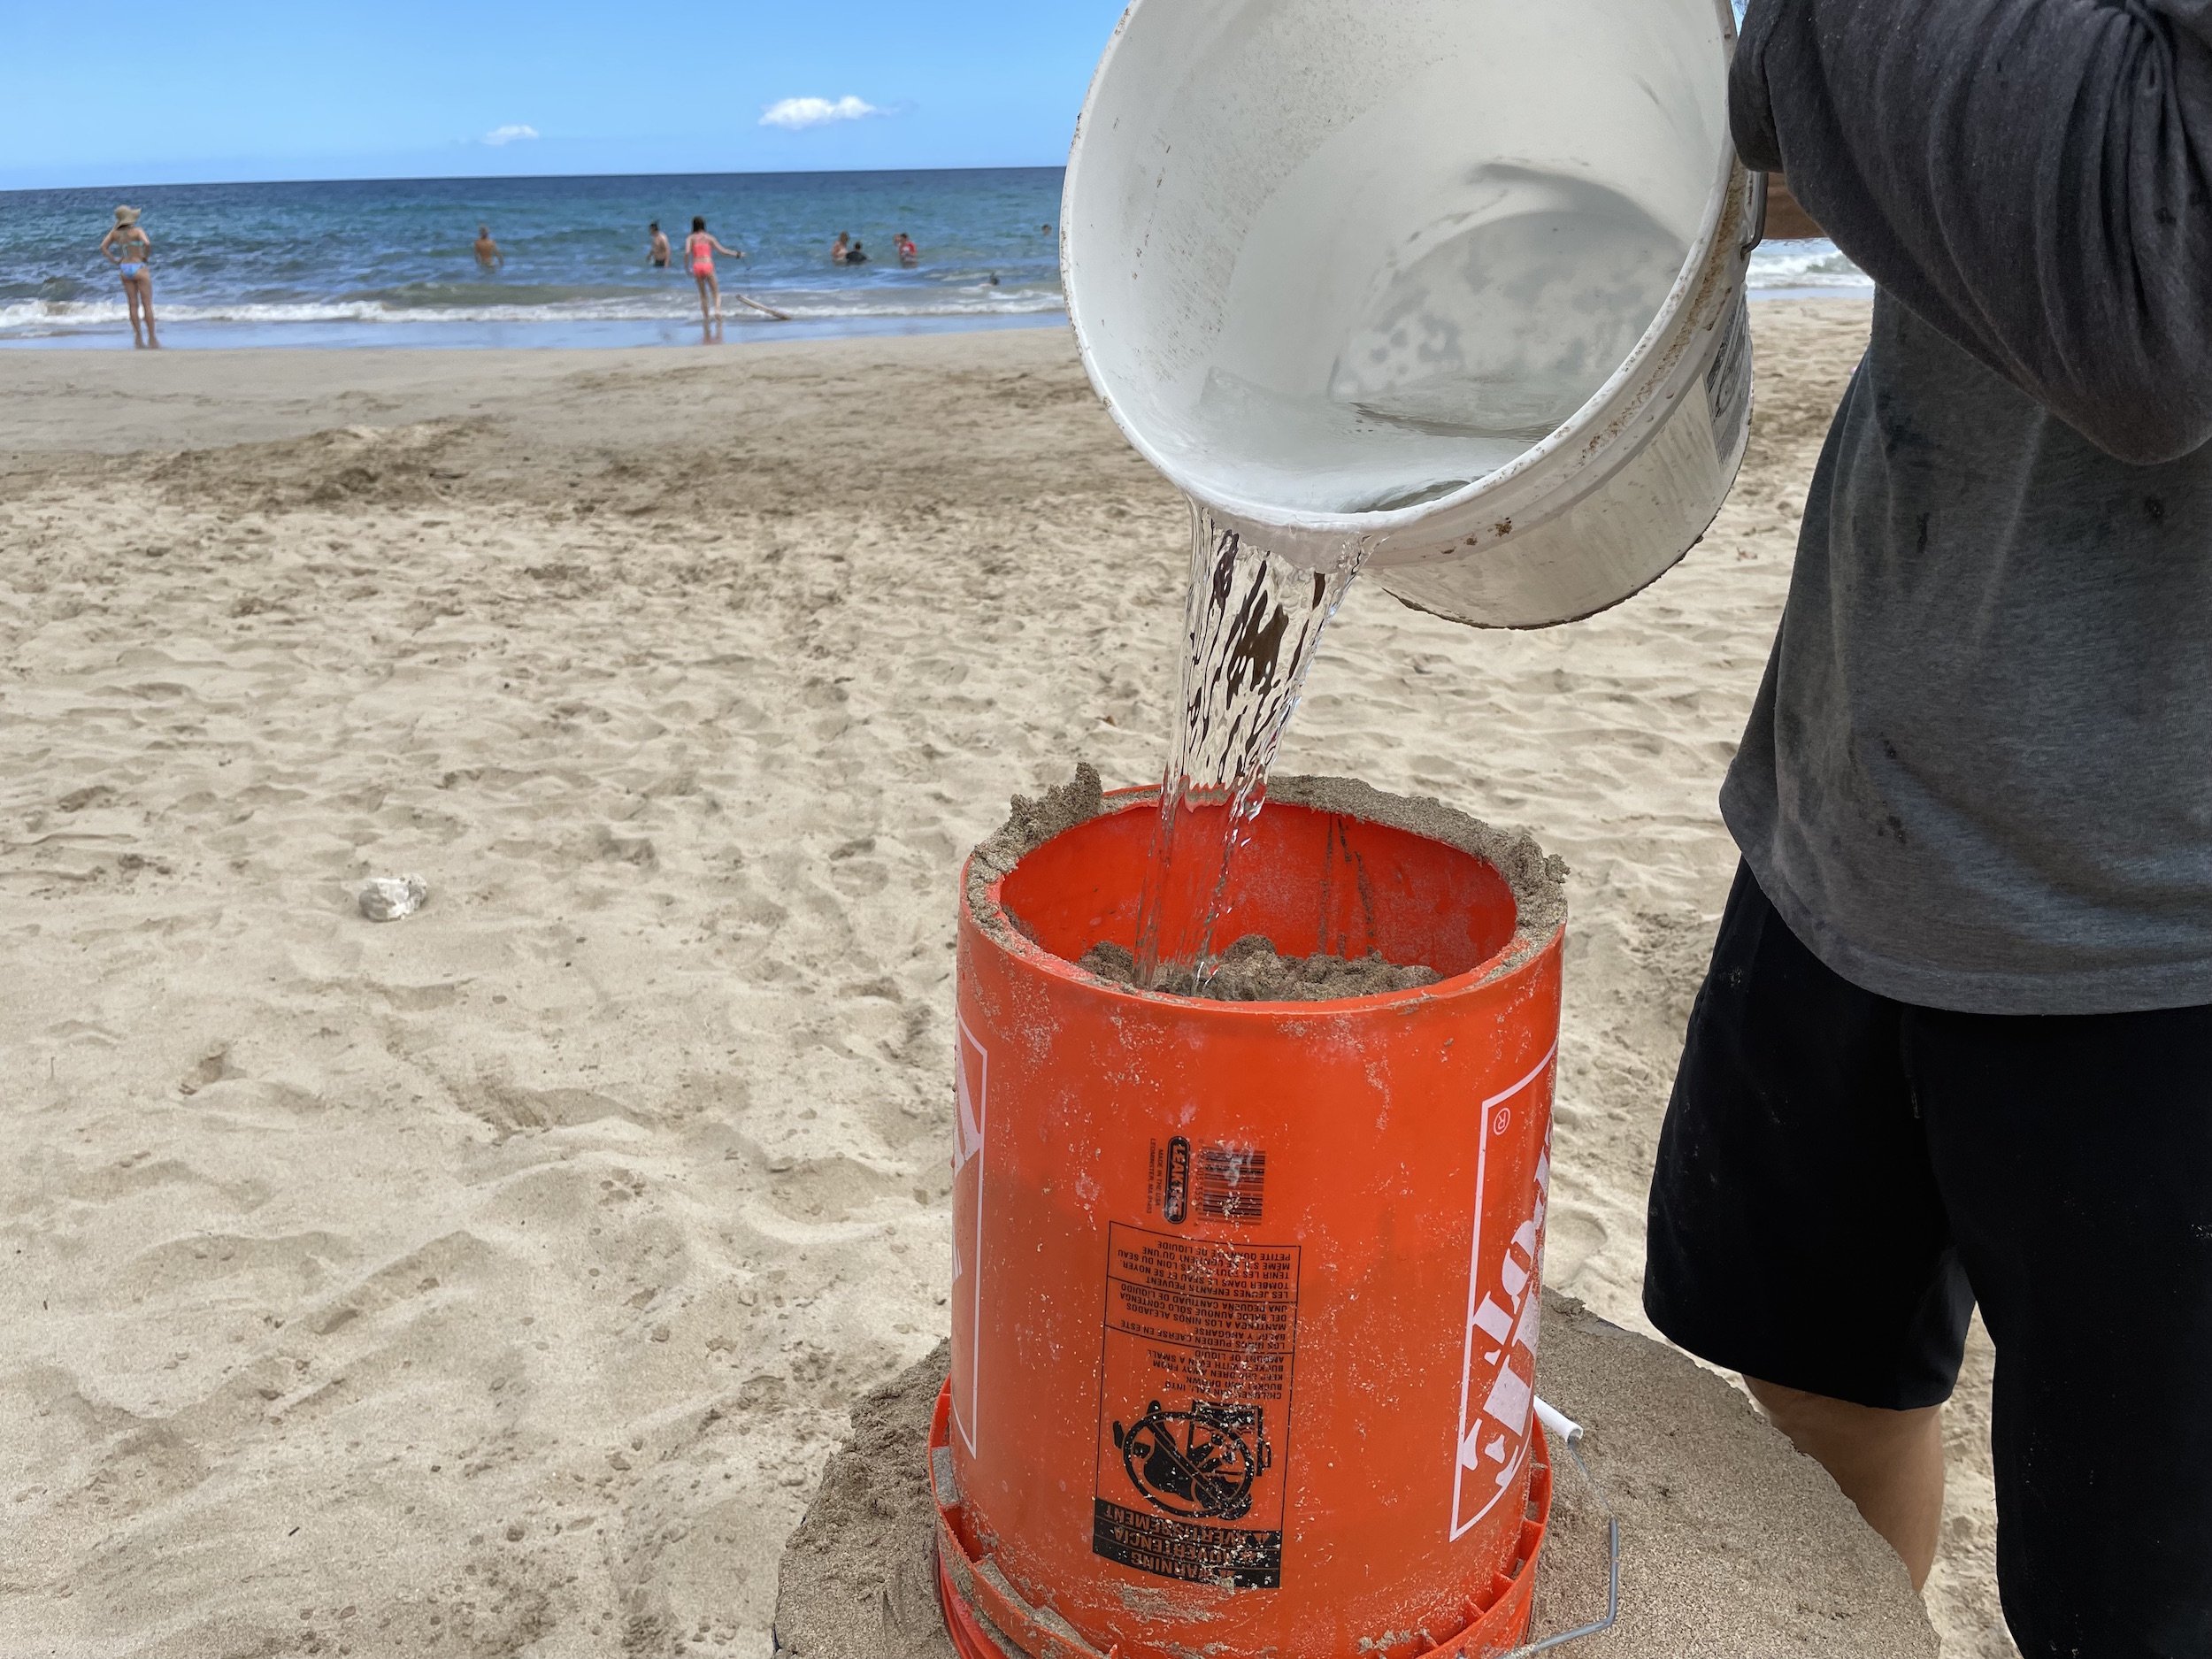
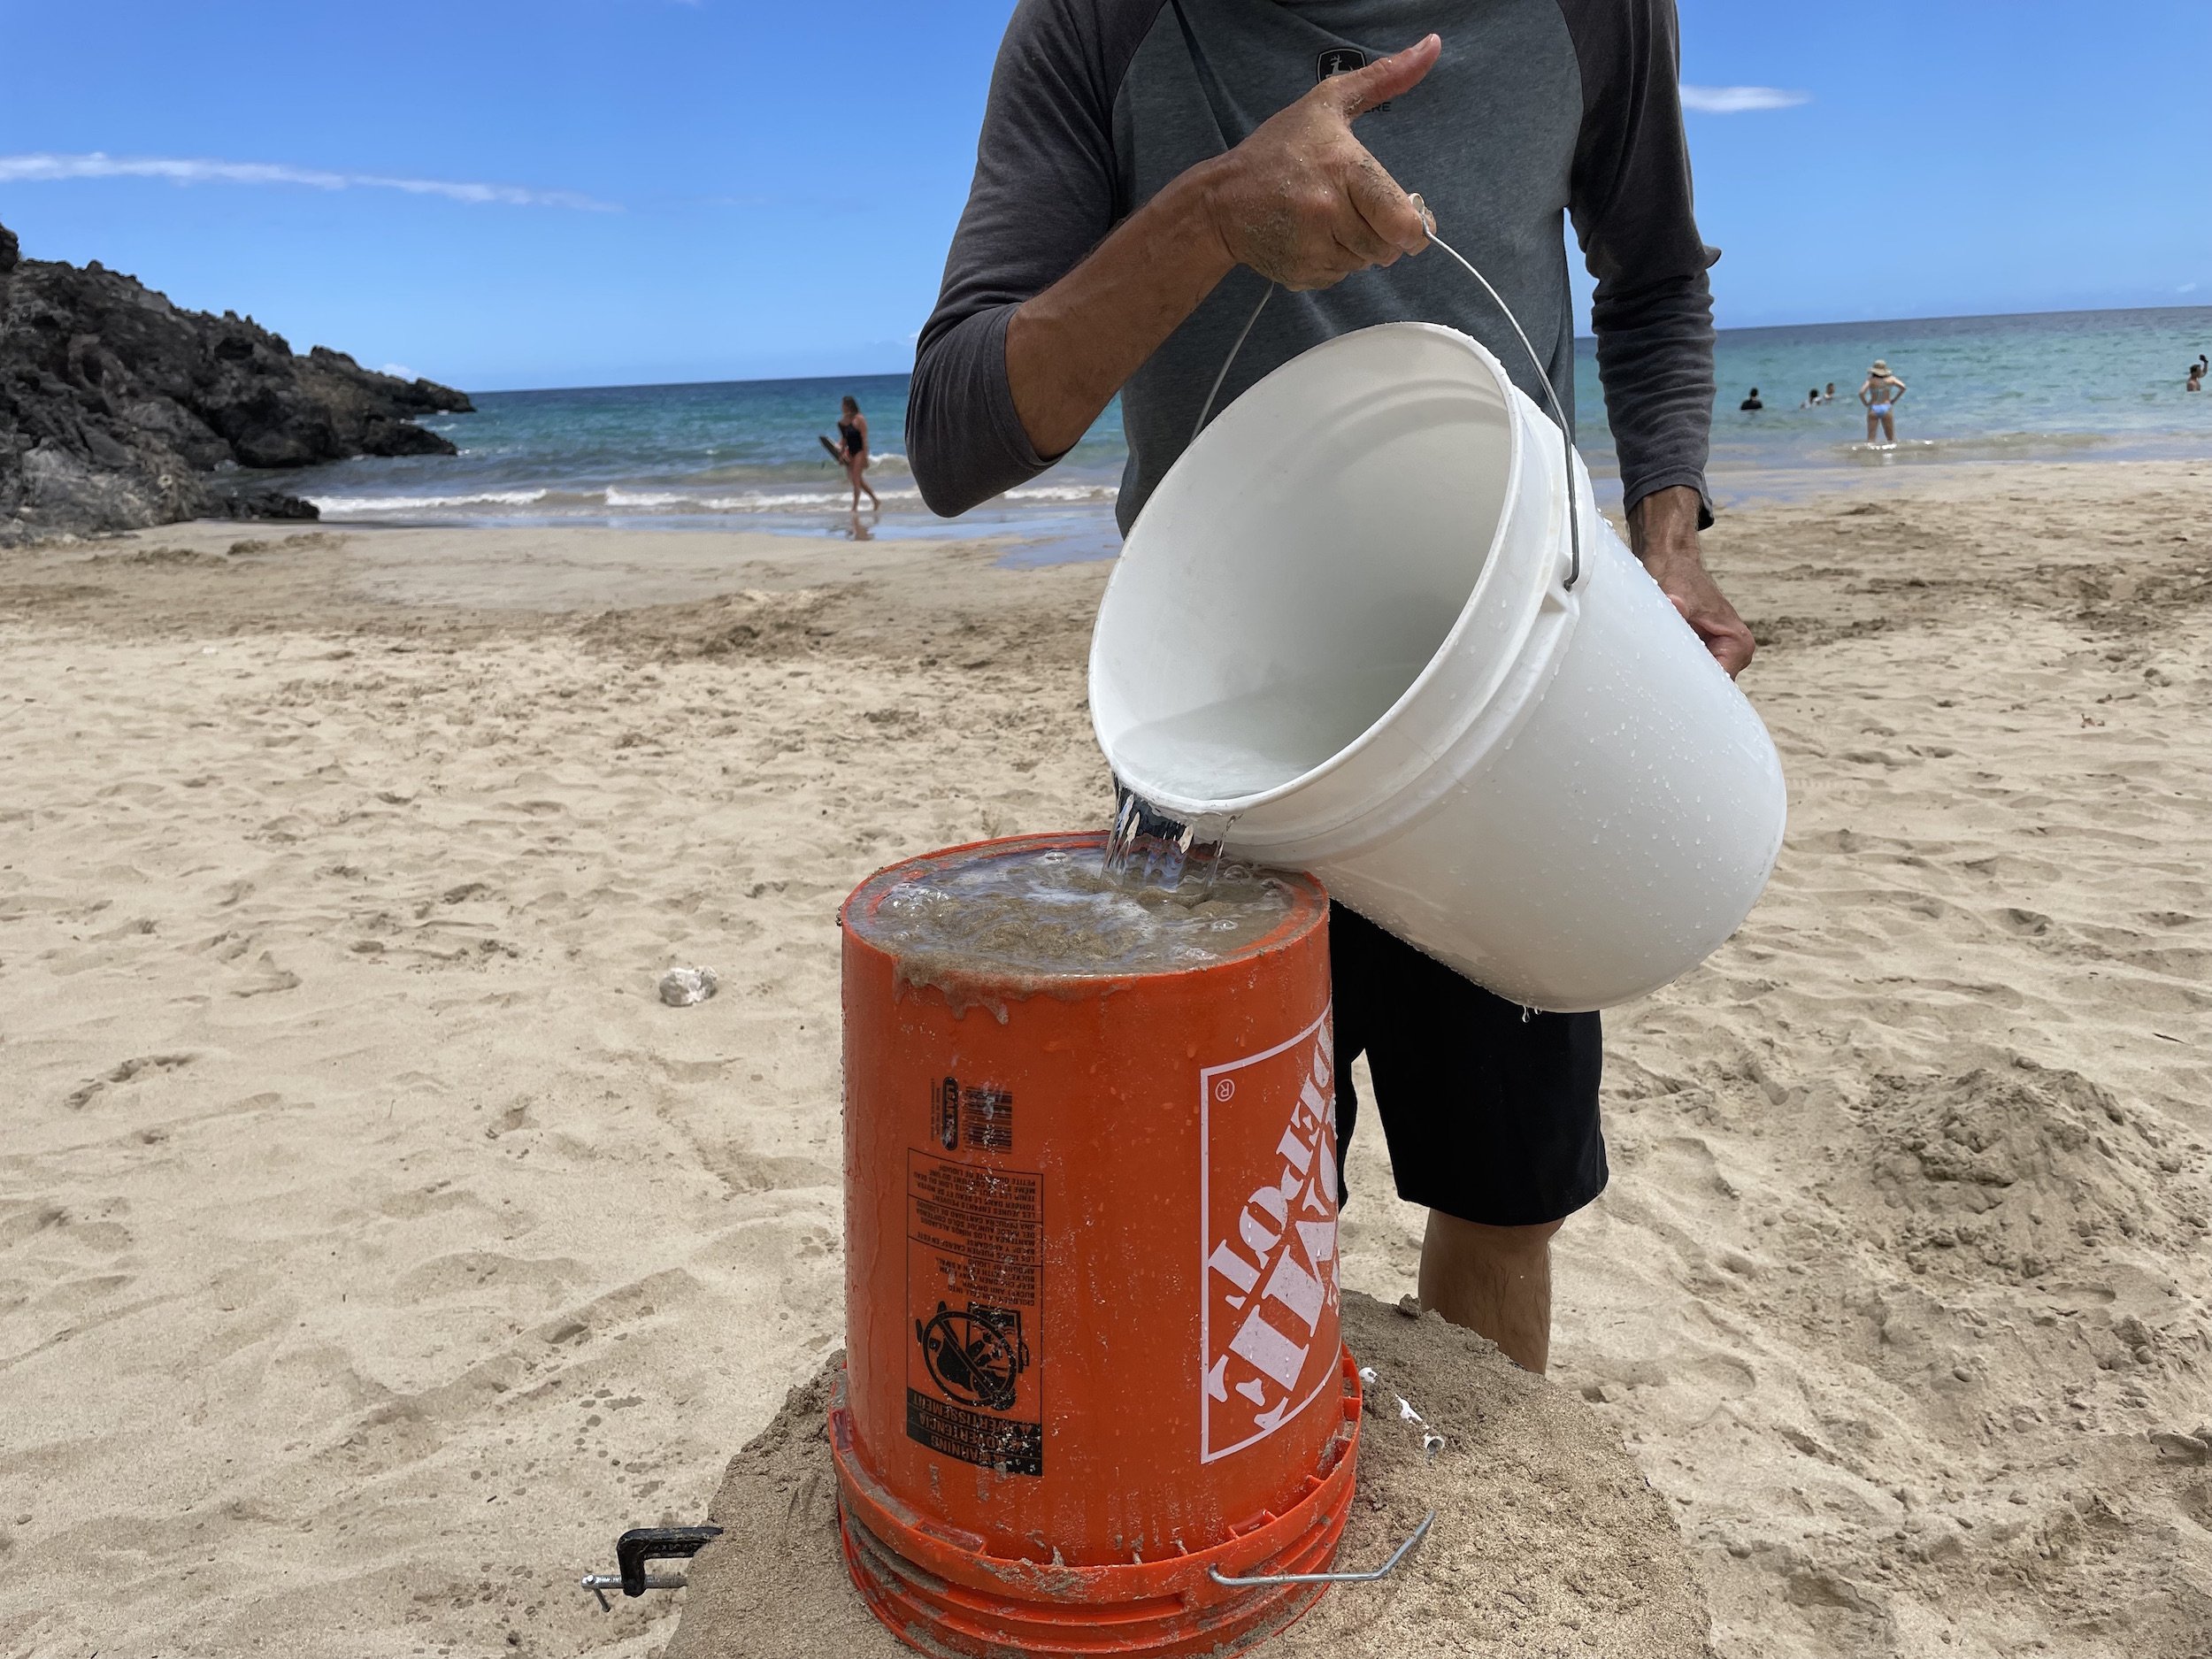
Then place a small ‘C’ clamp on the top and bottom of the form to hold its shape. After that, place a piece of tape inside the form to seal where the end of the form is as this will help keep your precious water inside the form and not run out. Now you can start filling your form with sand. Thin layers!!! About 6” of sand is enough, then add water. You can never add too much water so feel free to drown it.
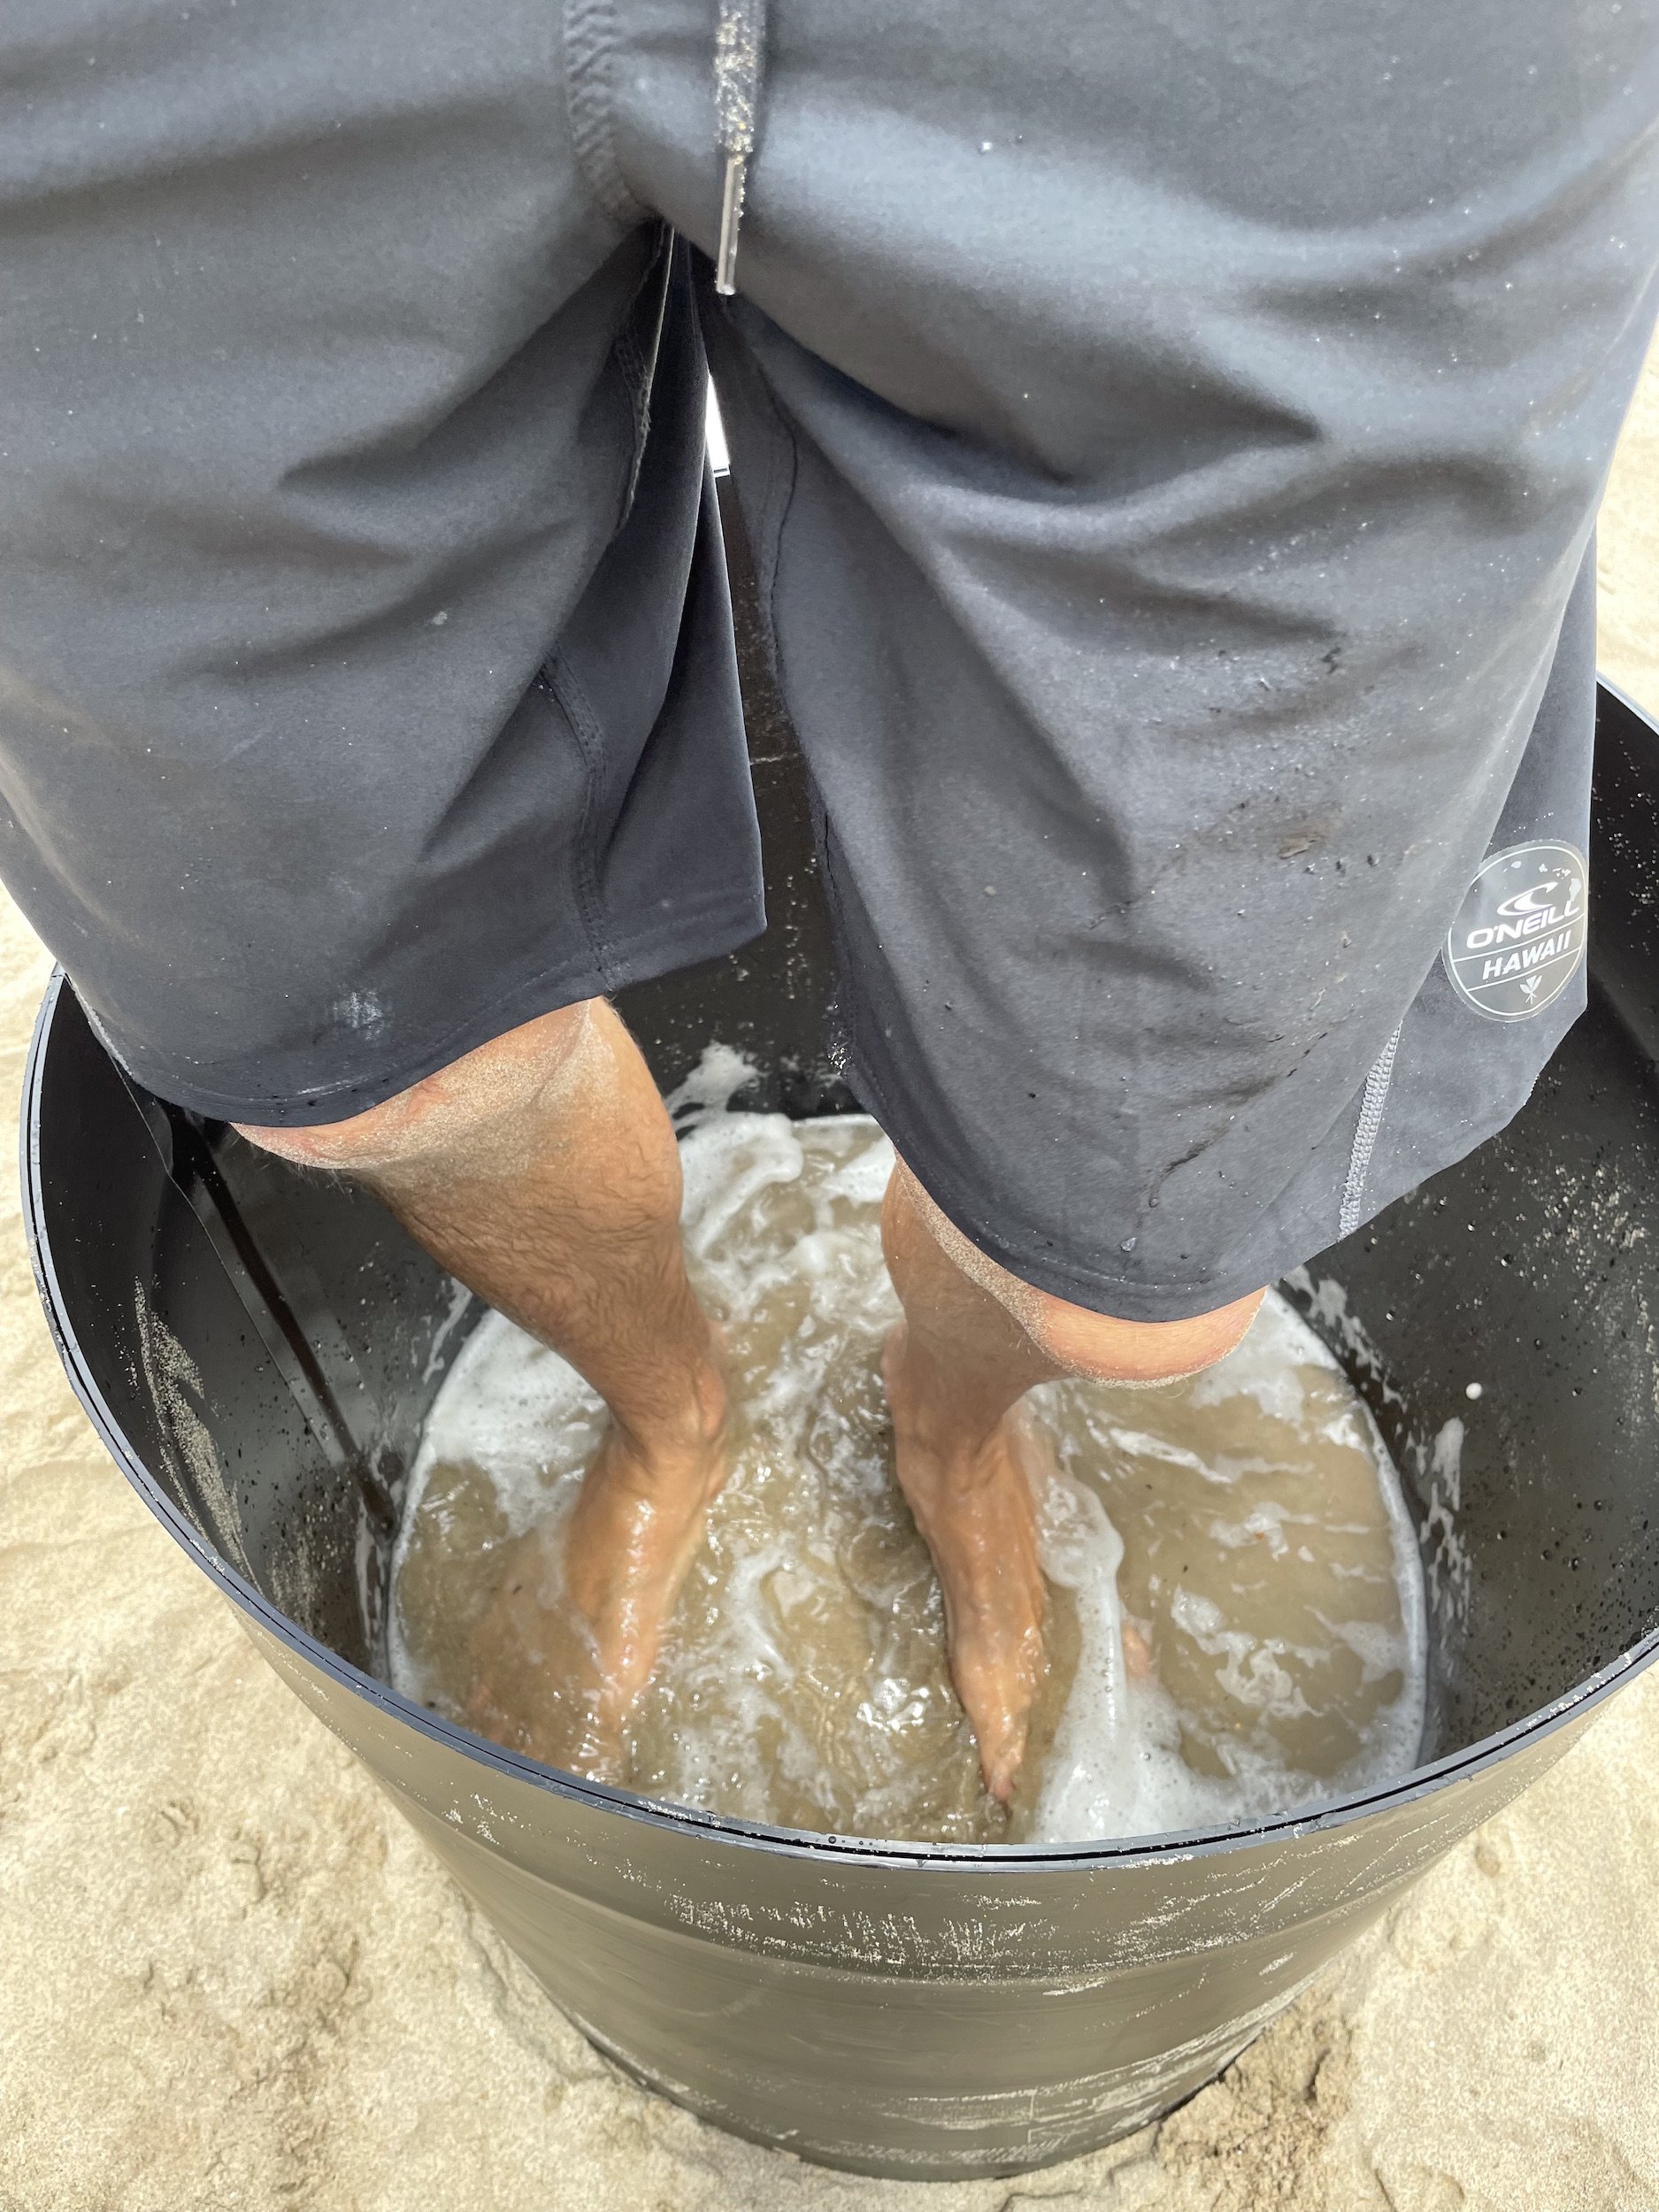
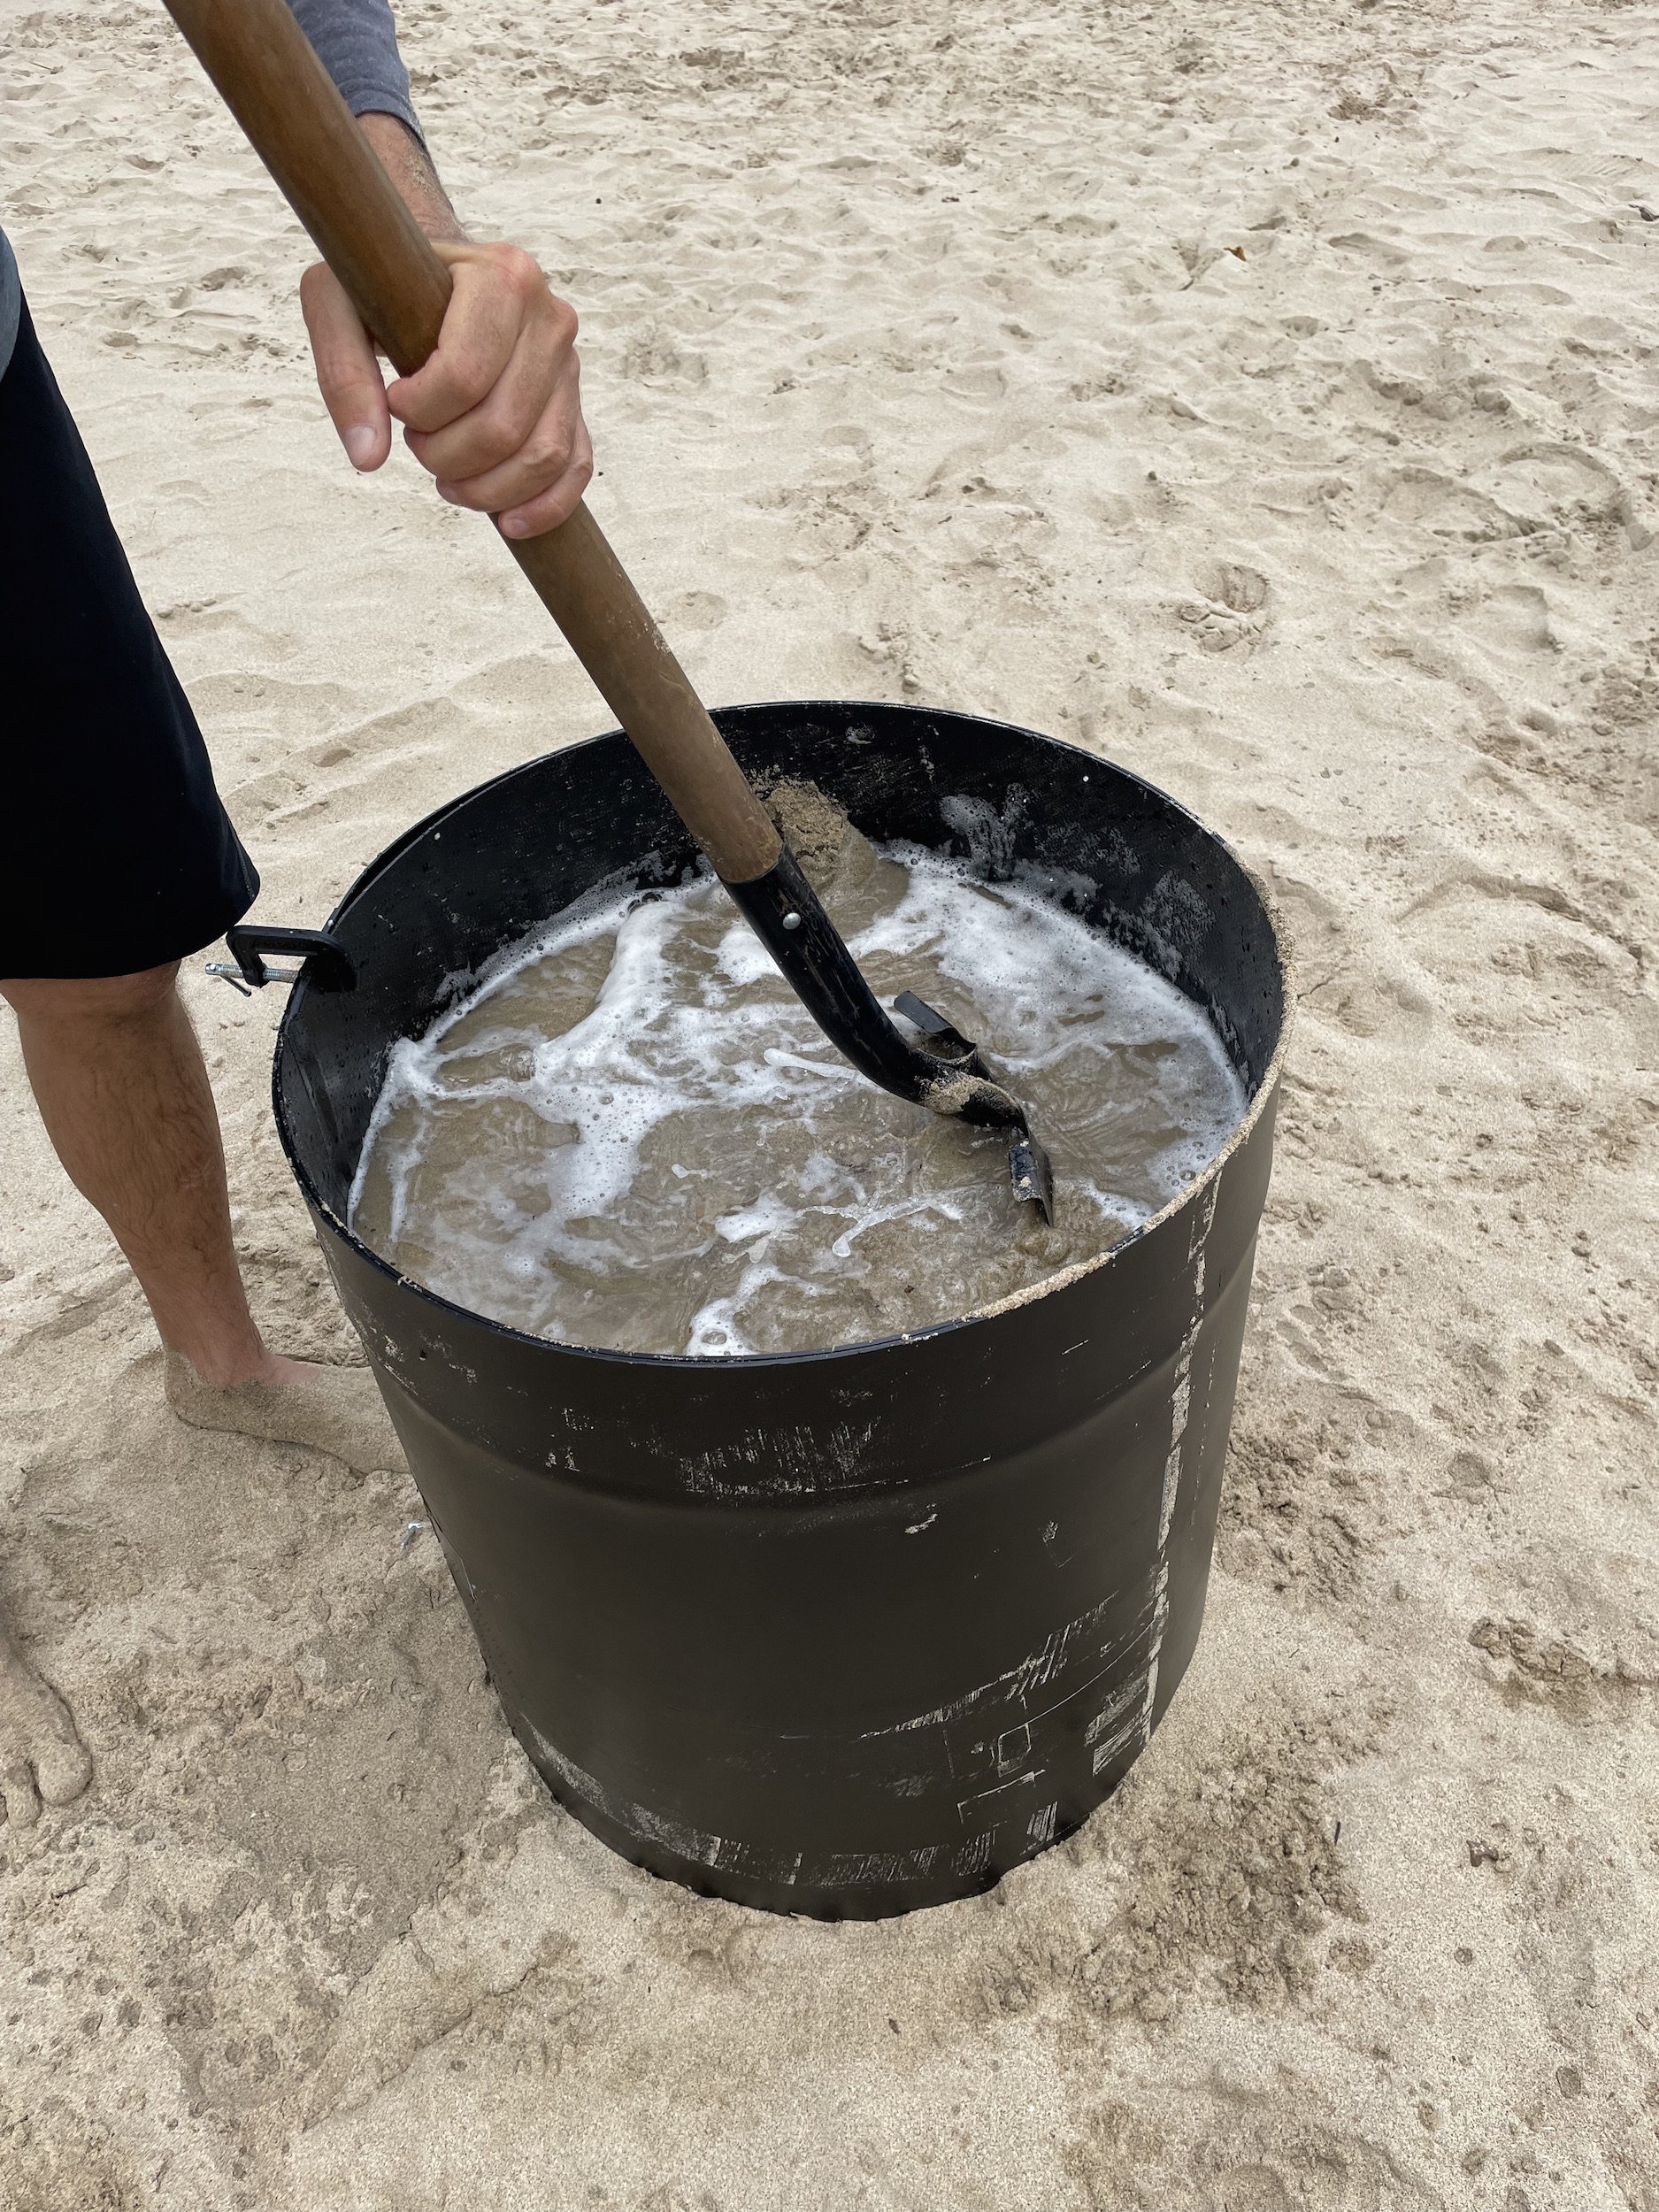
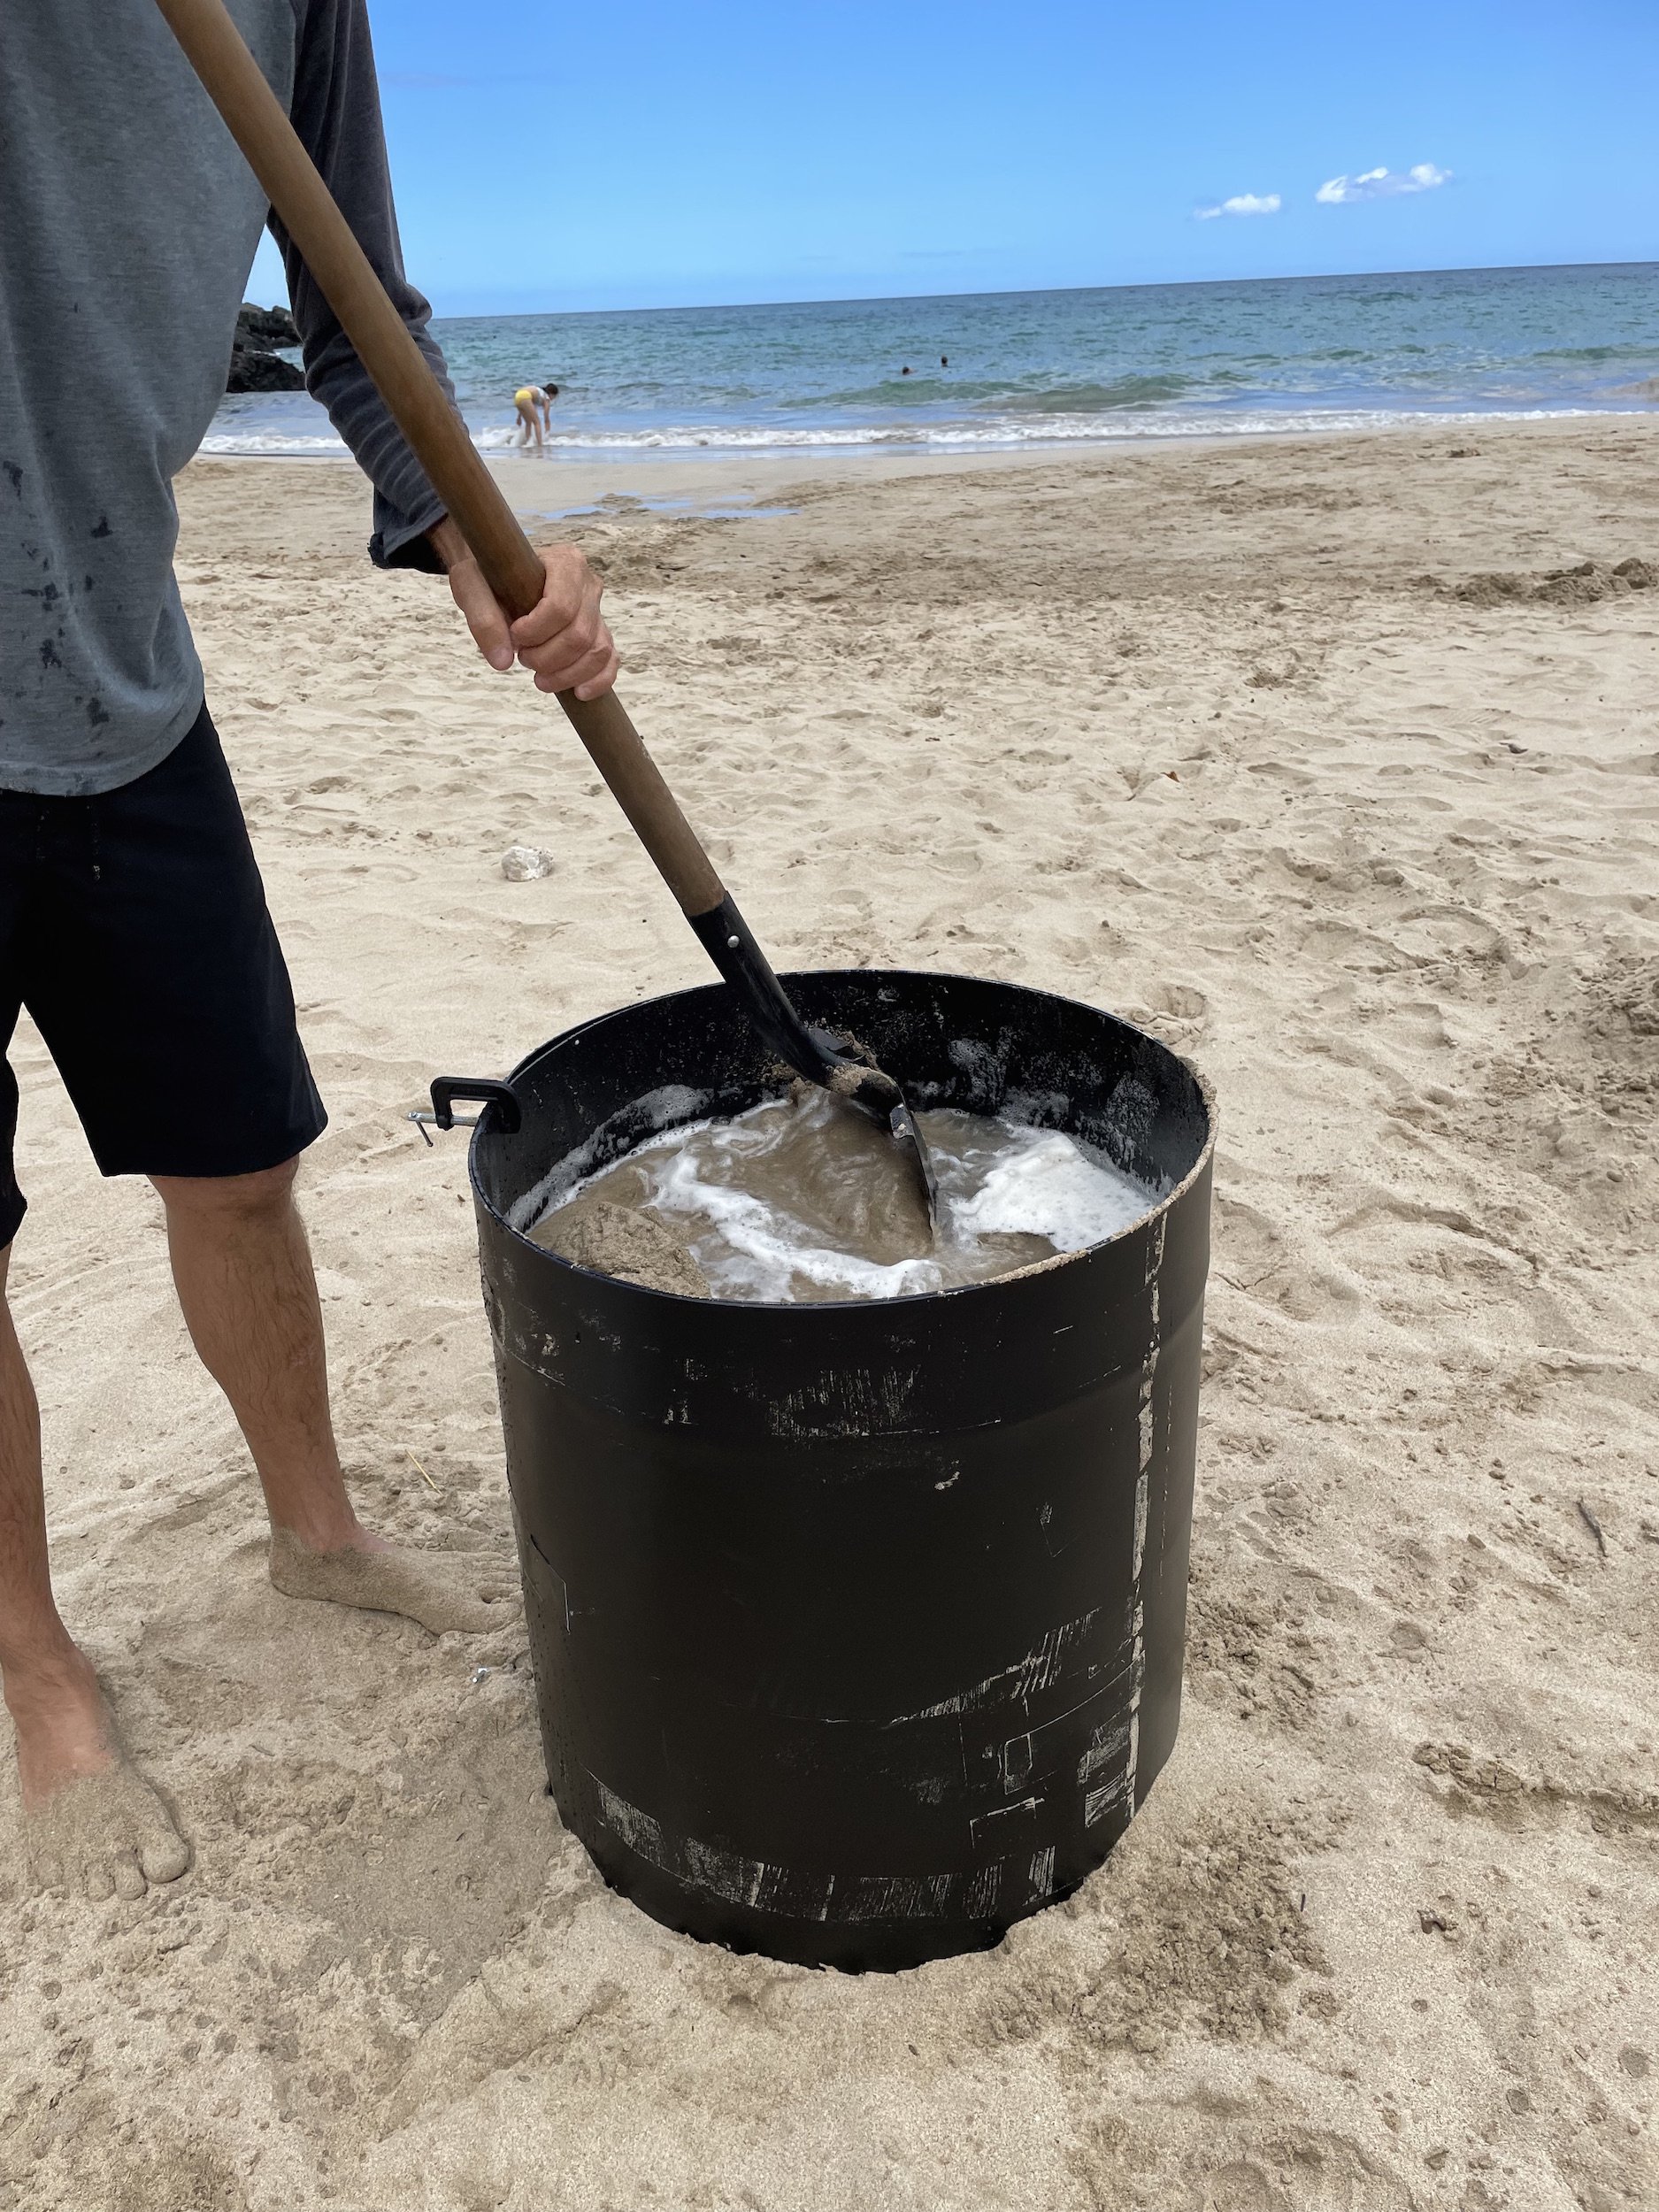
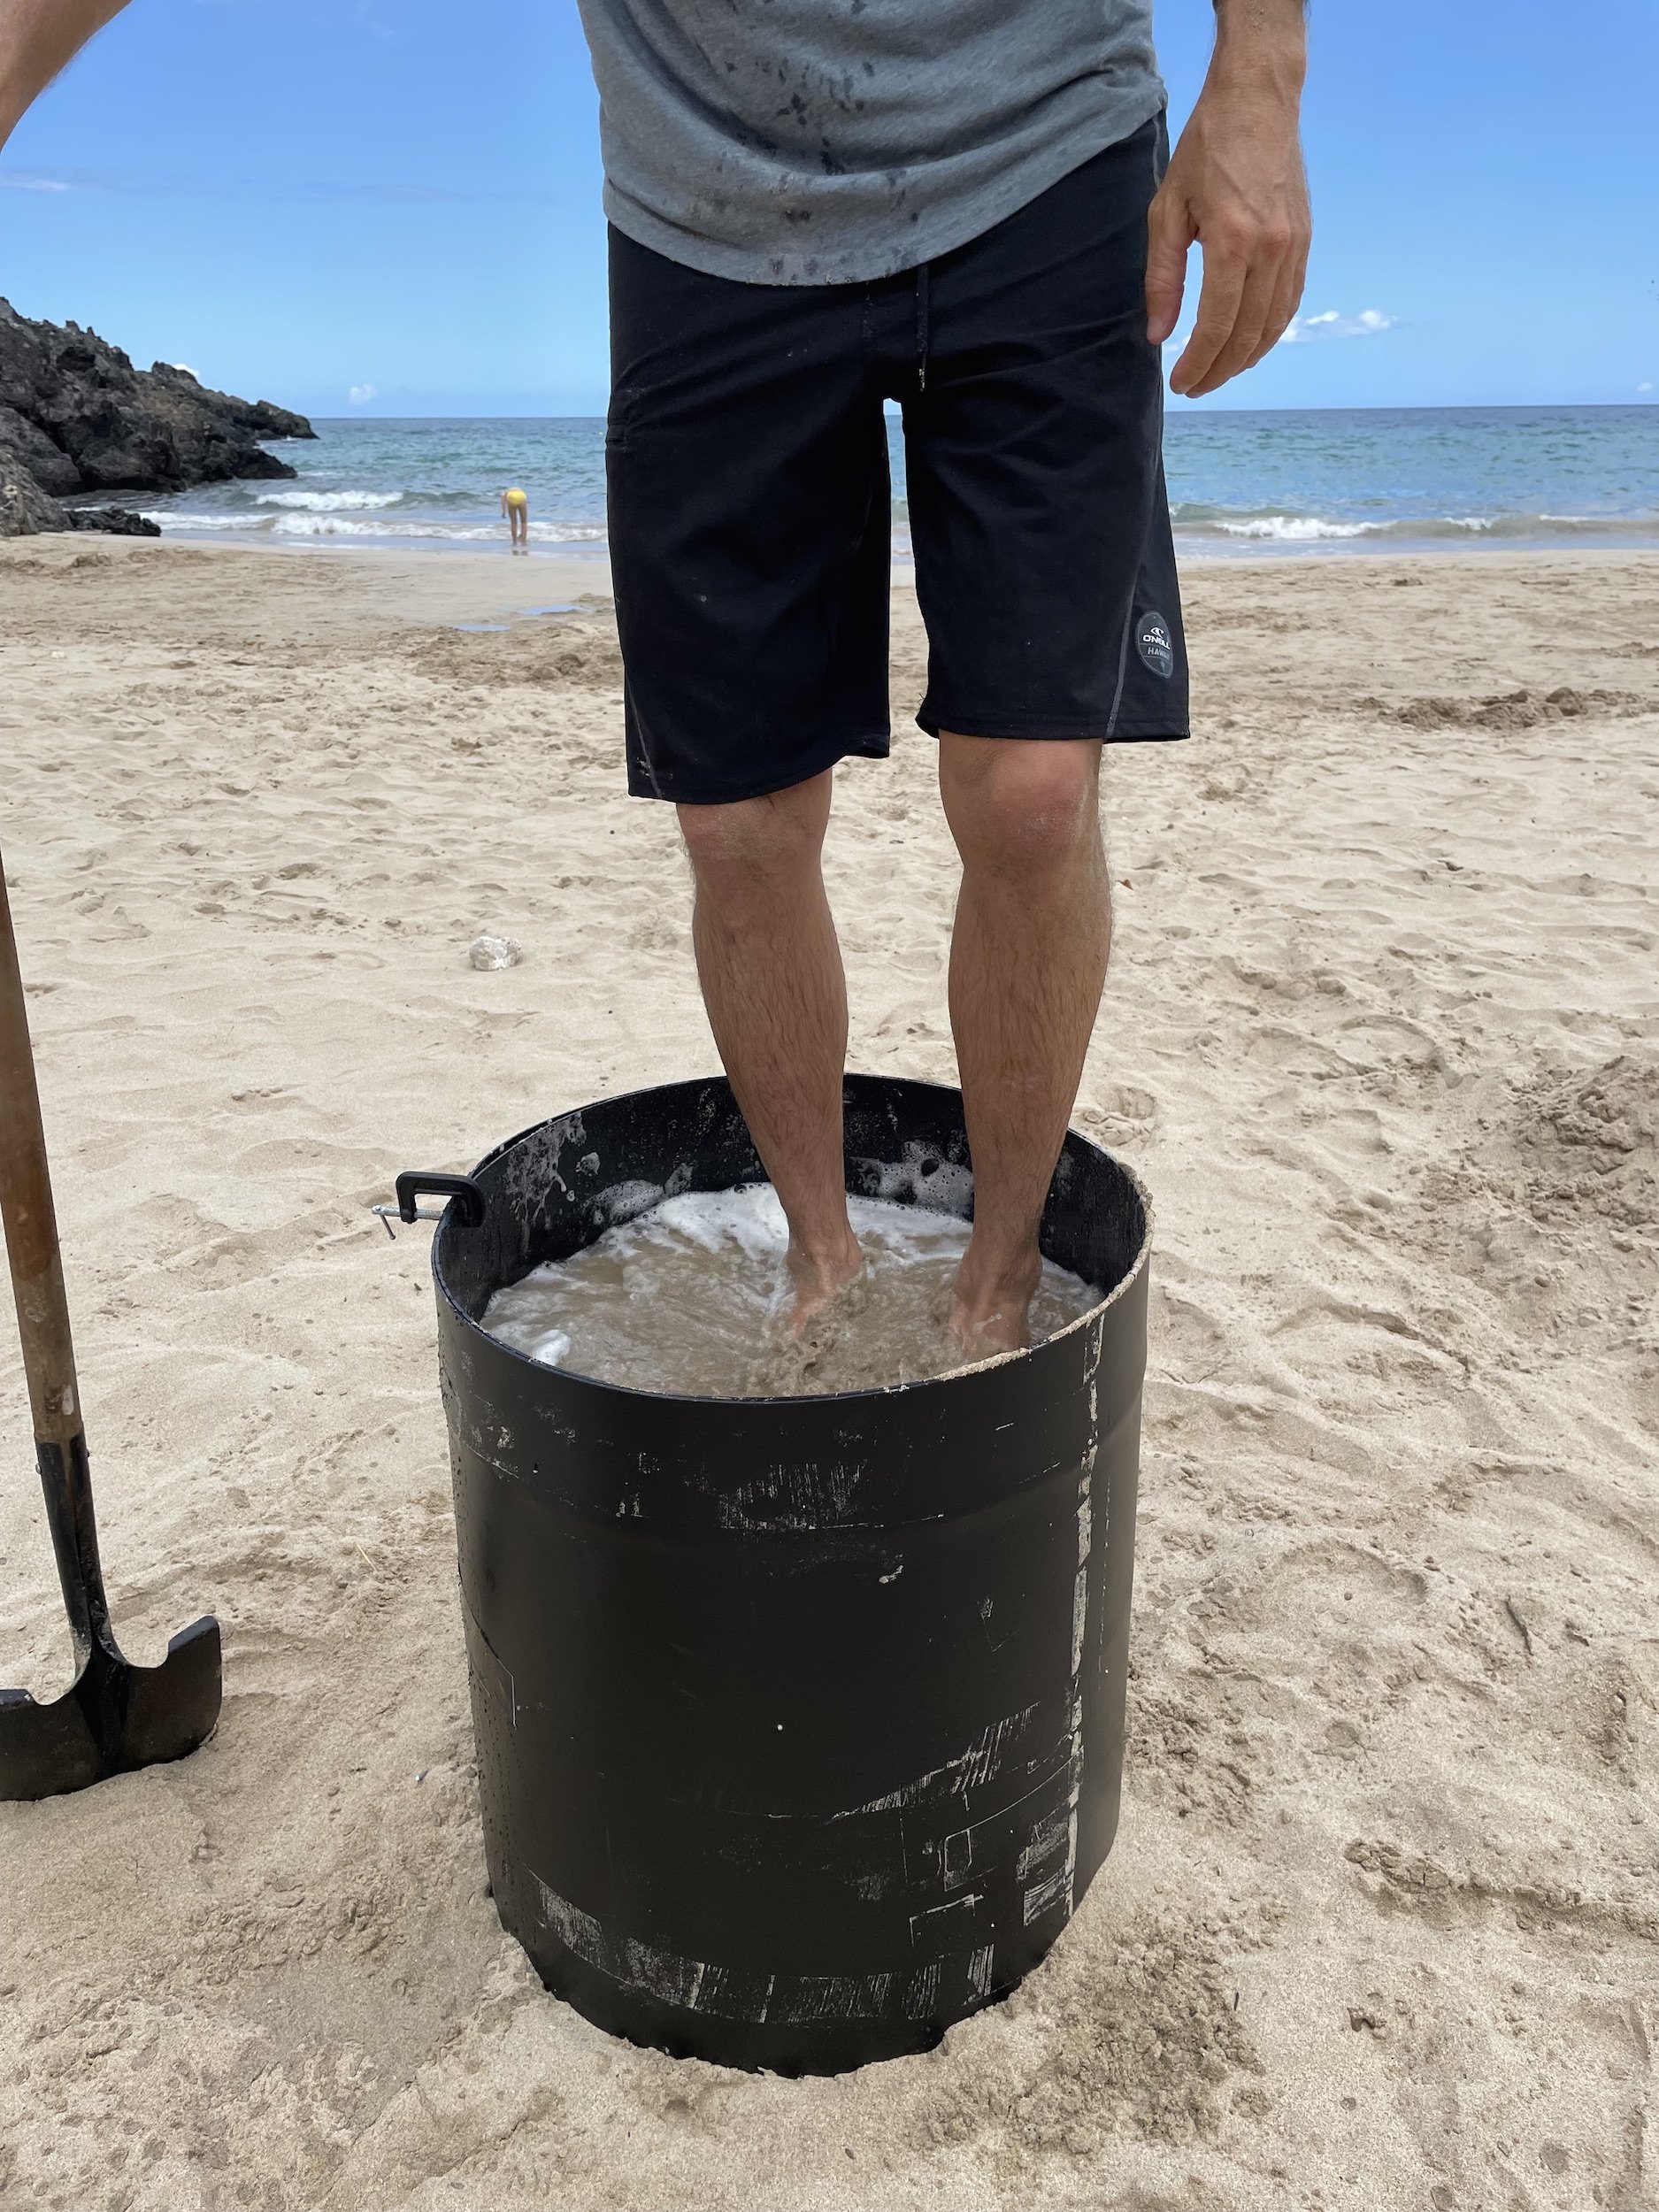
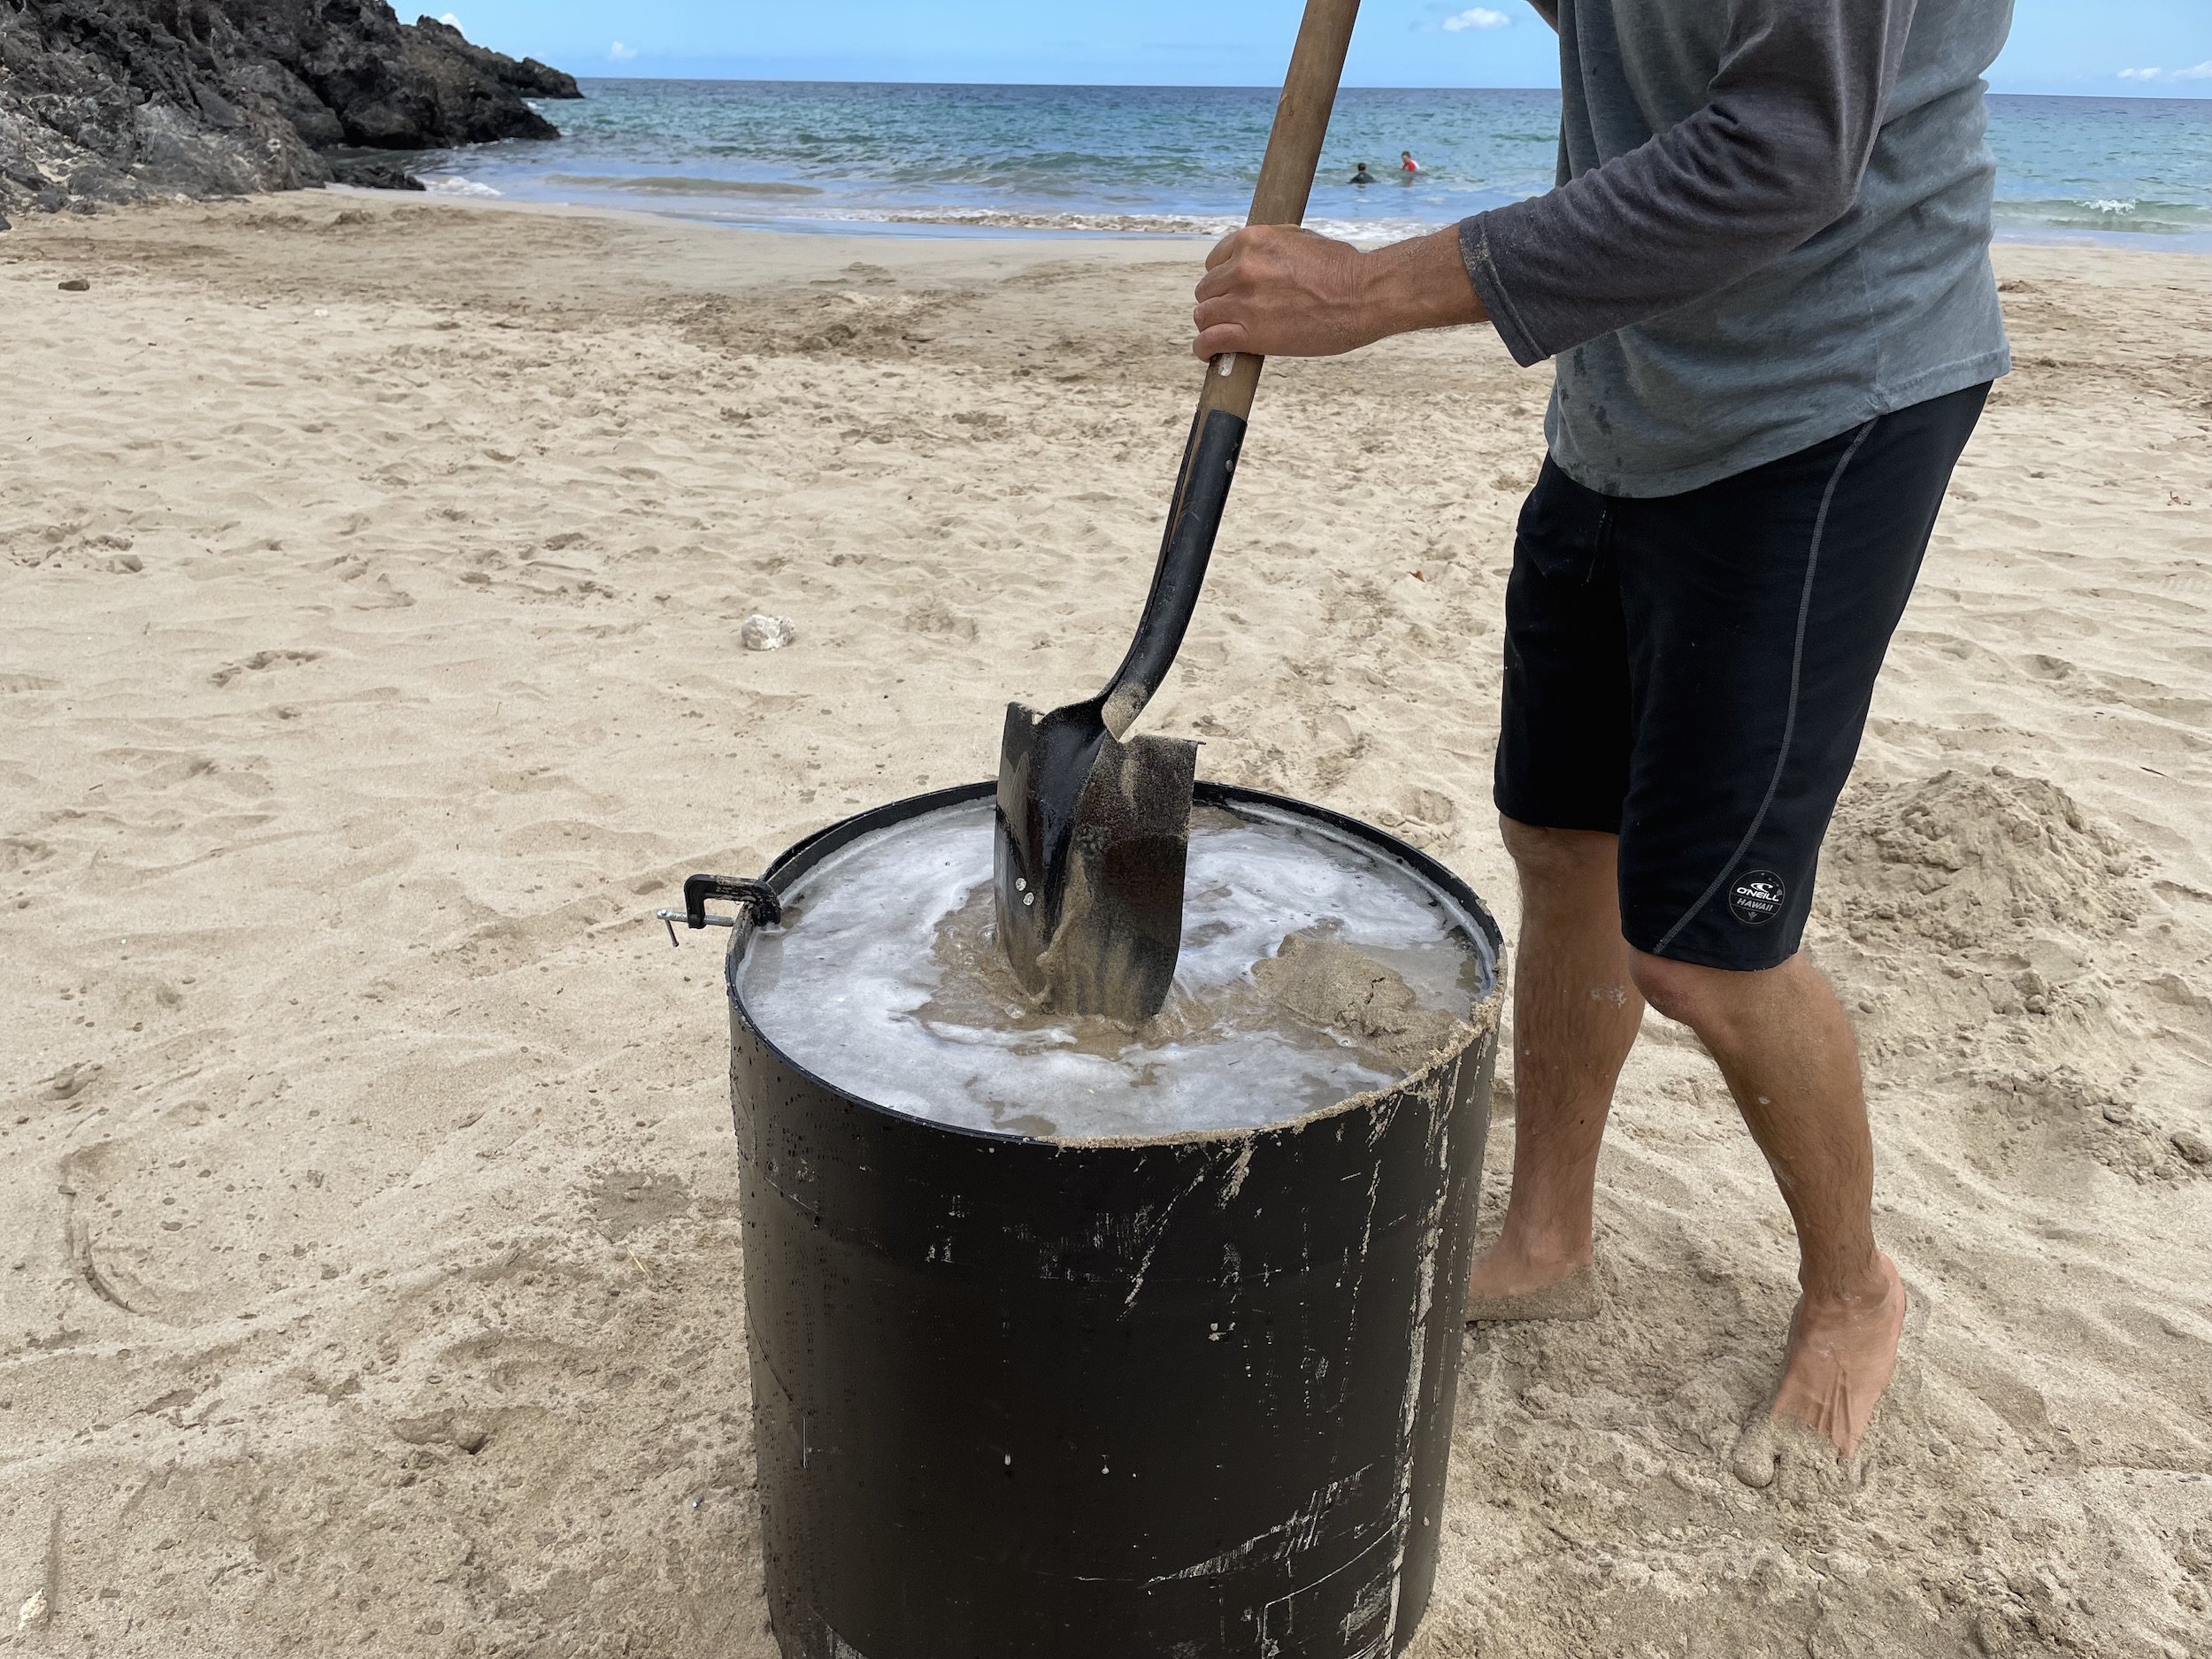
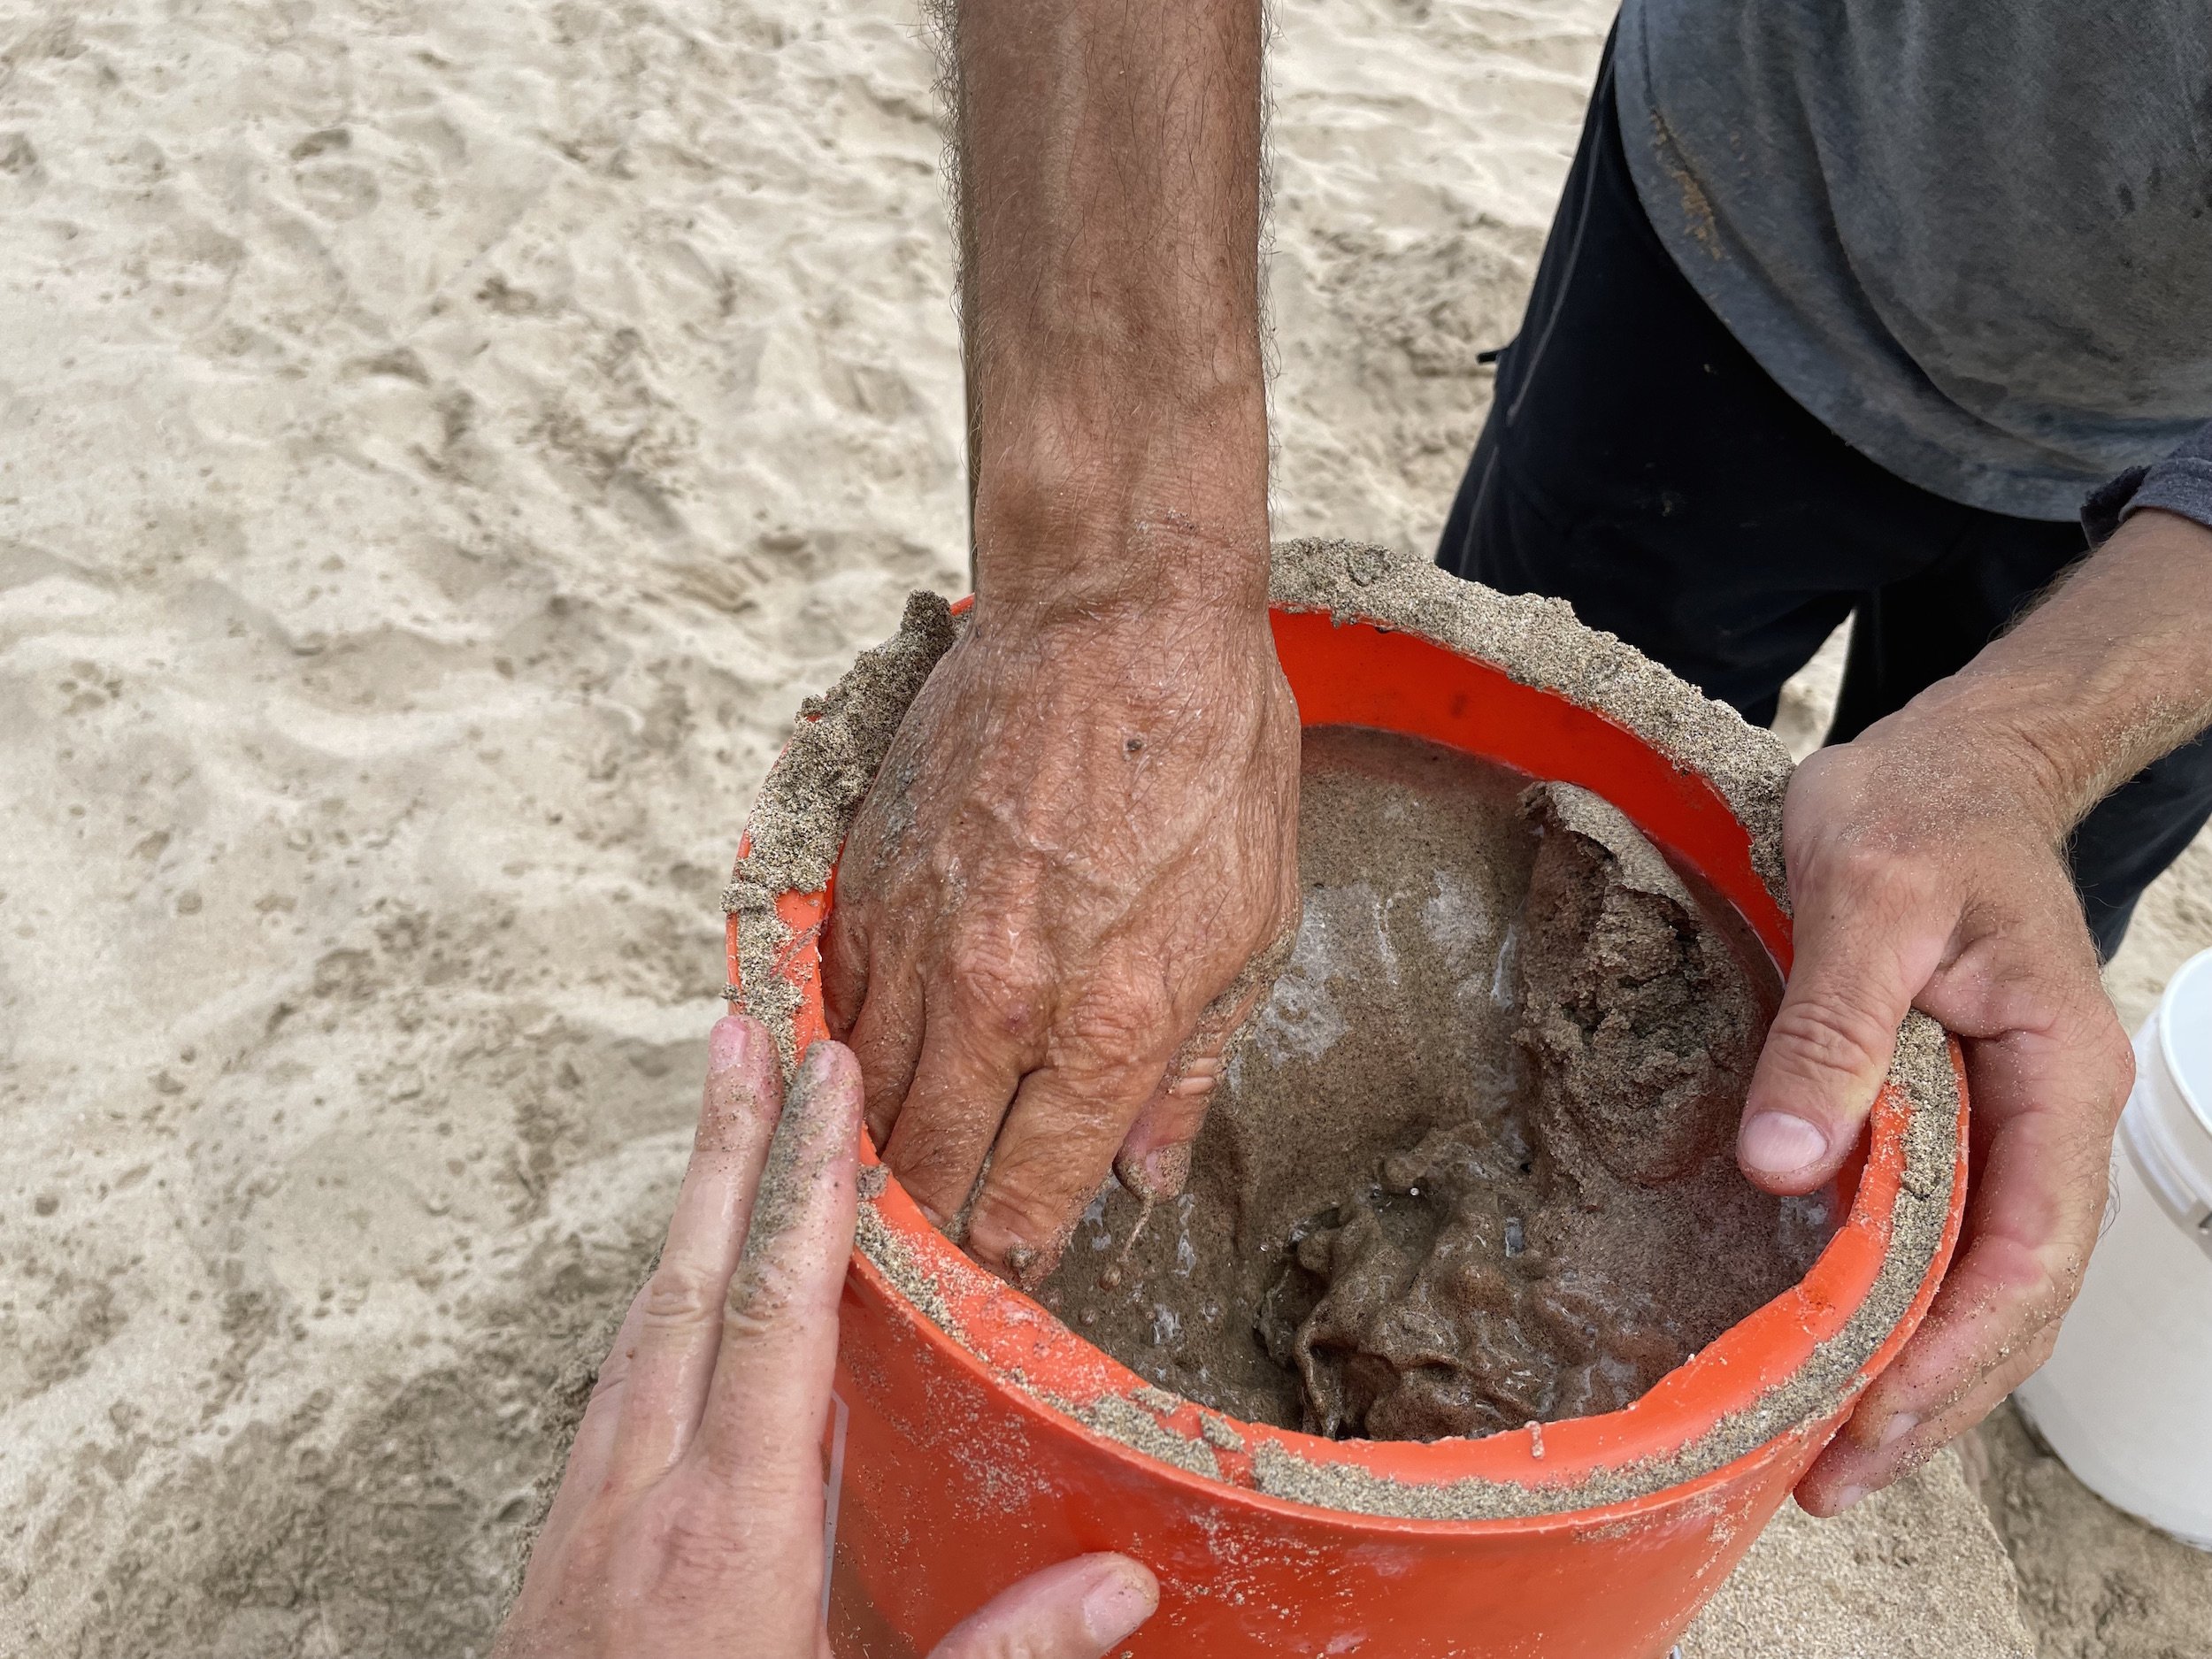
When your form starts to look like a swimming pool, it’s time to get in and ‘foot-walk’ it out. Your weight compressing the sand and your feet stomping it down helps to compact it. Use a shovel to help stir the wet sand to help get all those nasty air bubbles out. “Air bubbles no good, Hulk smash air bubbles!!!” -The Hulk

Rinse and repeat…
Simply repeat these exact same steps to filling up the first 6 inches until the form is topped off! Easy peasy.

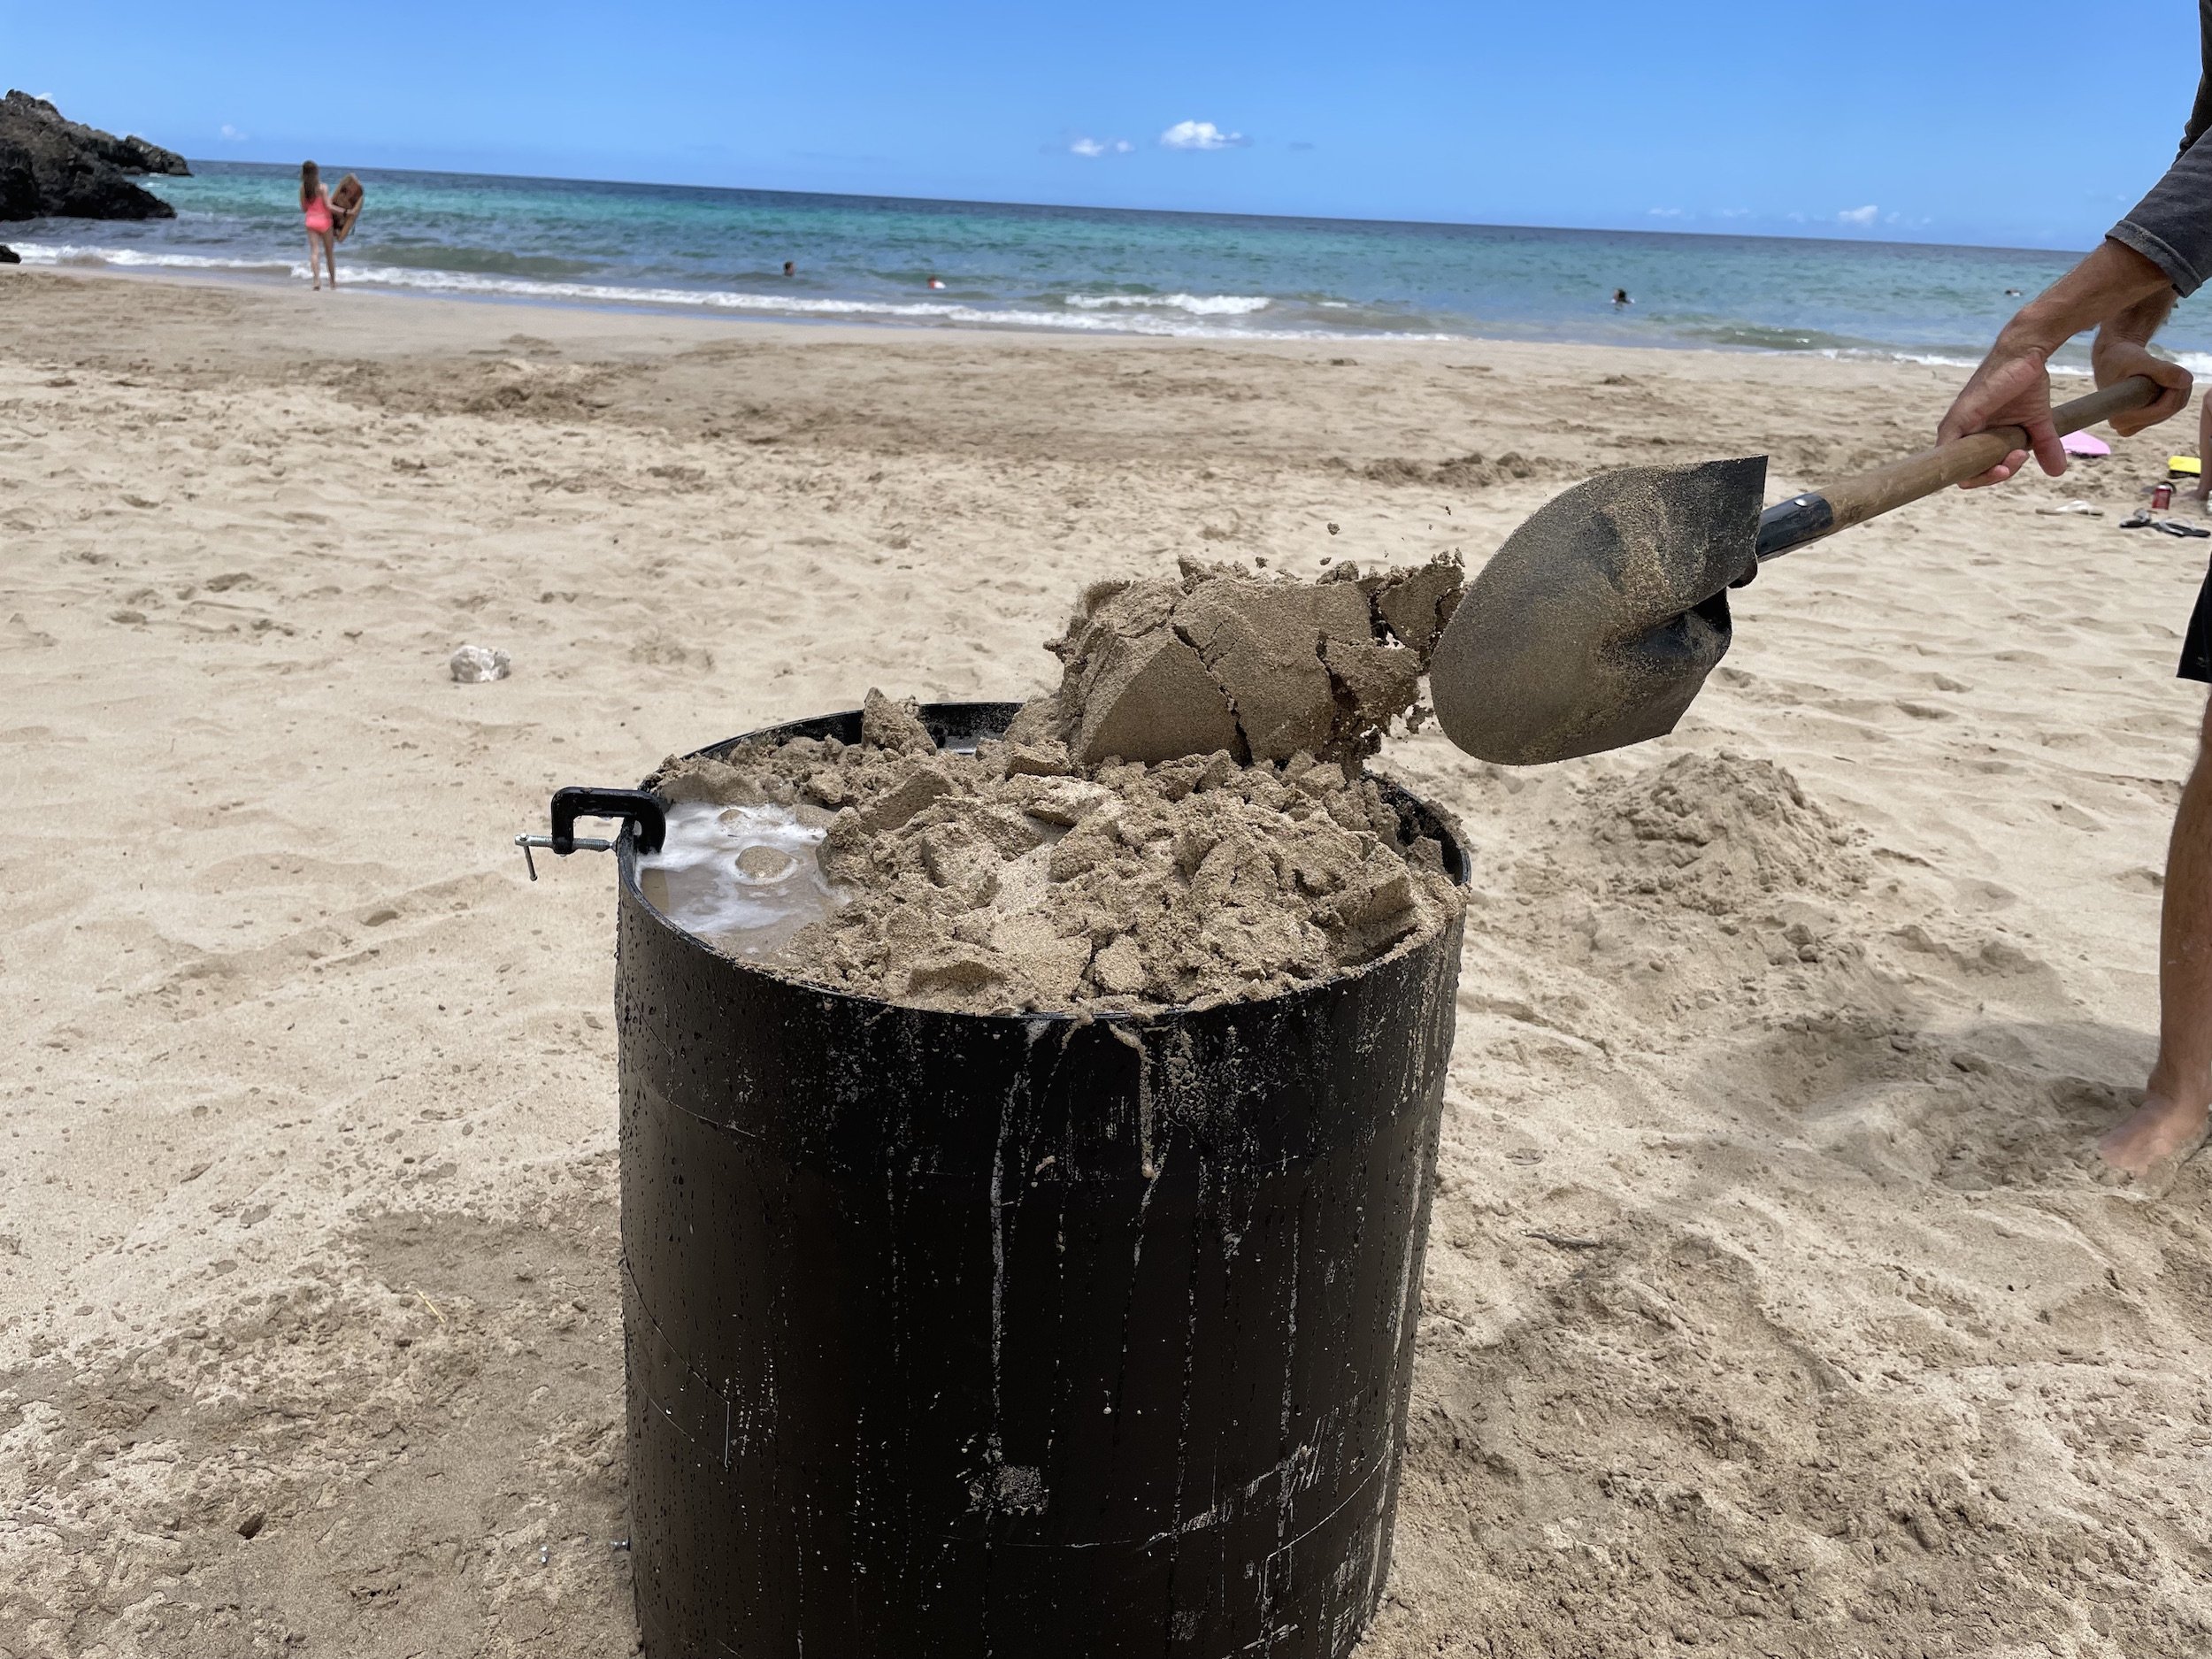
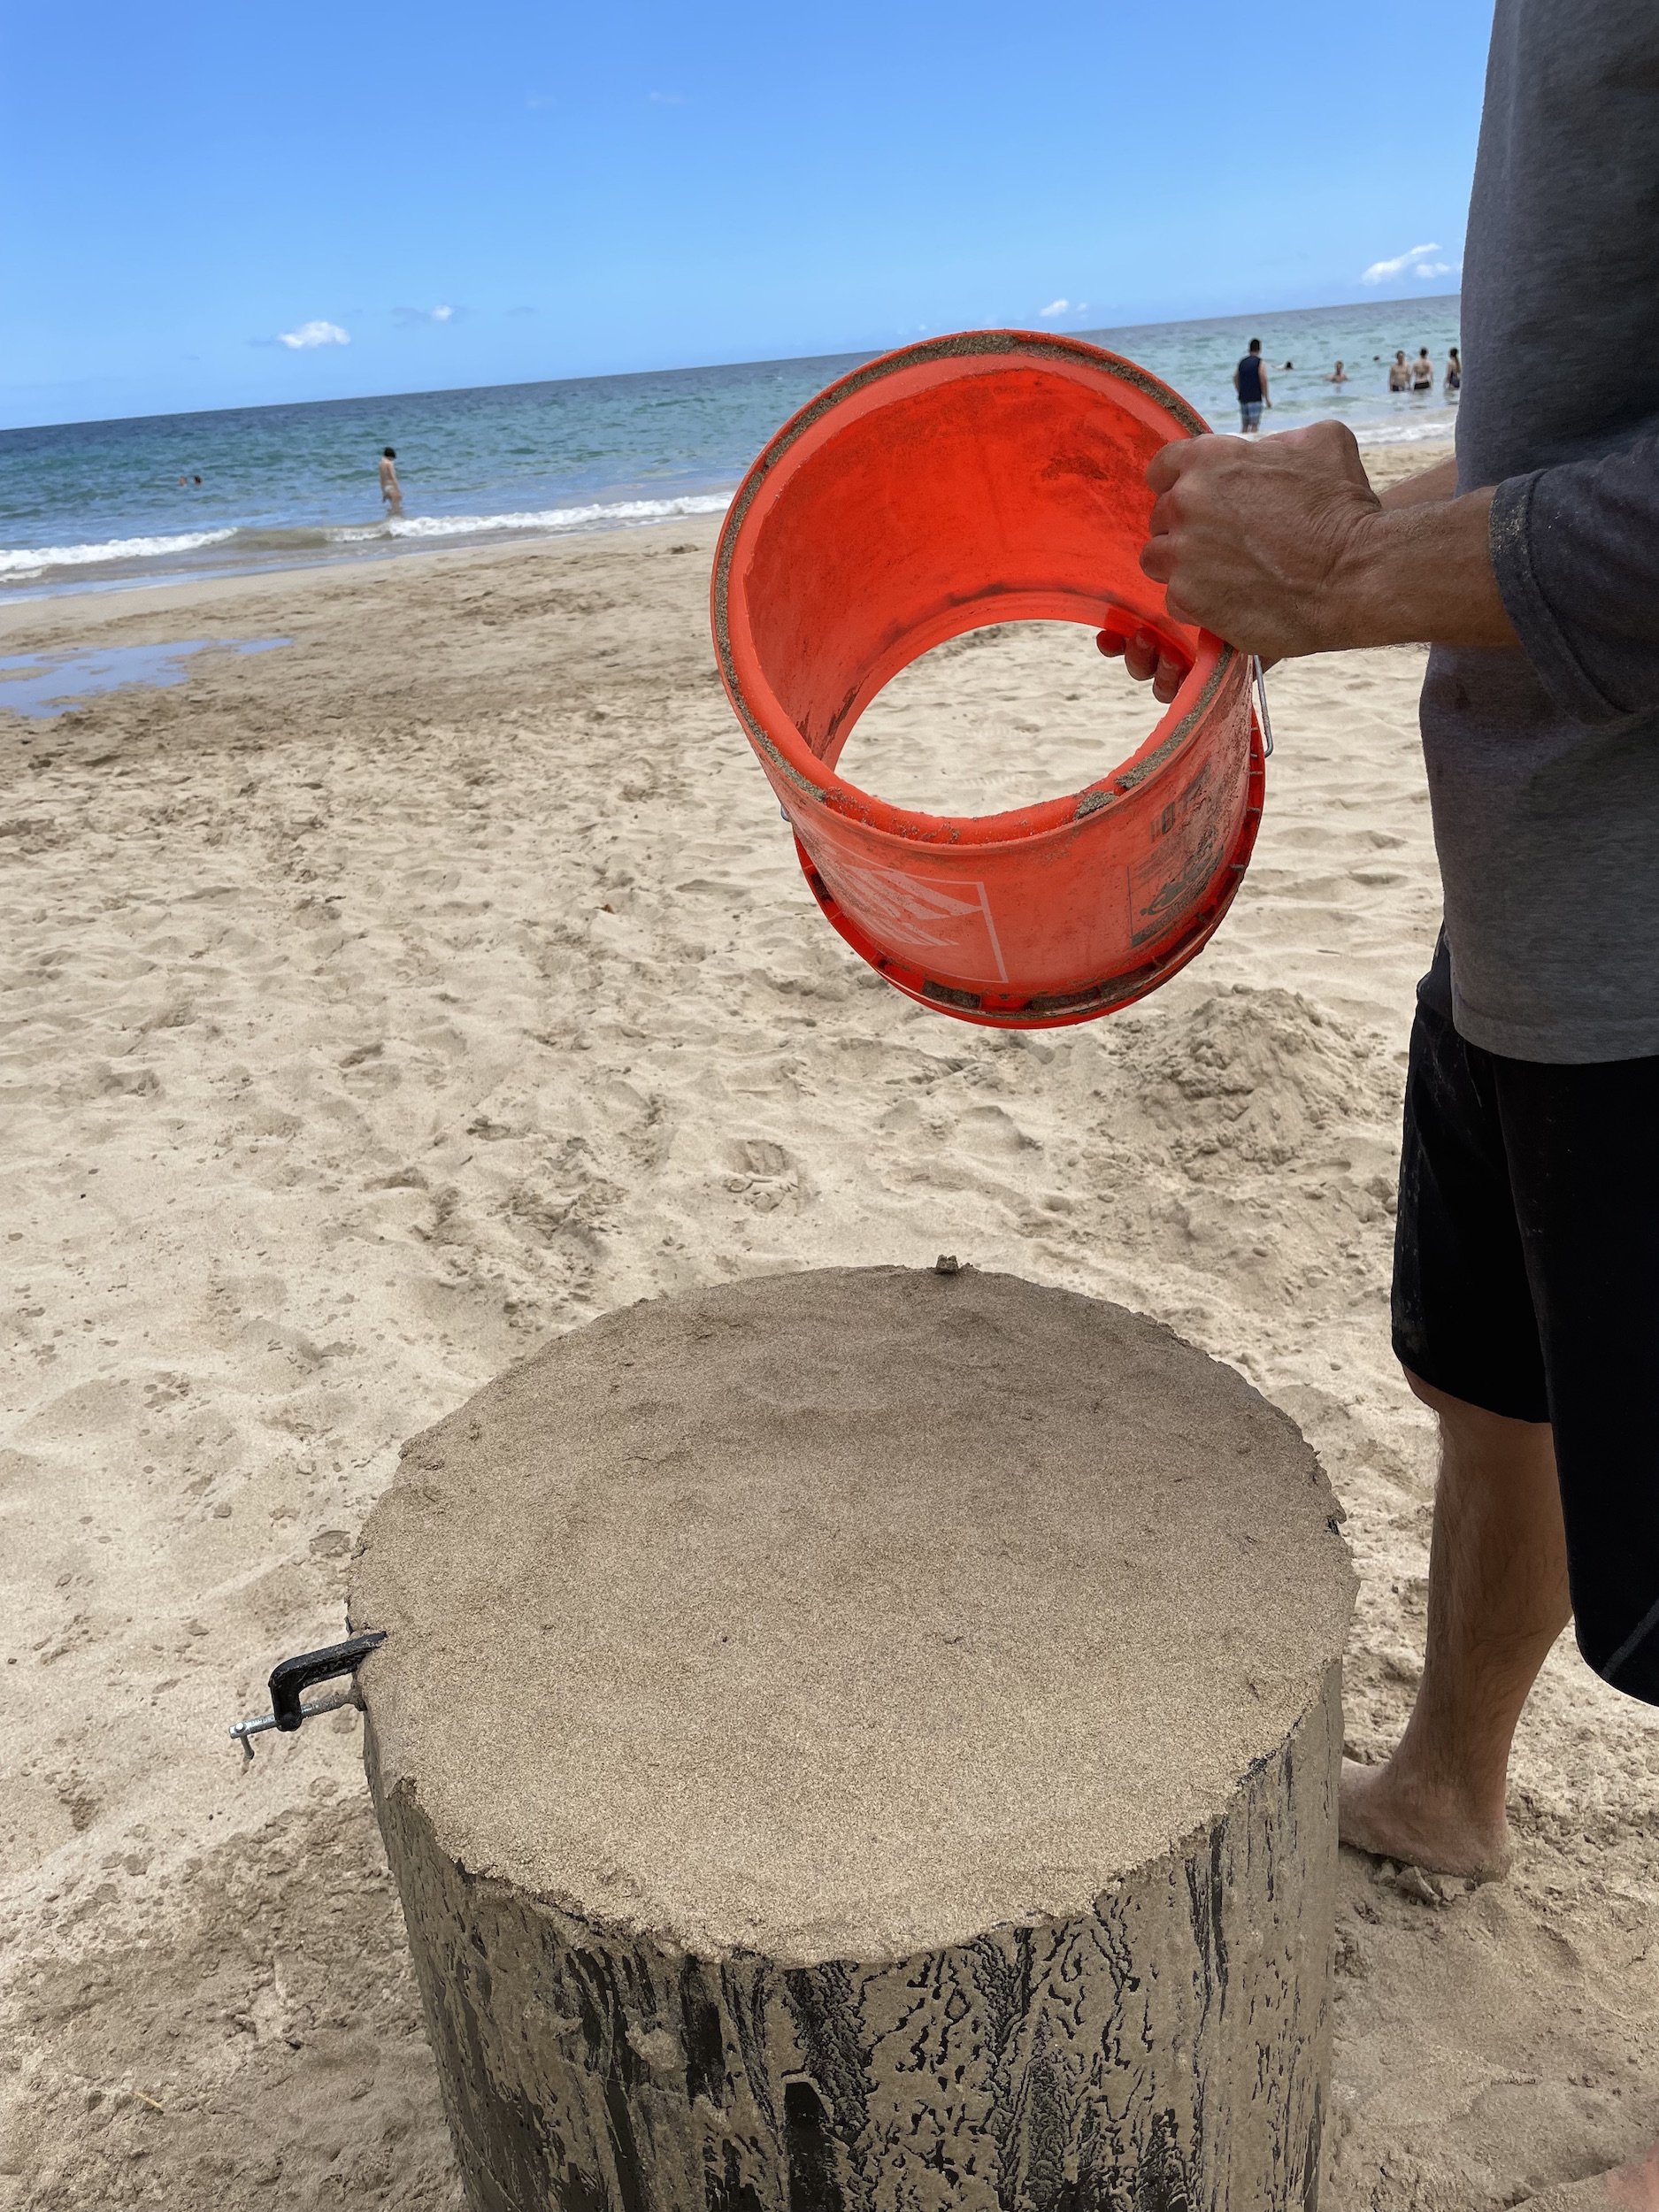
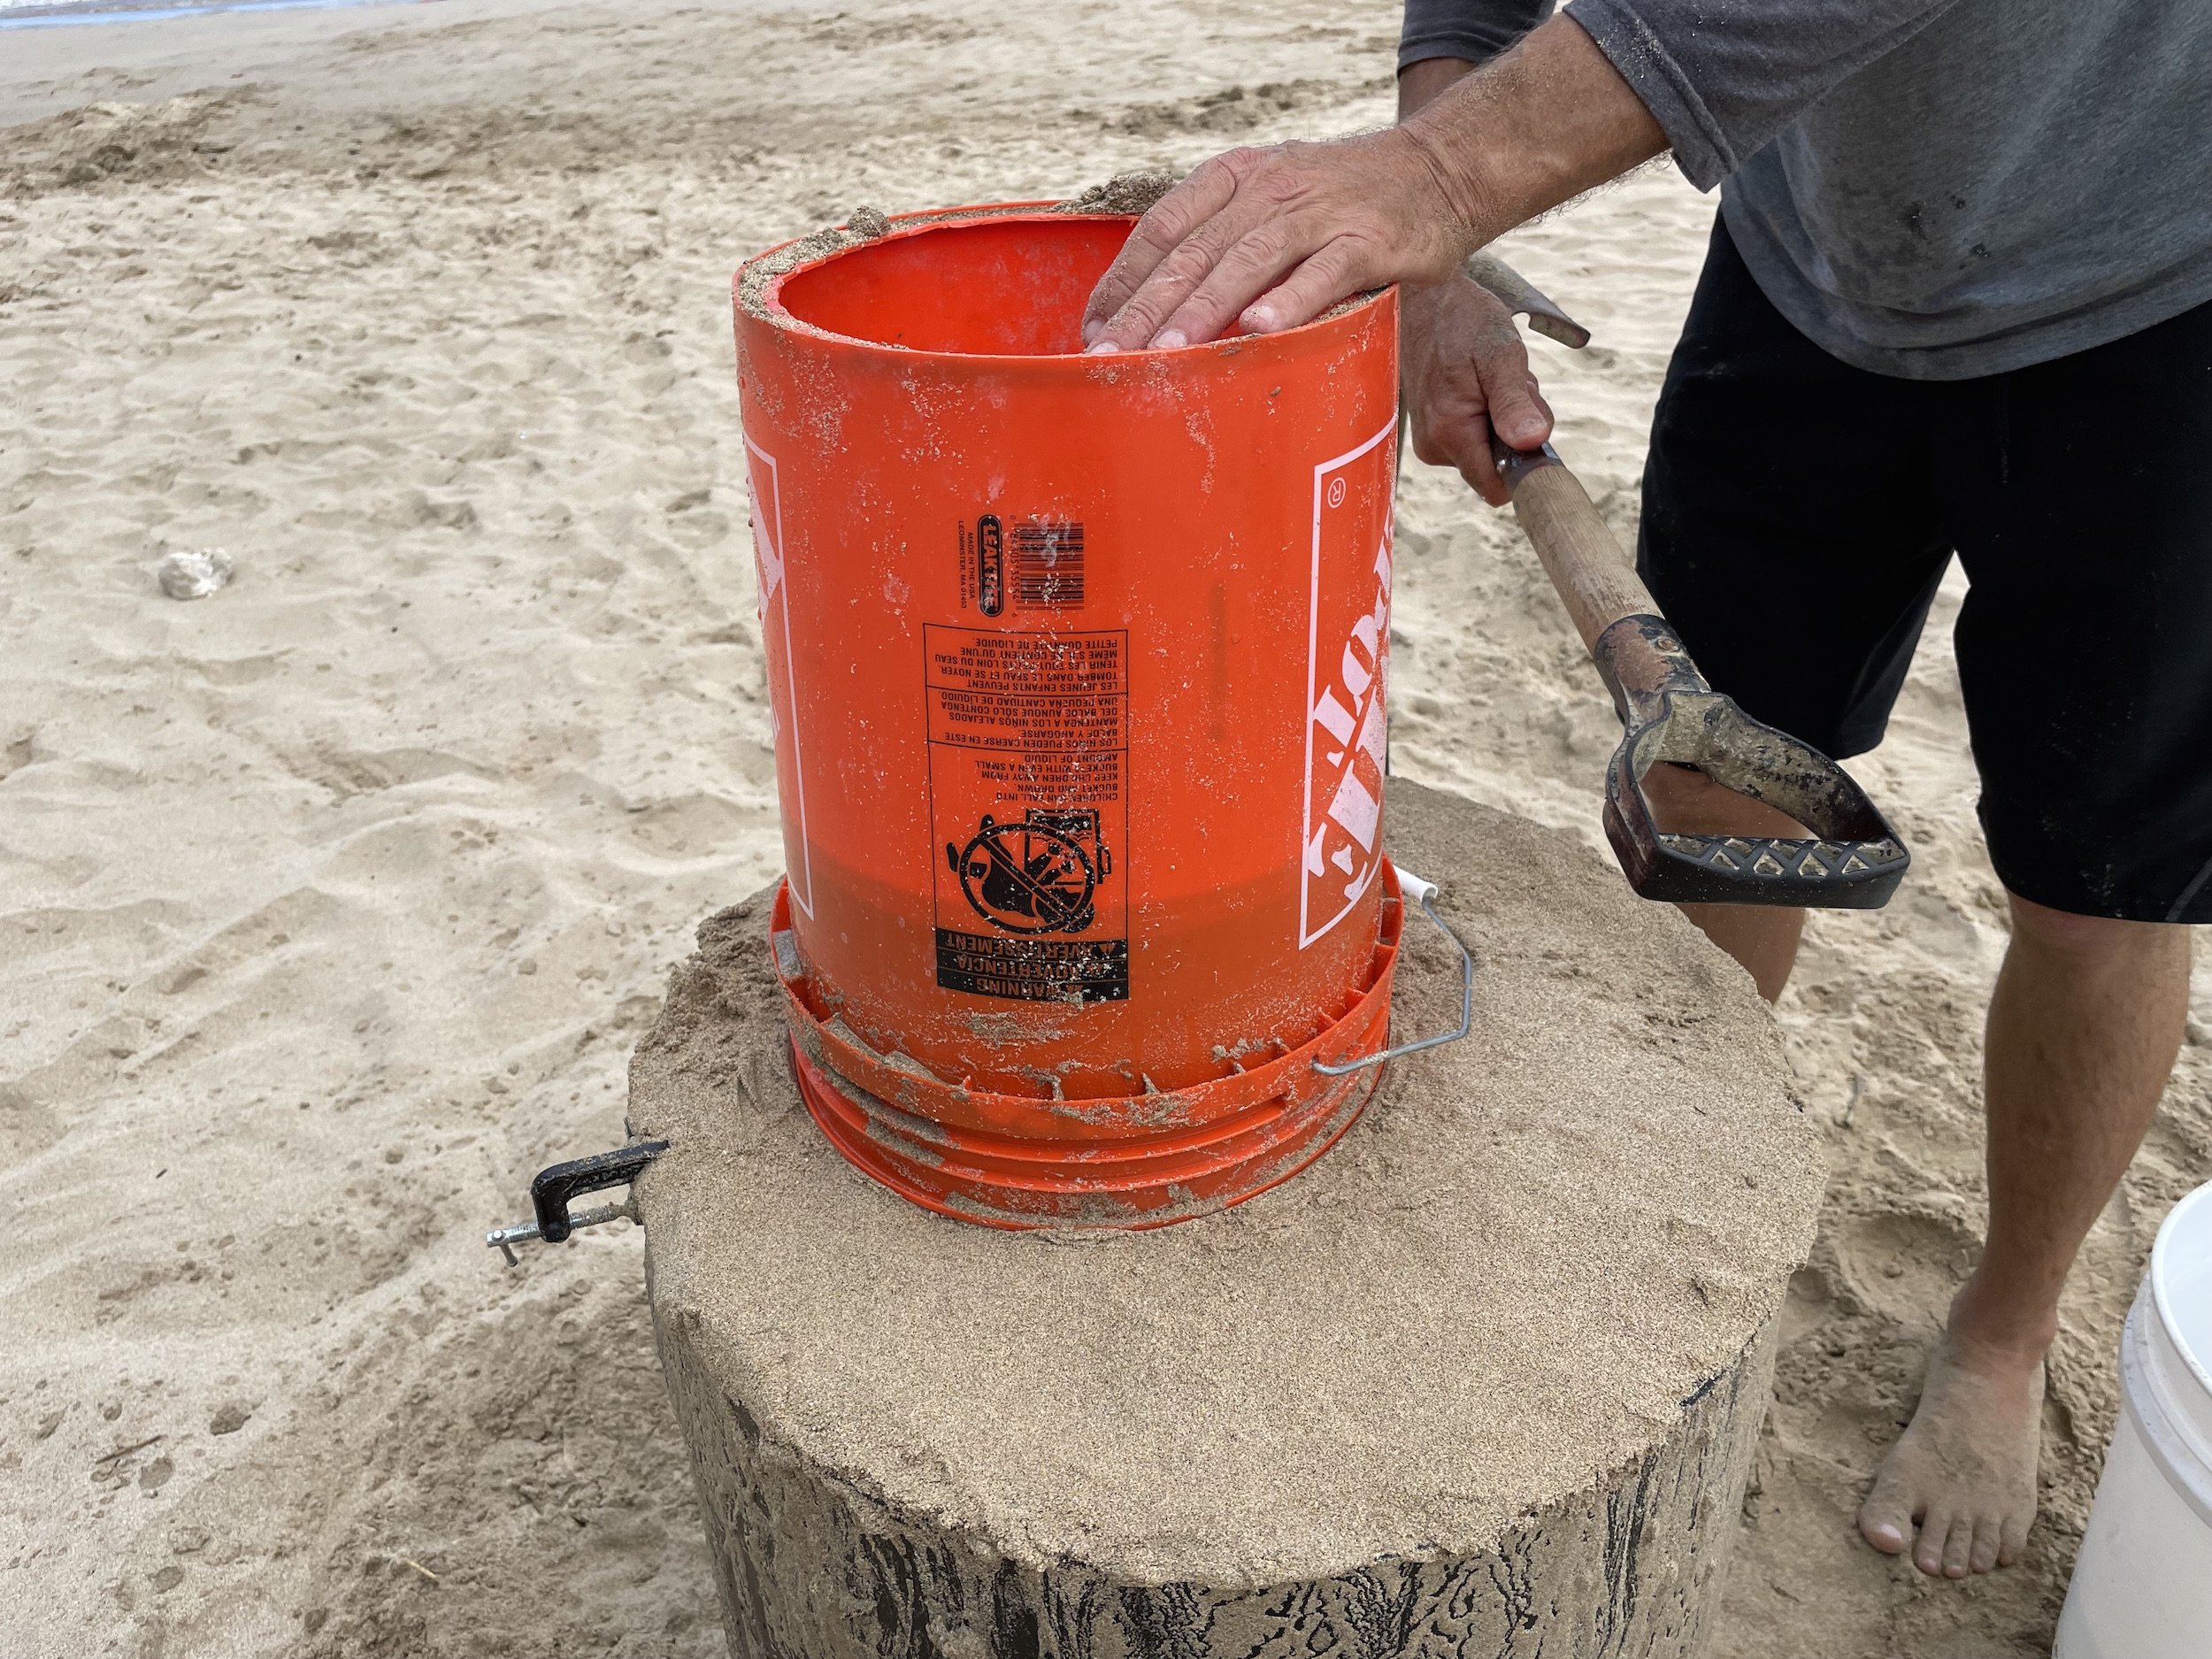
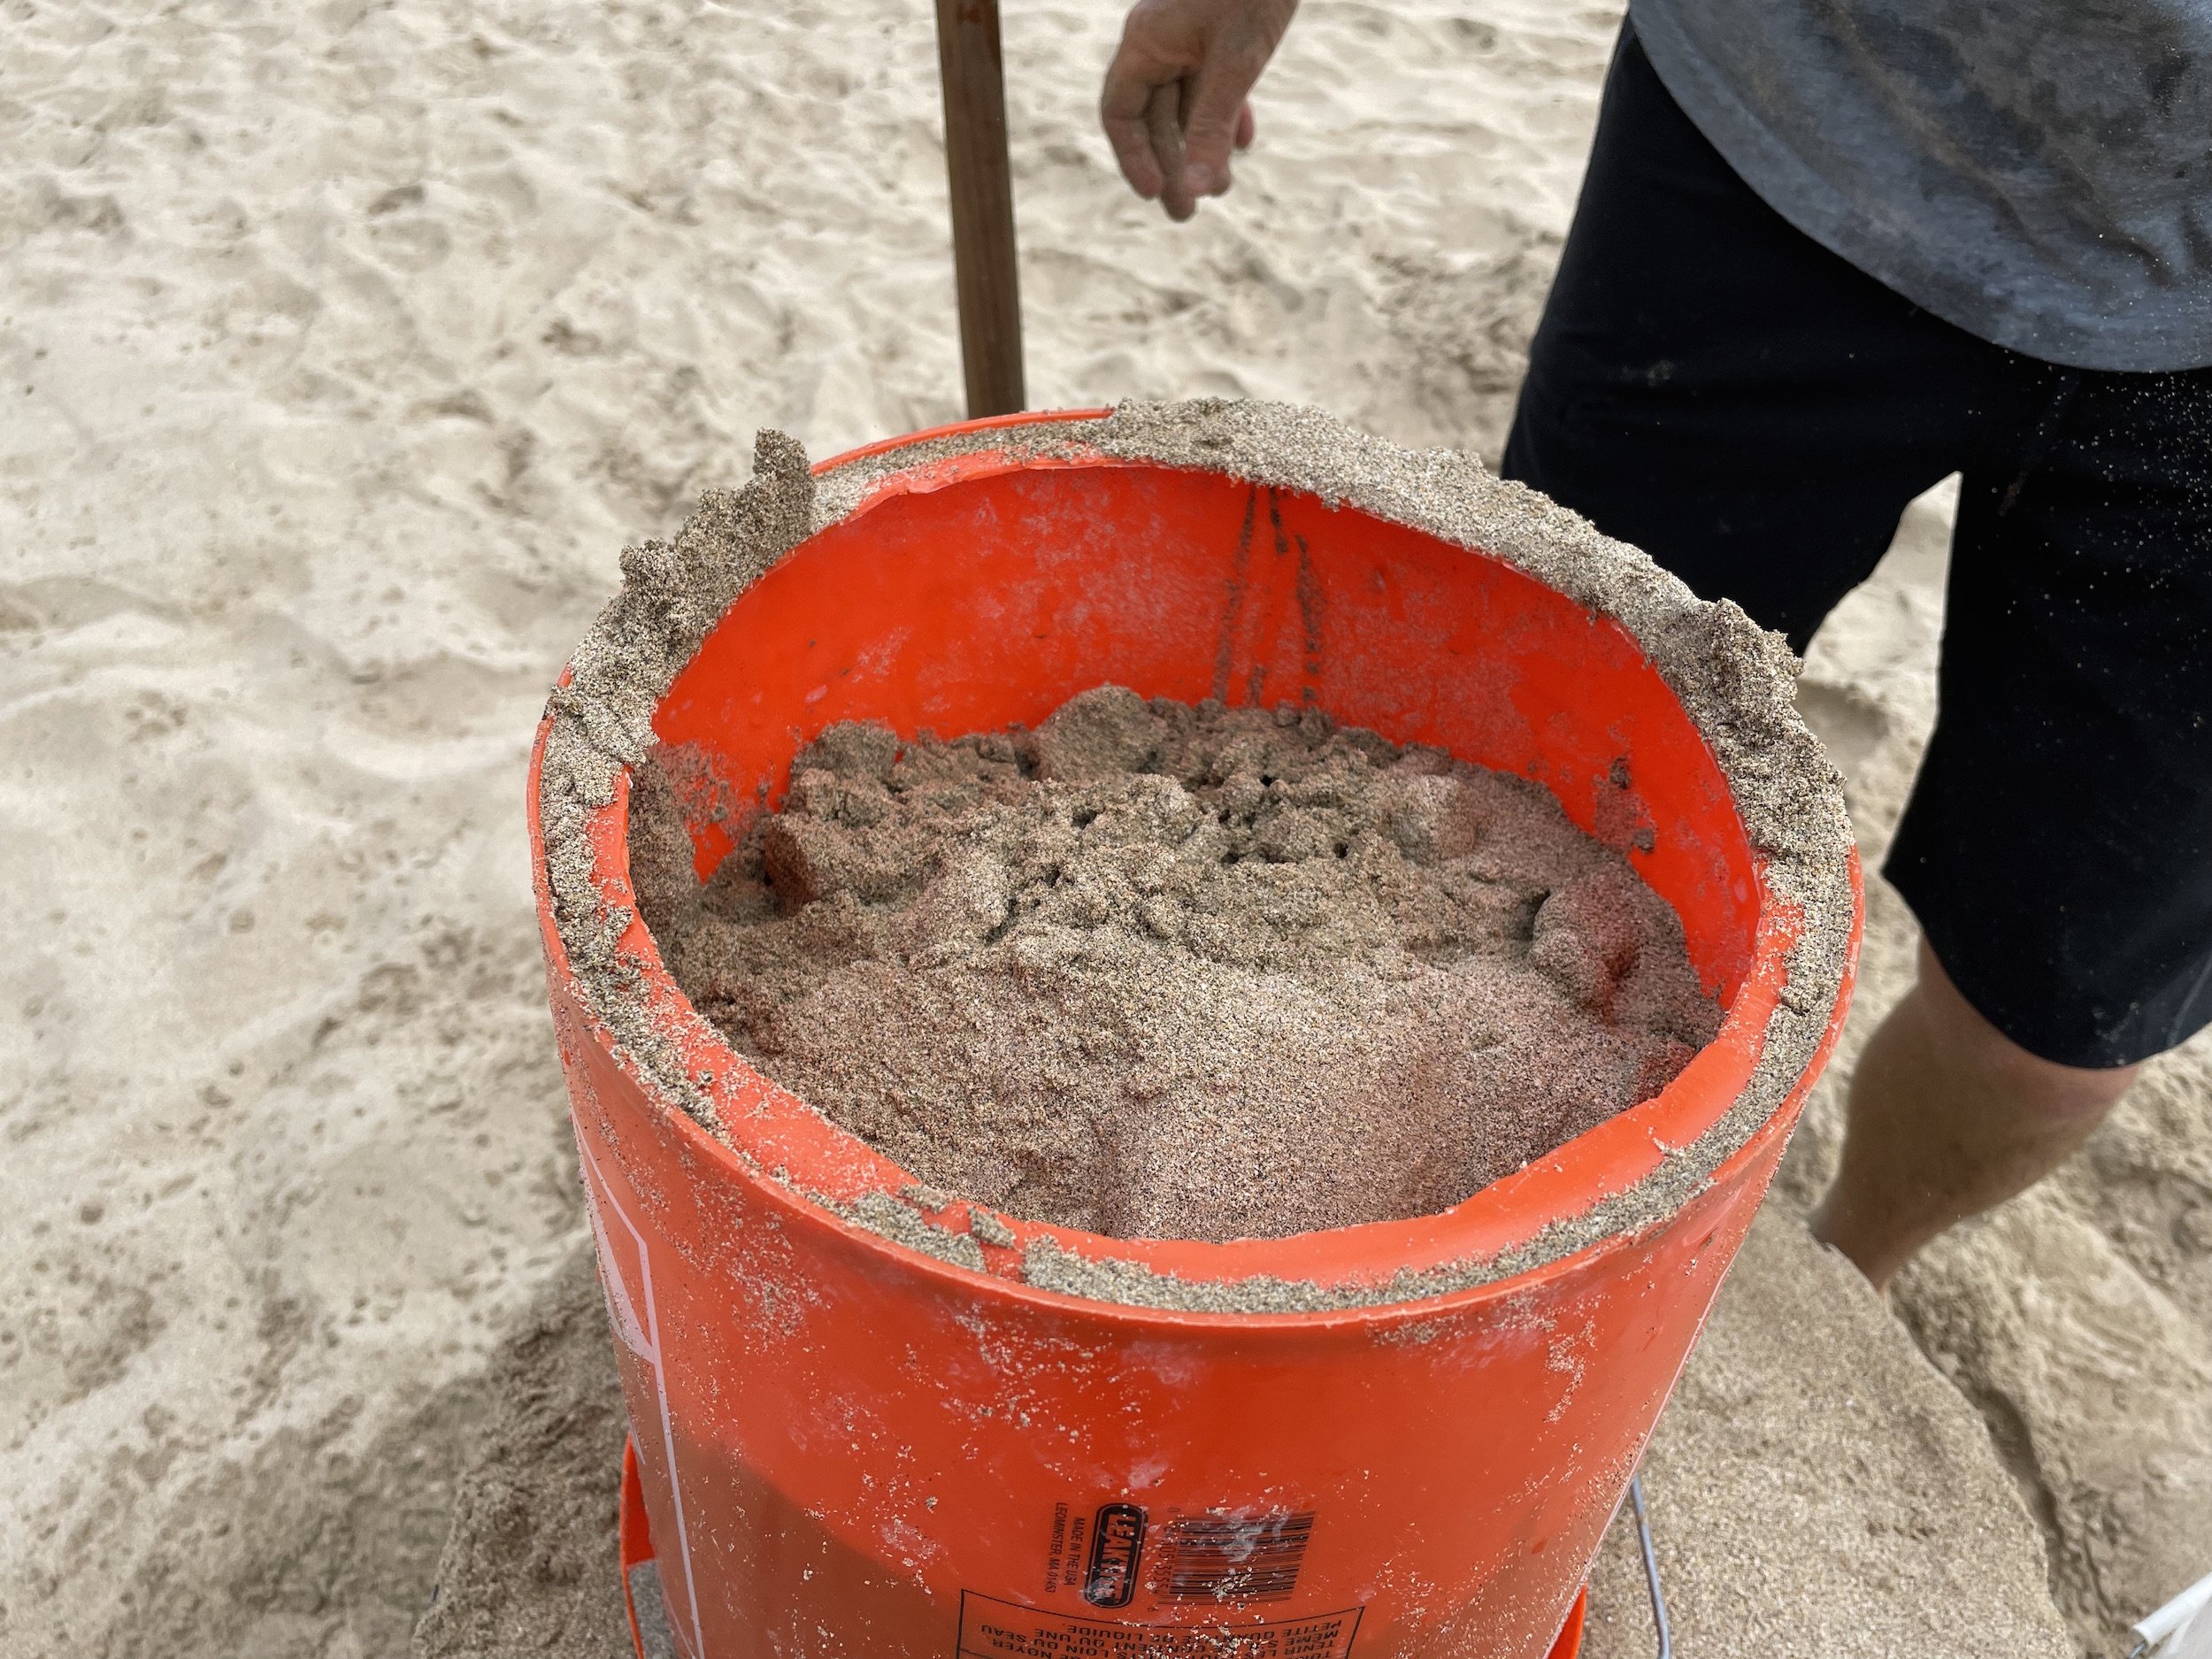
Adding a second form…
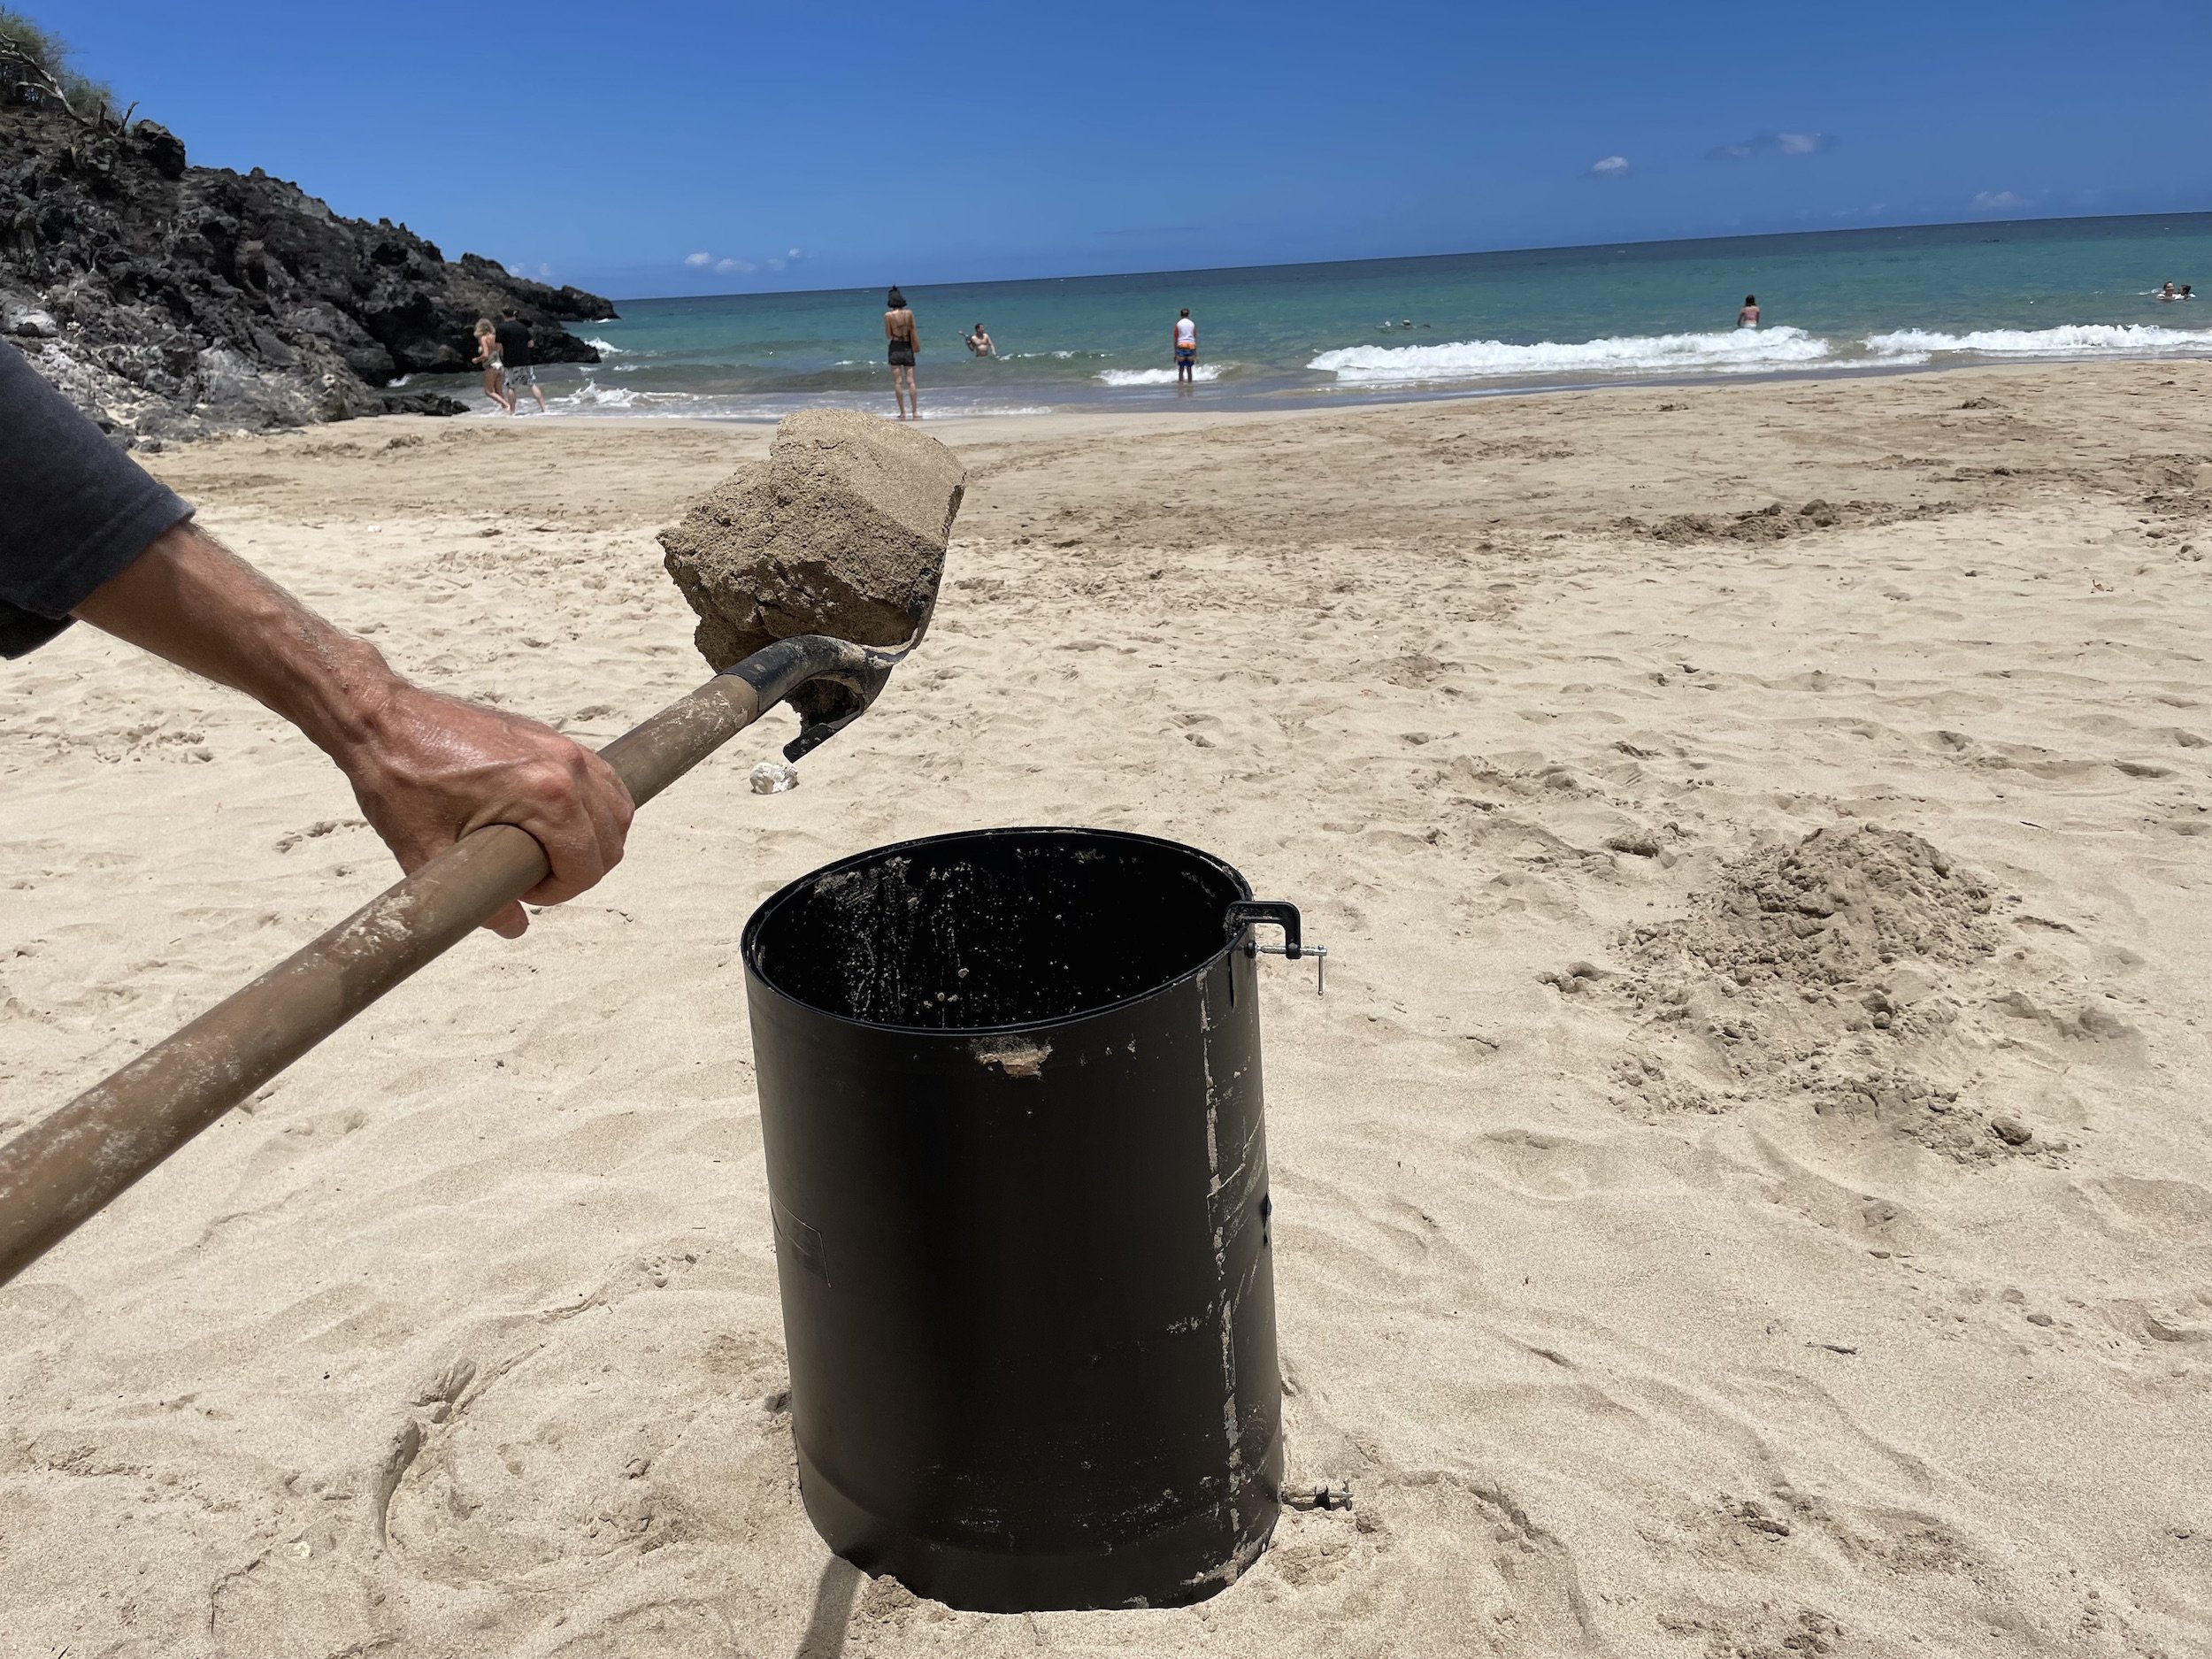
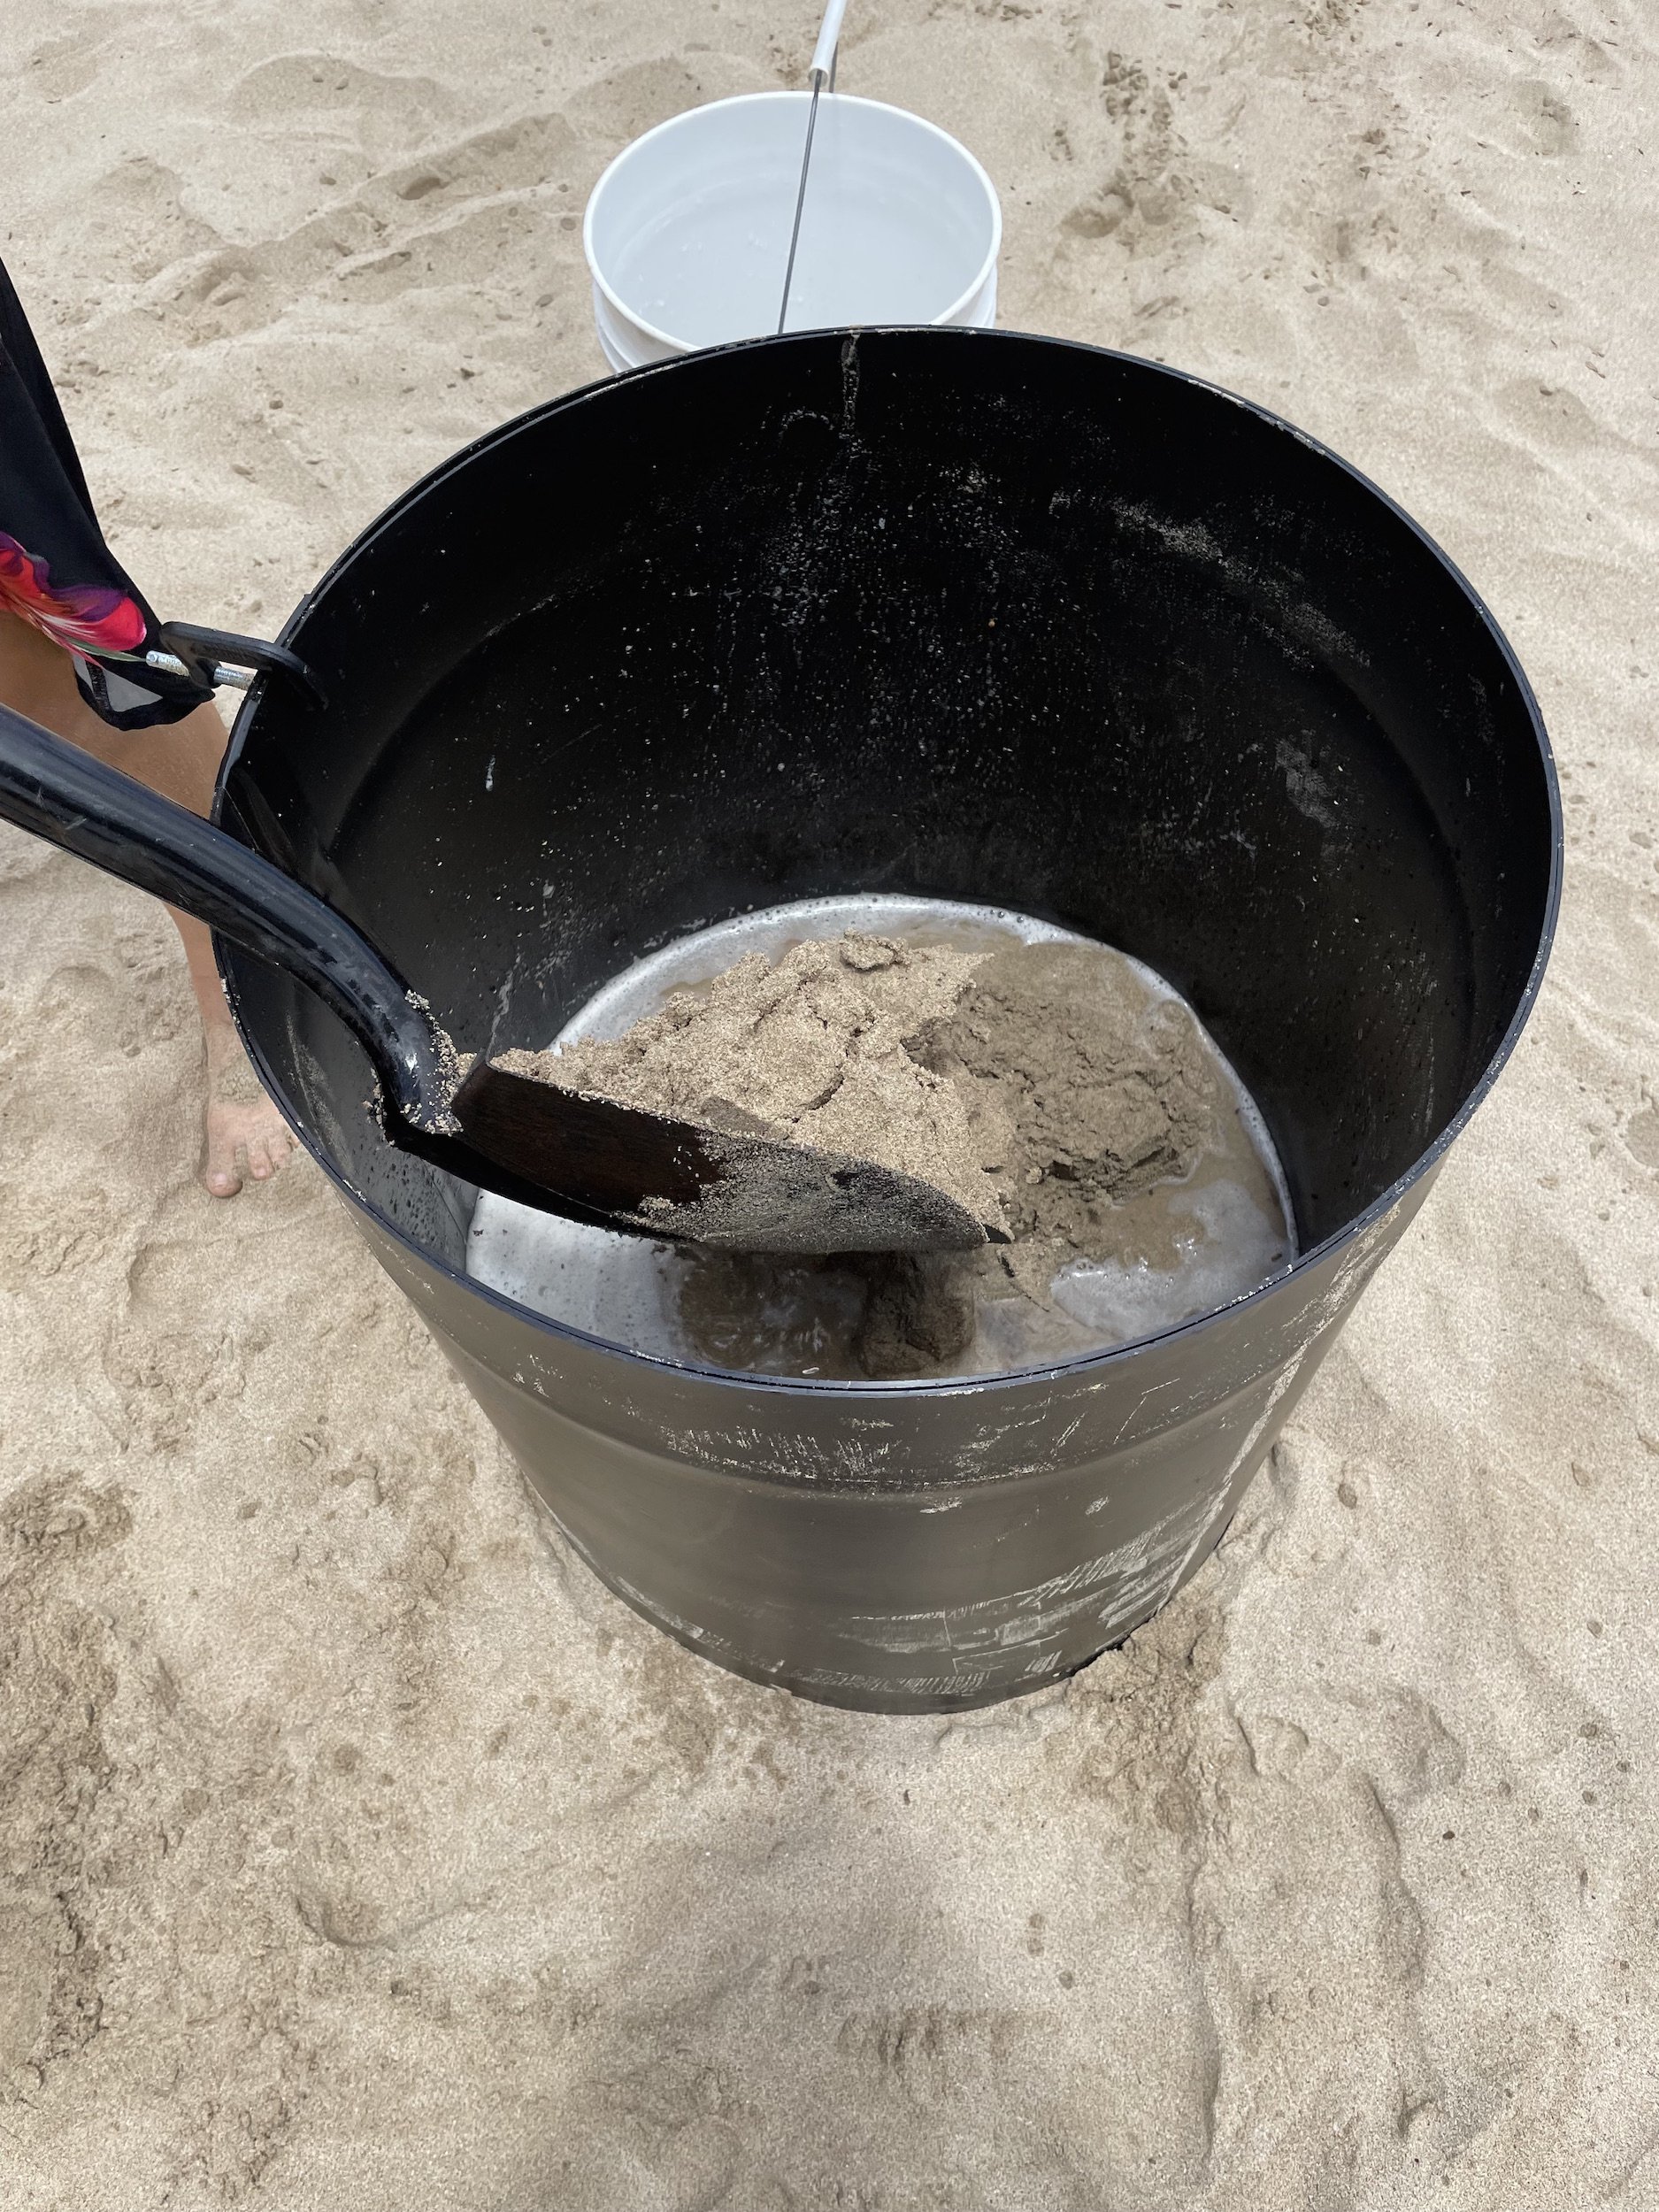
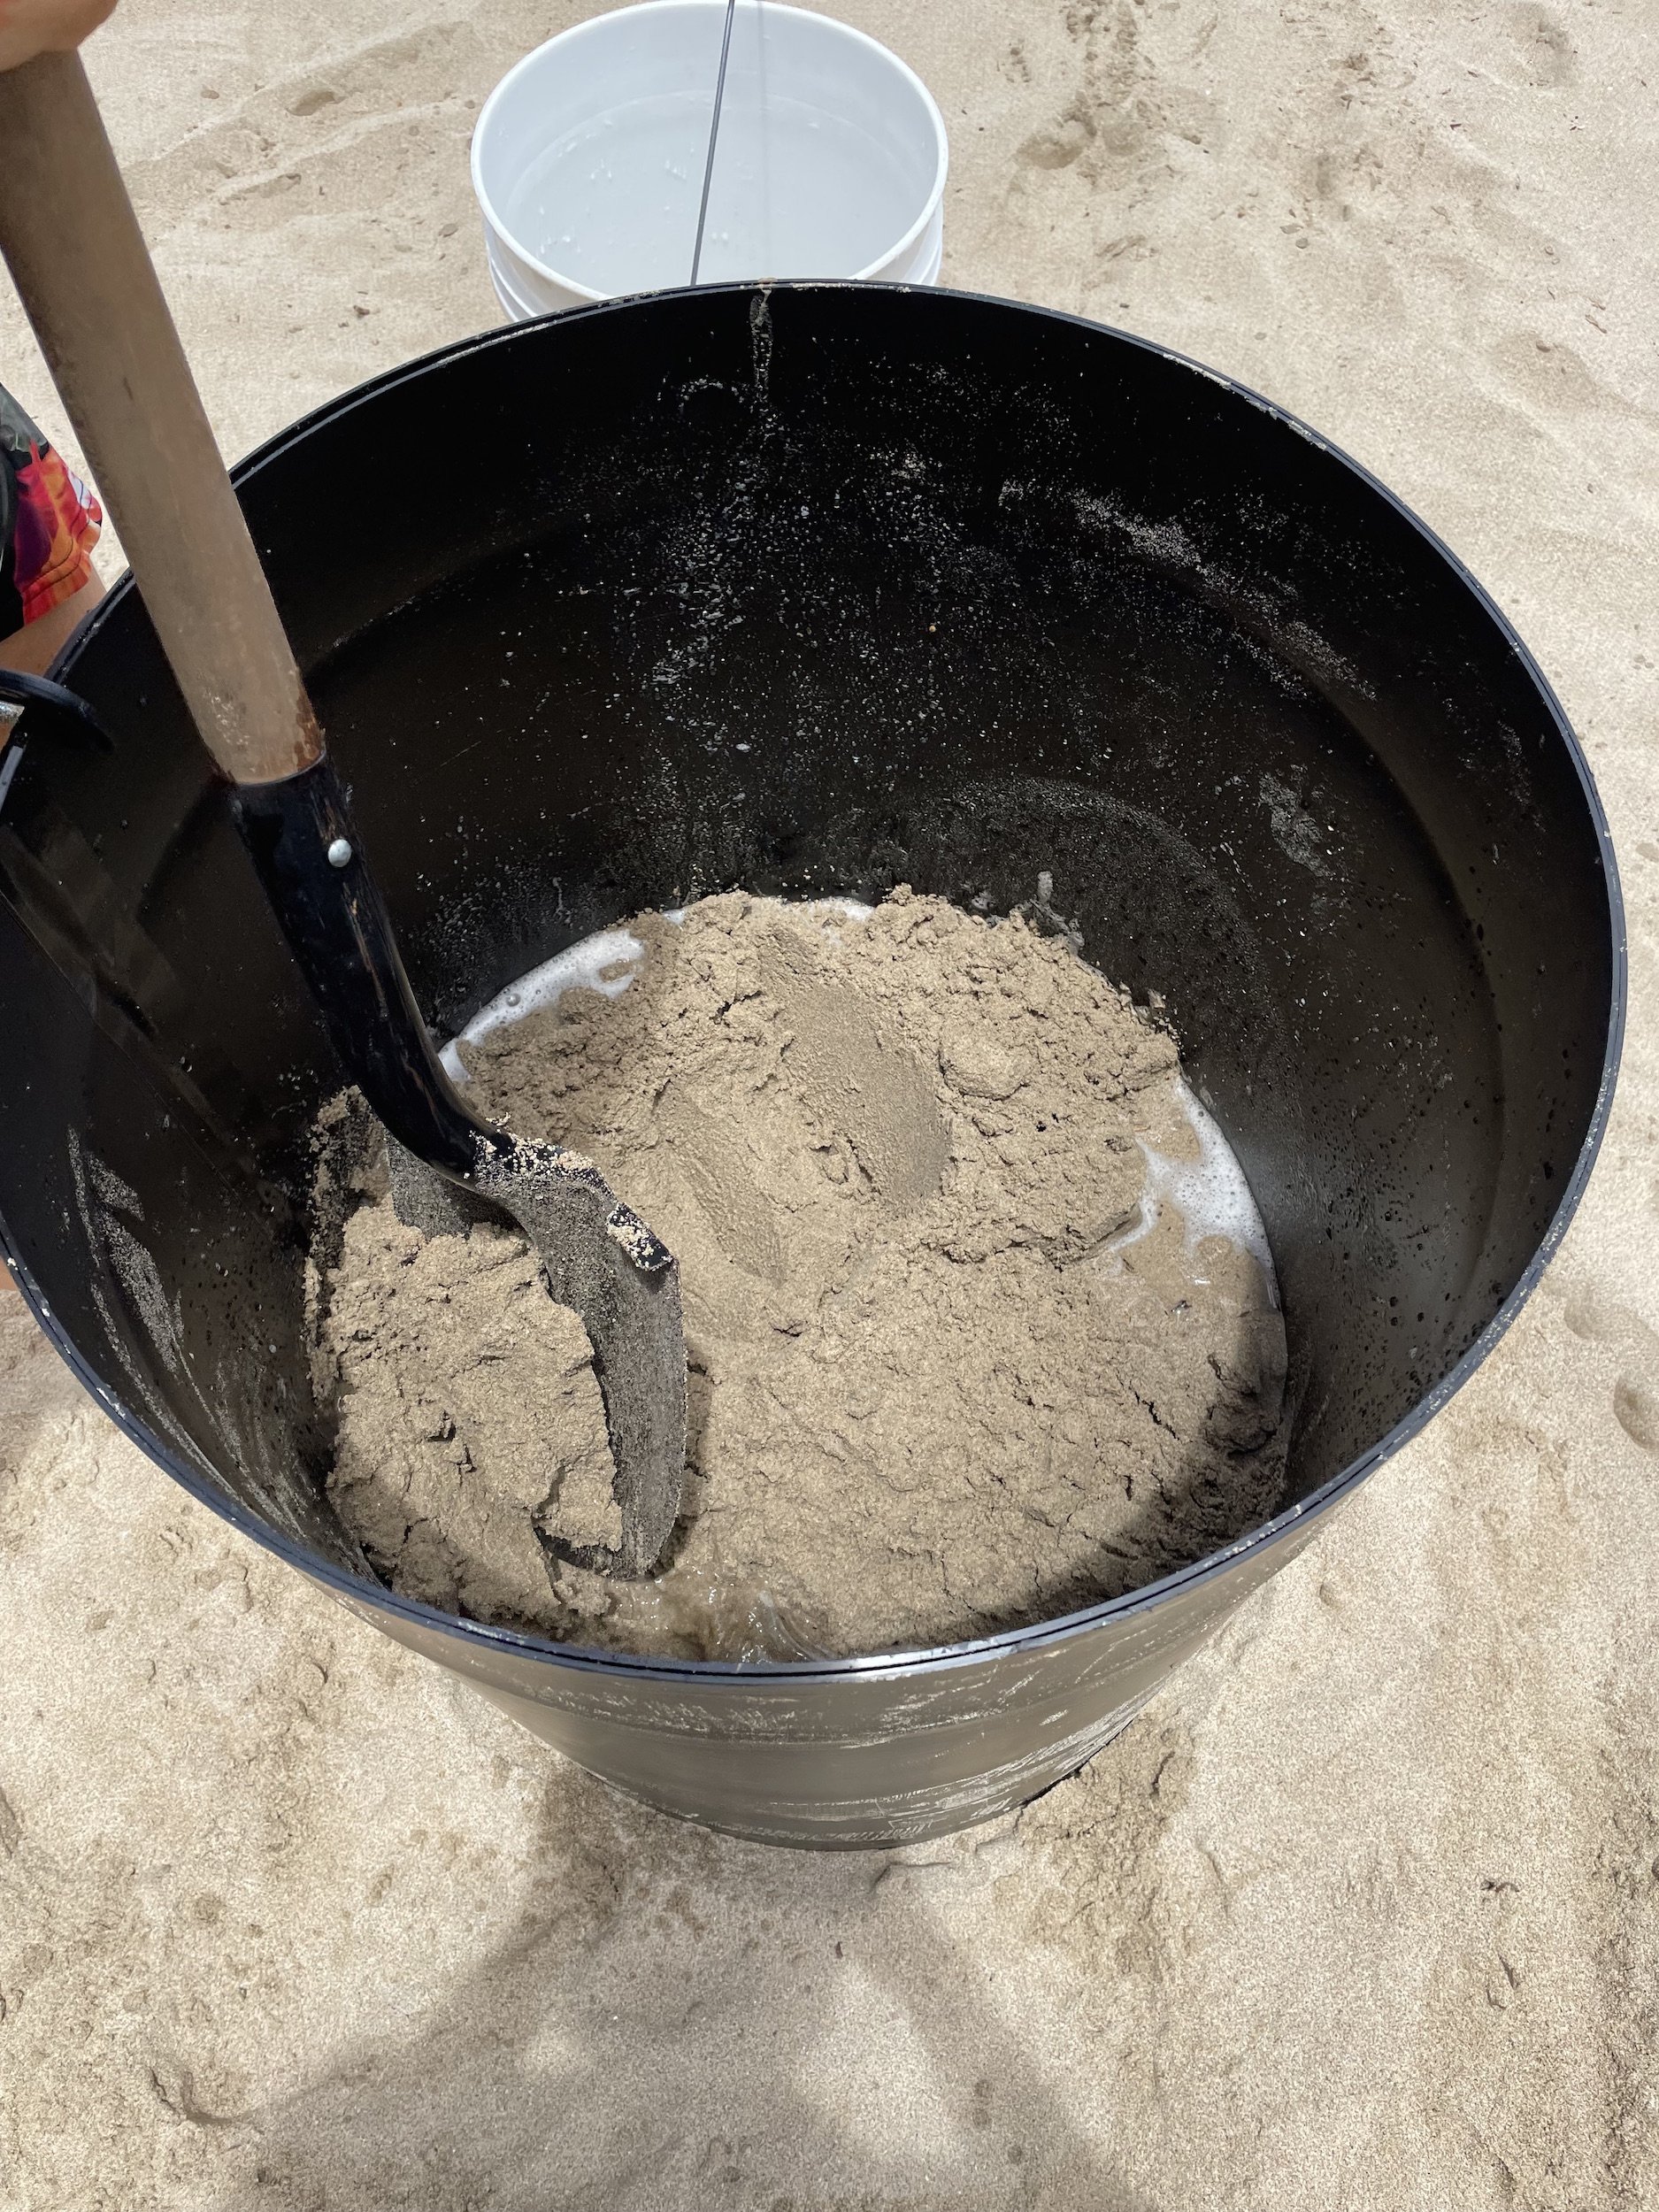
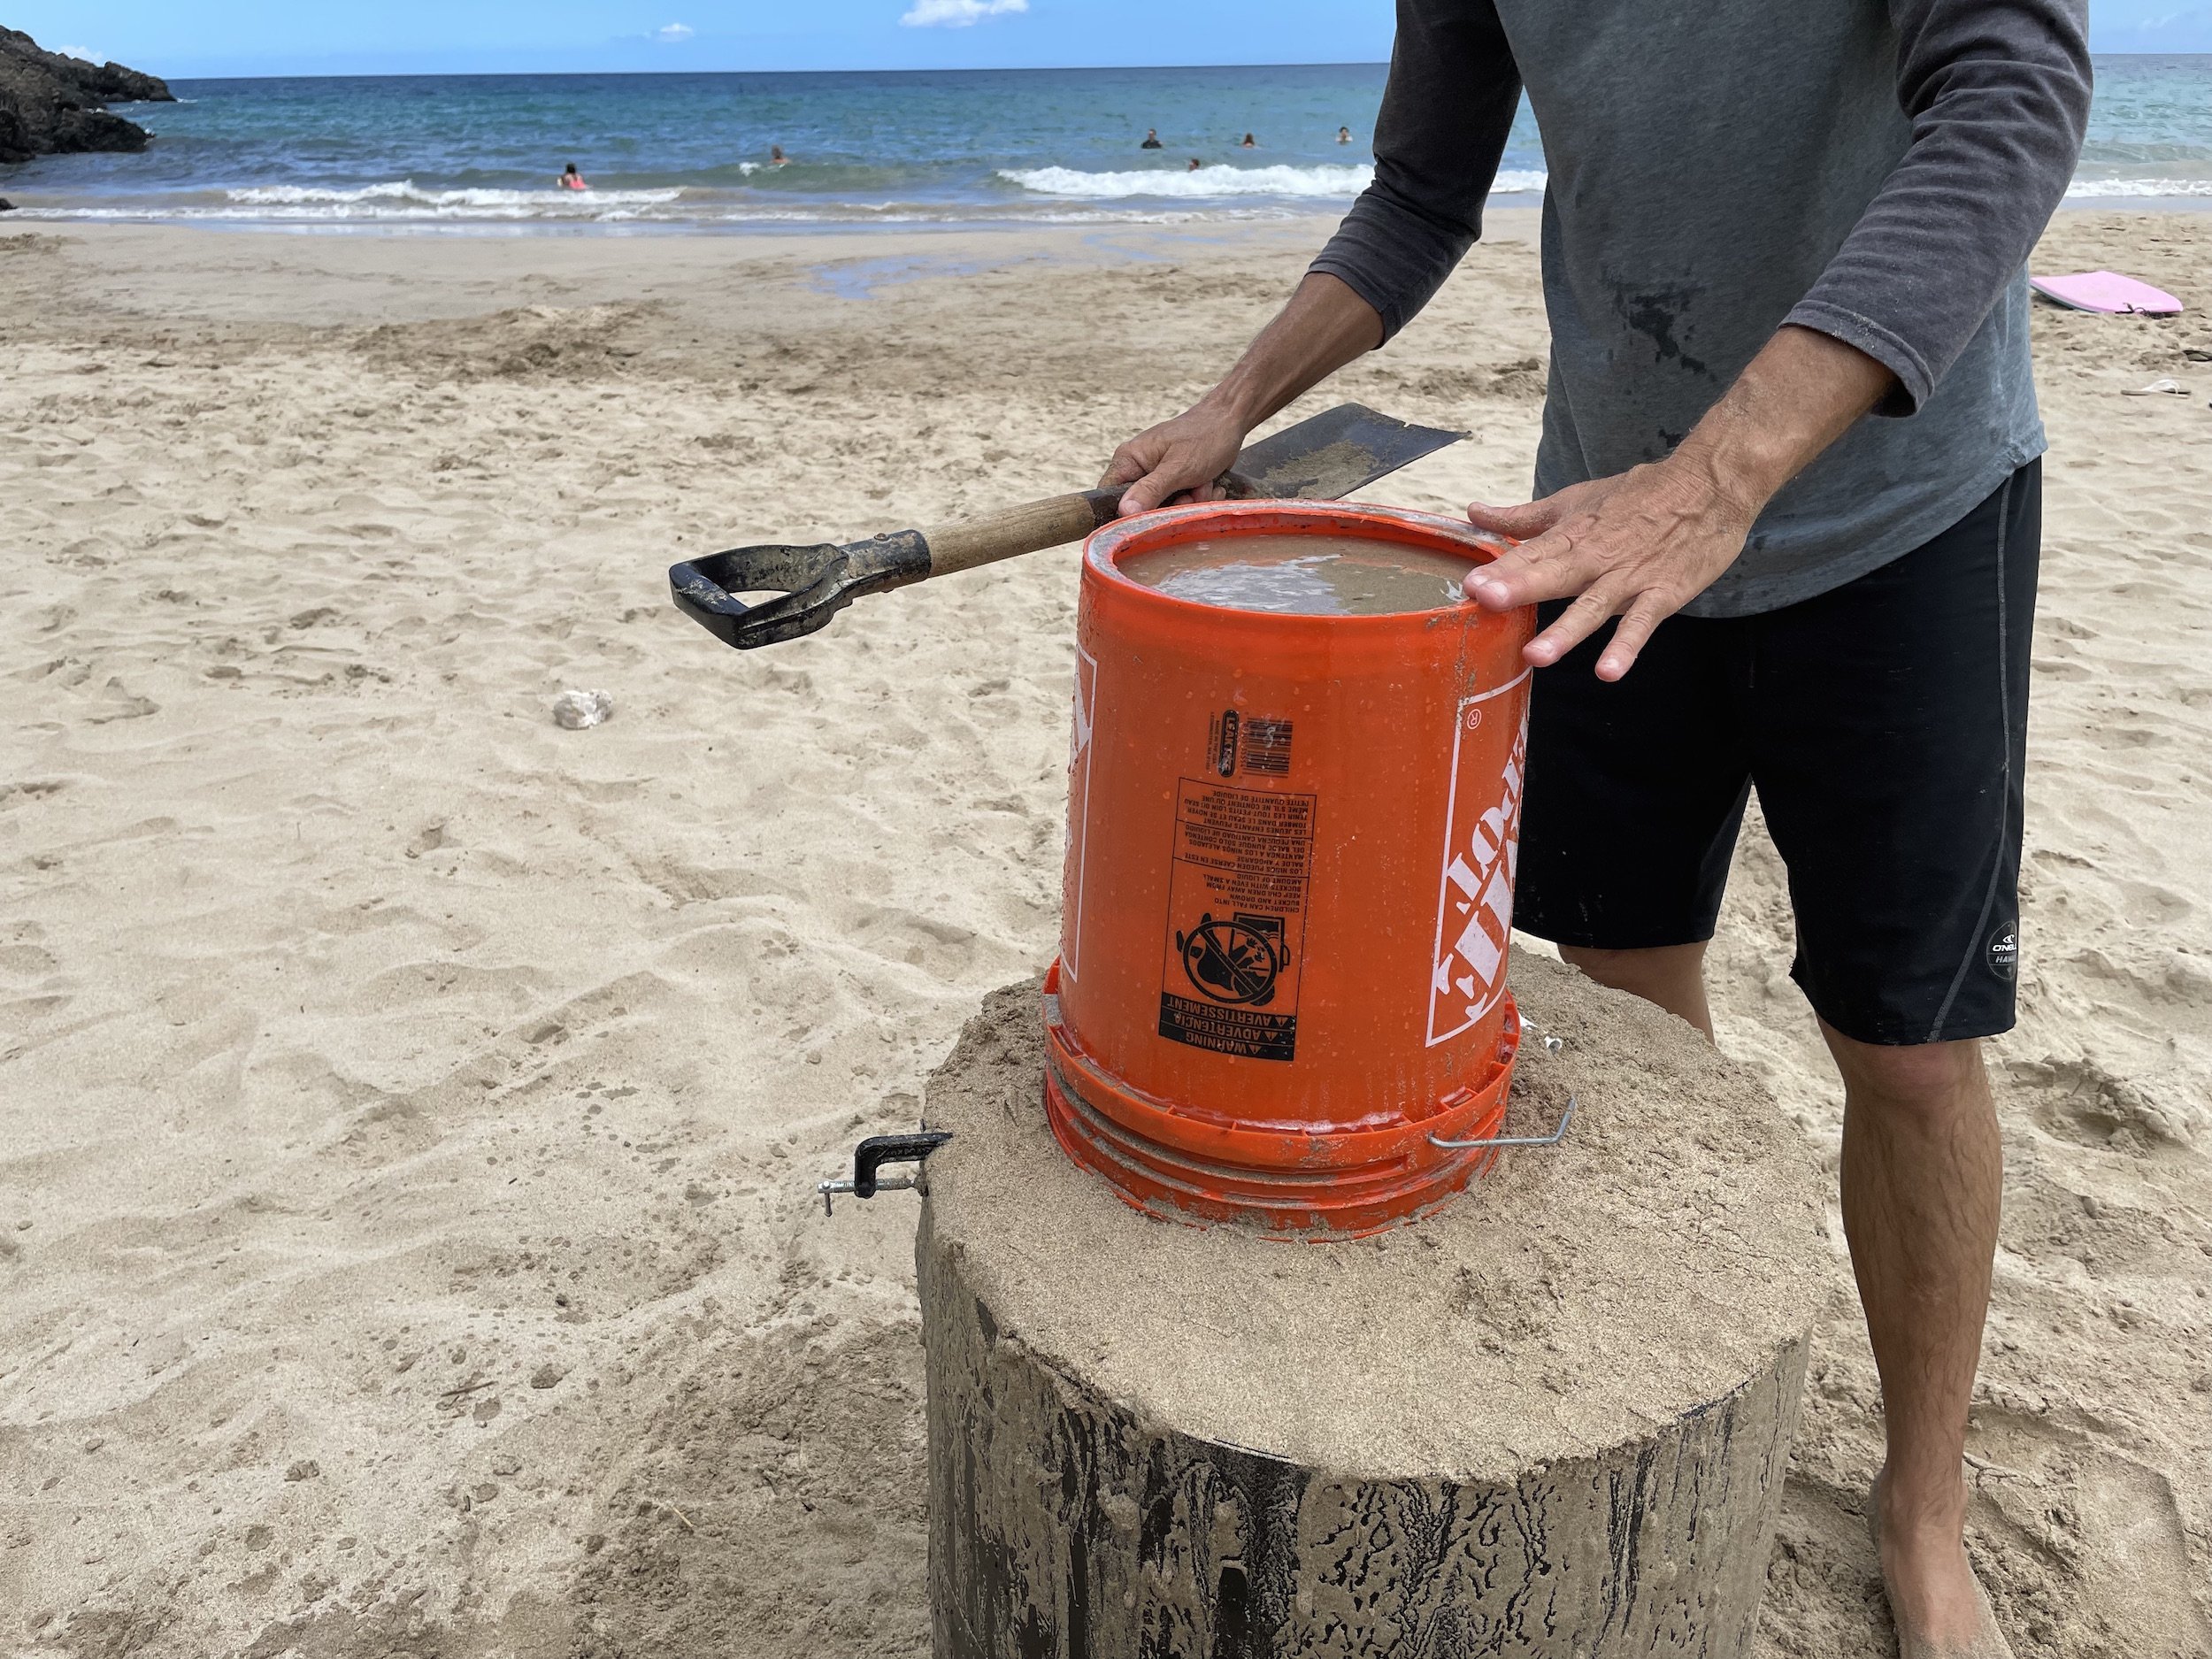
For this sculpture design, we’re going to add a second form on top of our first one. Wait for the water to sink and disappear from the top of the first form before adding. We’ll use a 5 gallon bucket for our form with the bottom cut out and then place upside down. From there, we’ll repeat the same process of filling up the sand as we did in our first form, but instead of stepping inside the bucket we’ll just use our hands to help remove the bubbles and compact the sand. Tapping the side of the bucket with the handle of your shovel also helps to vibrate and compact the sand.
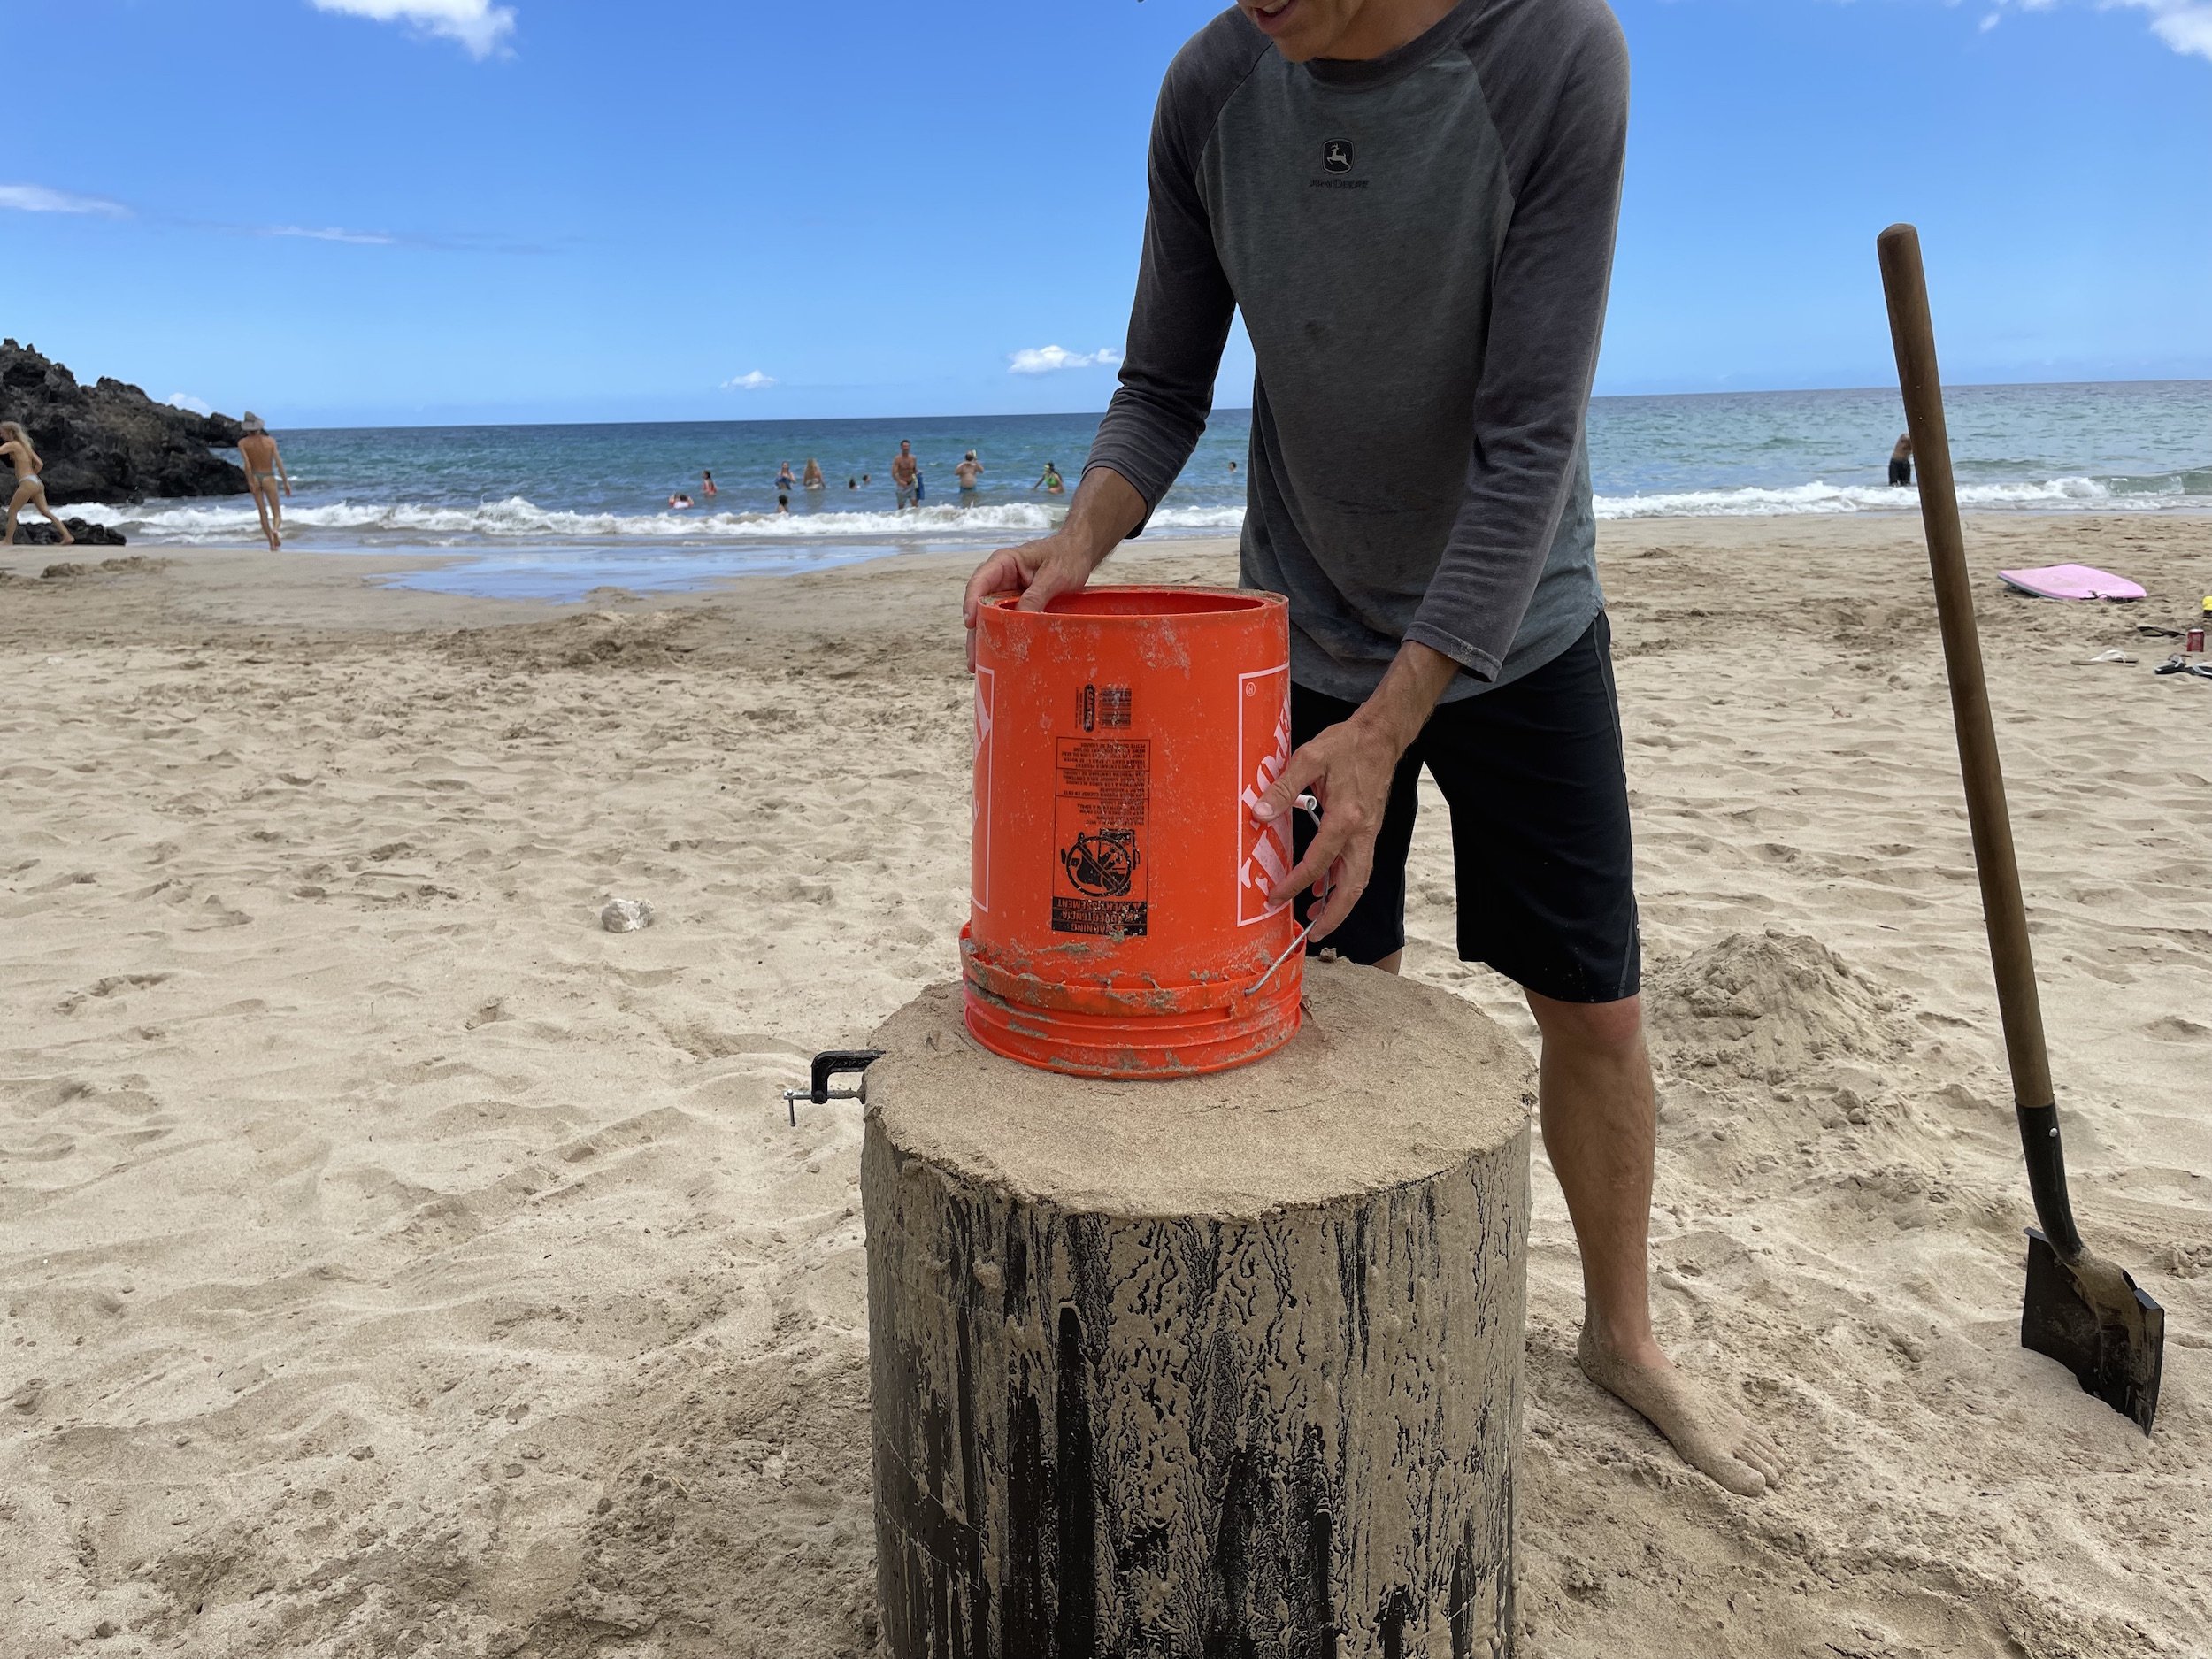
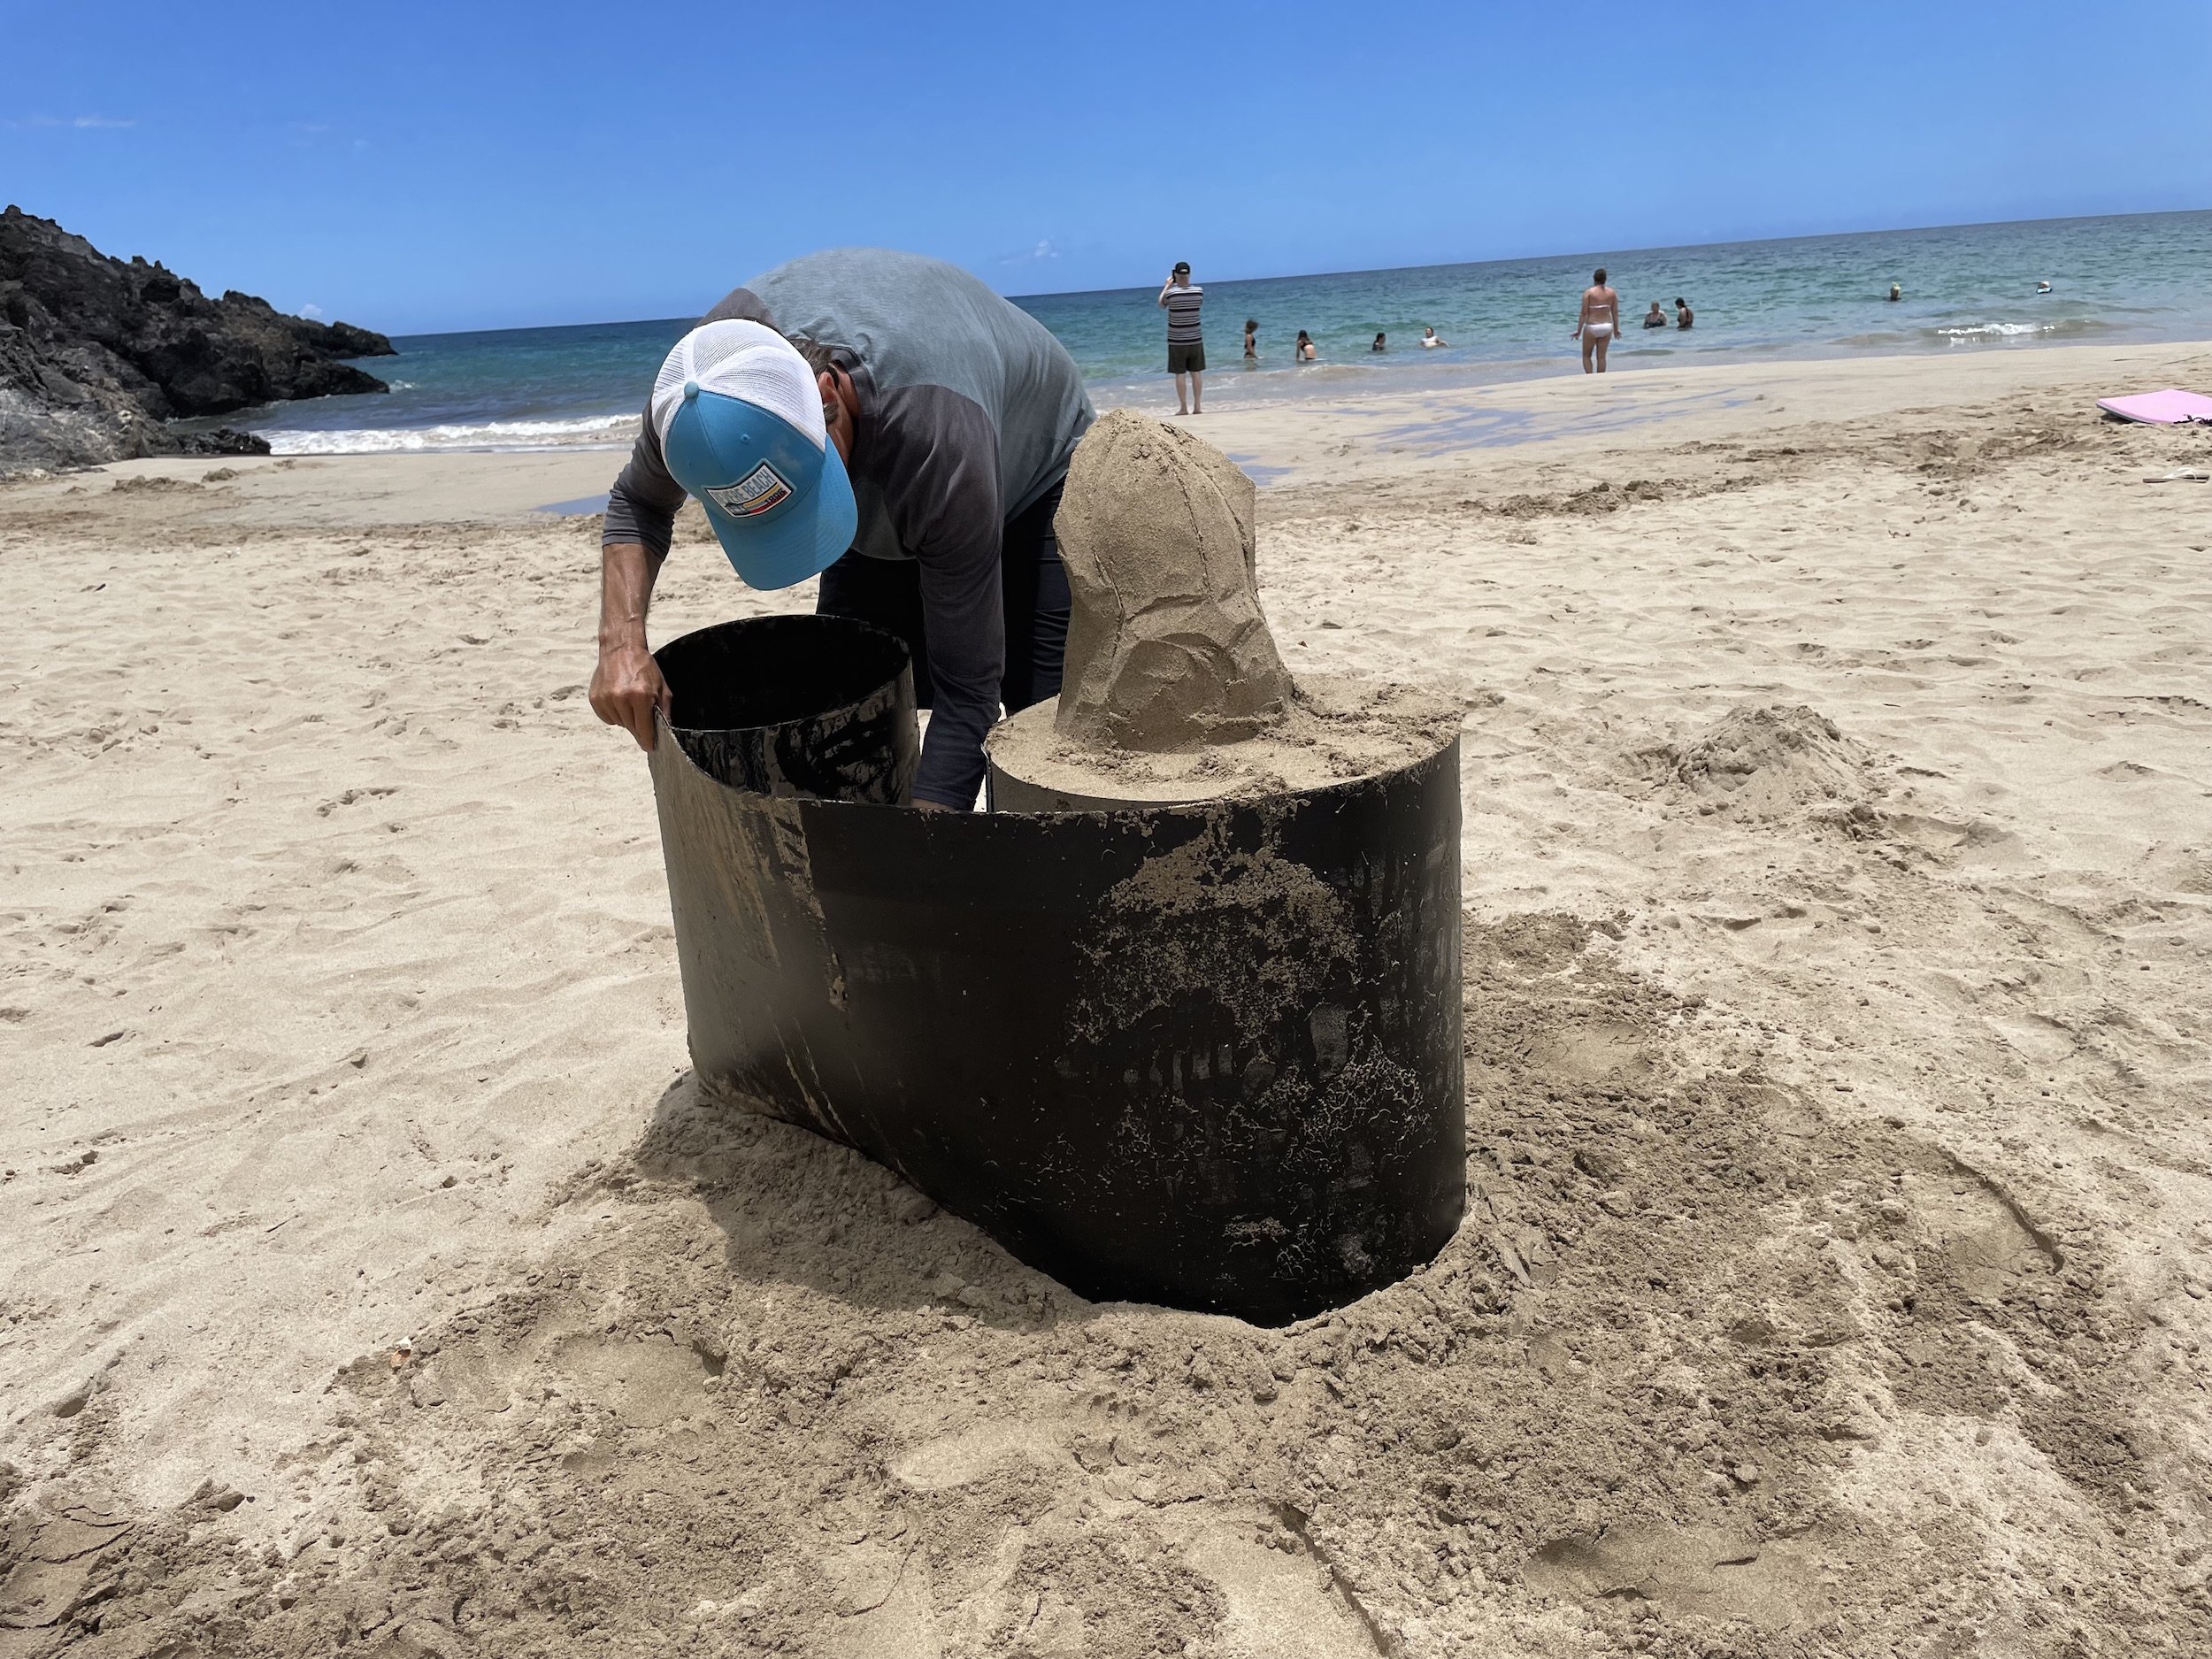
Removing the second form…
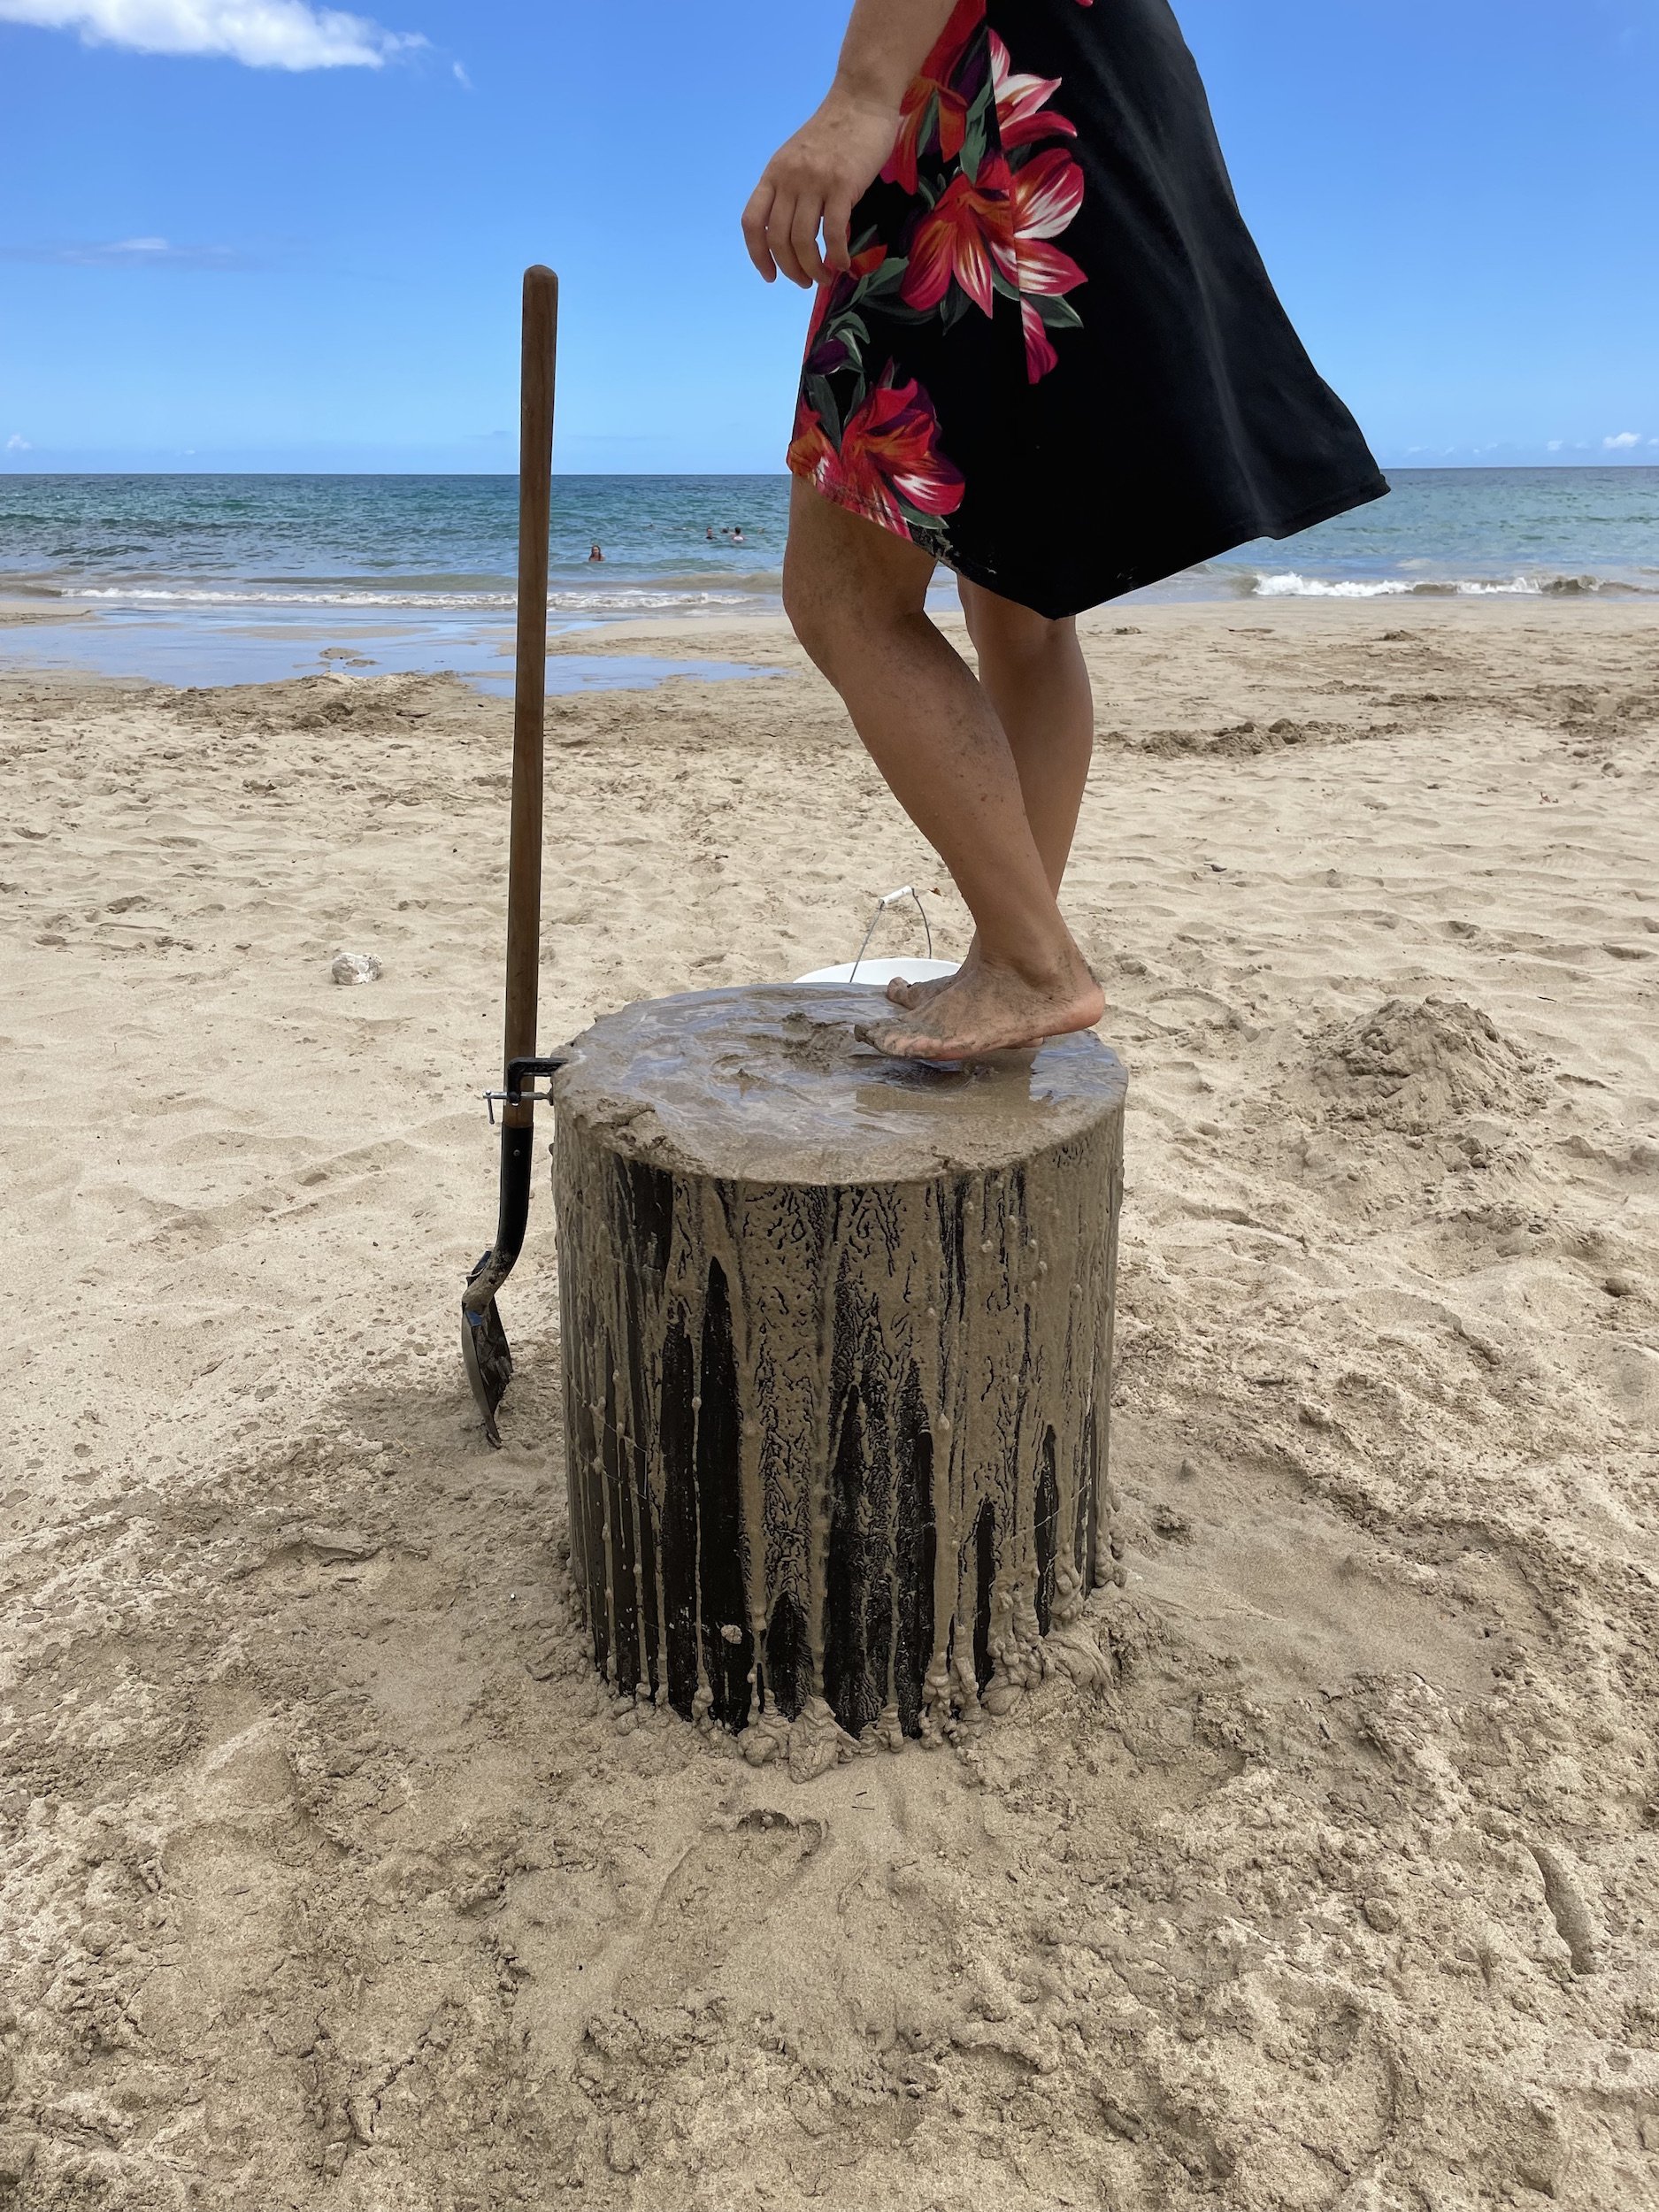
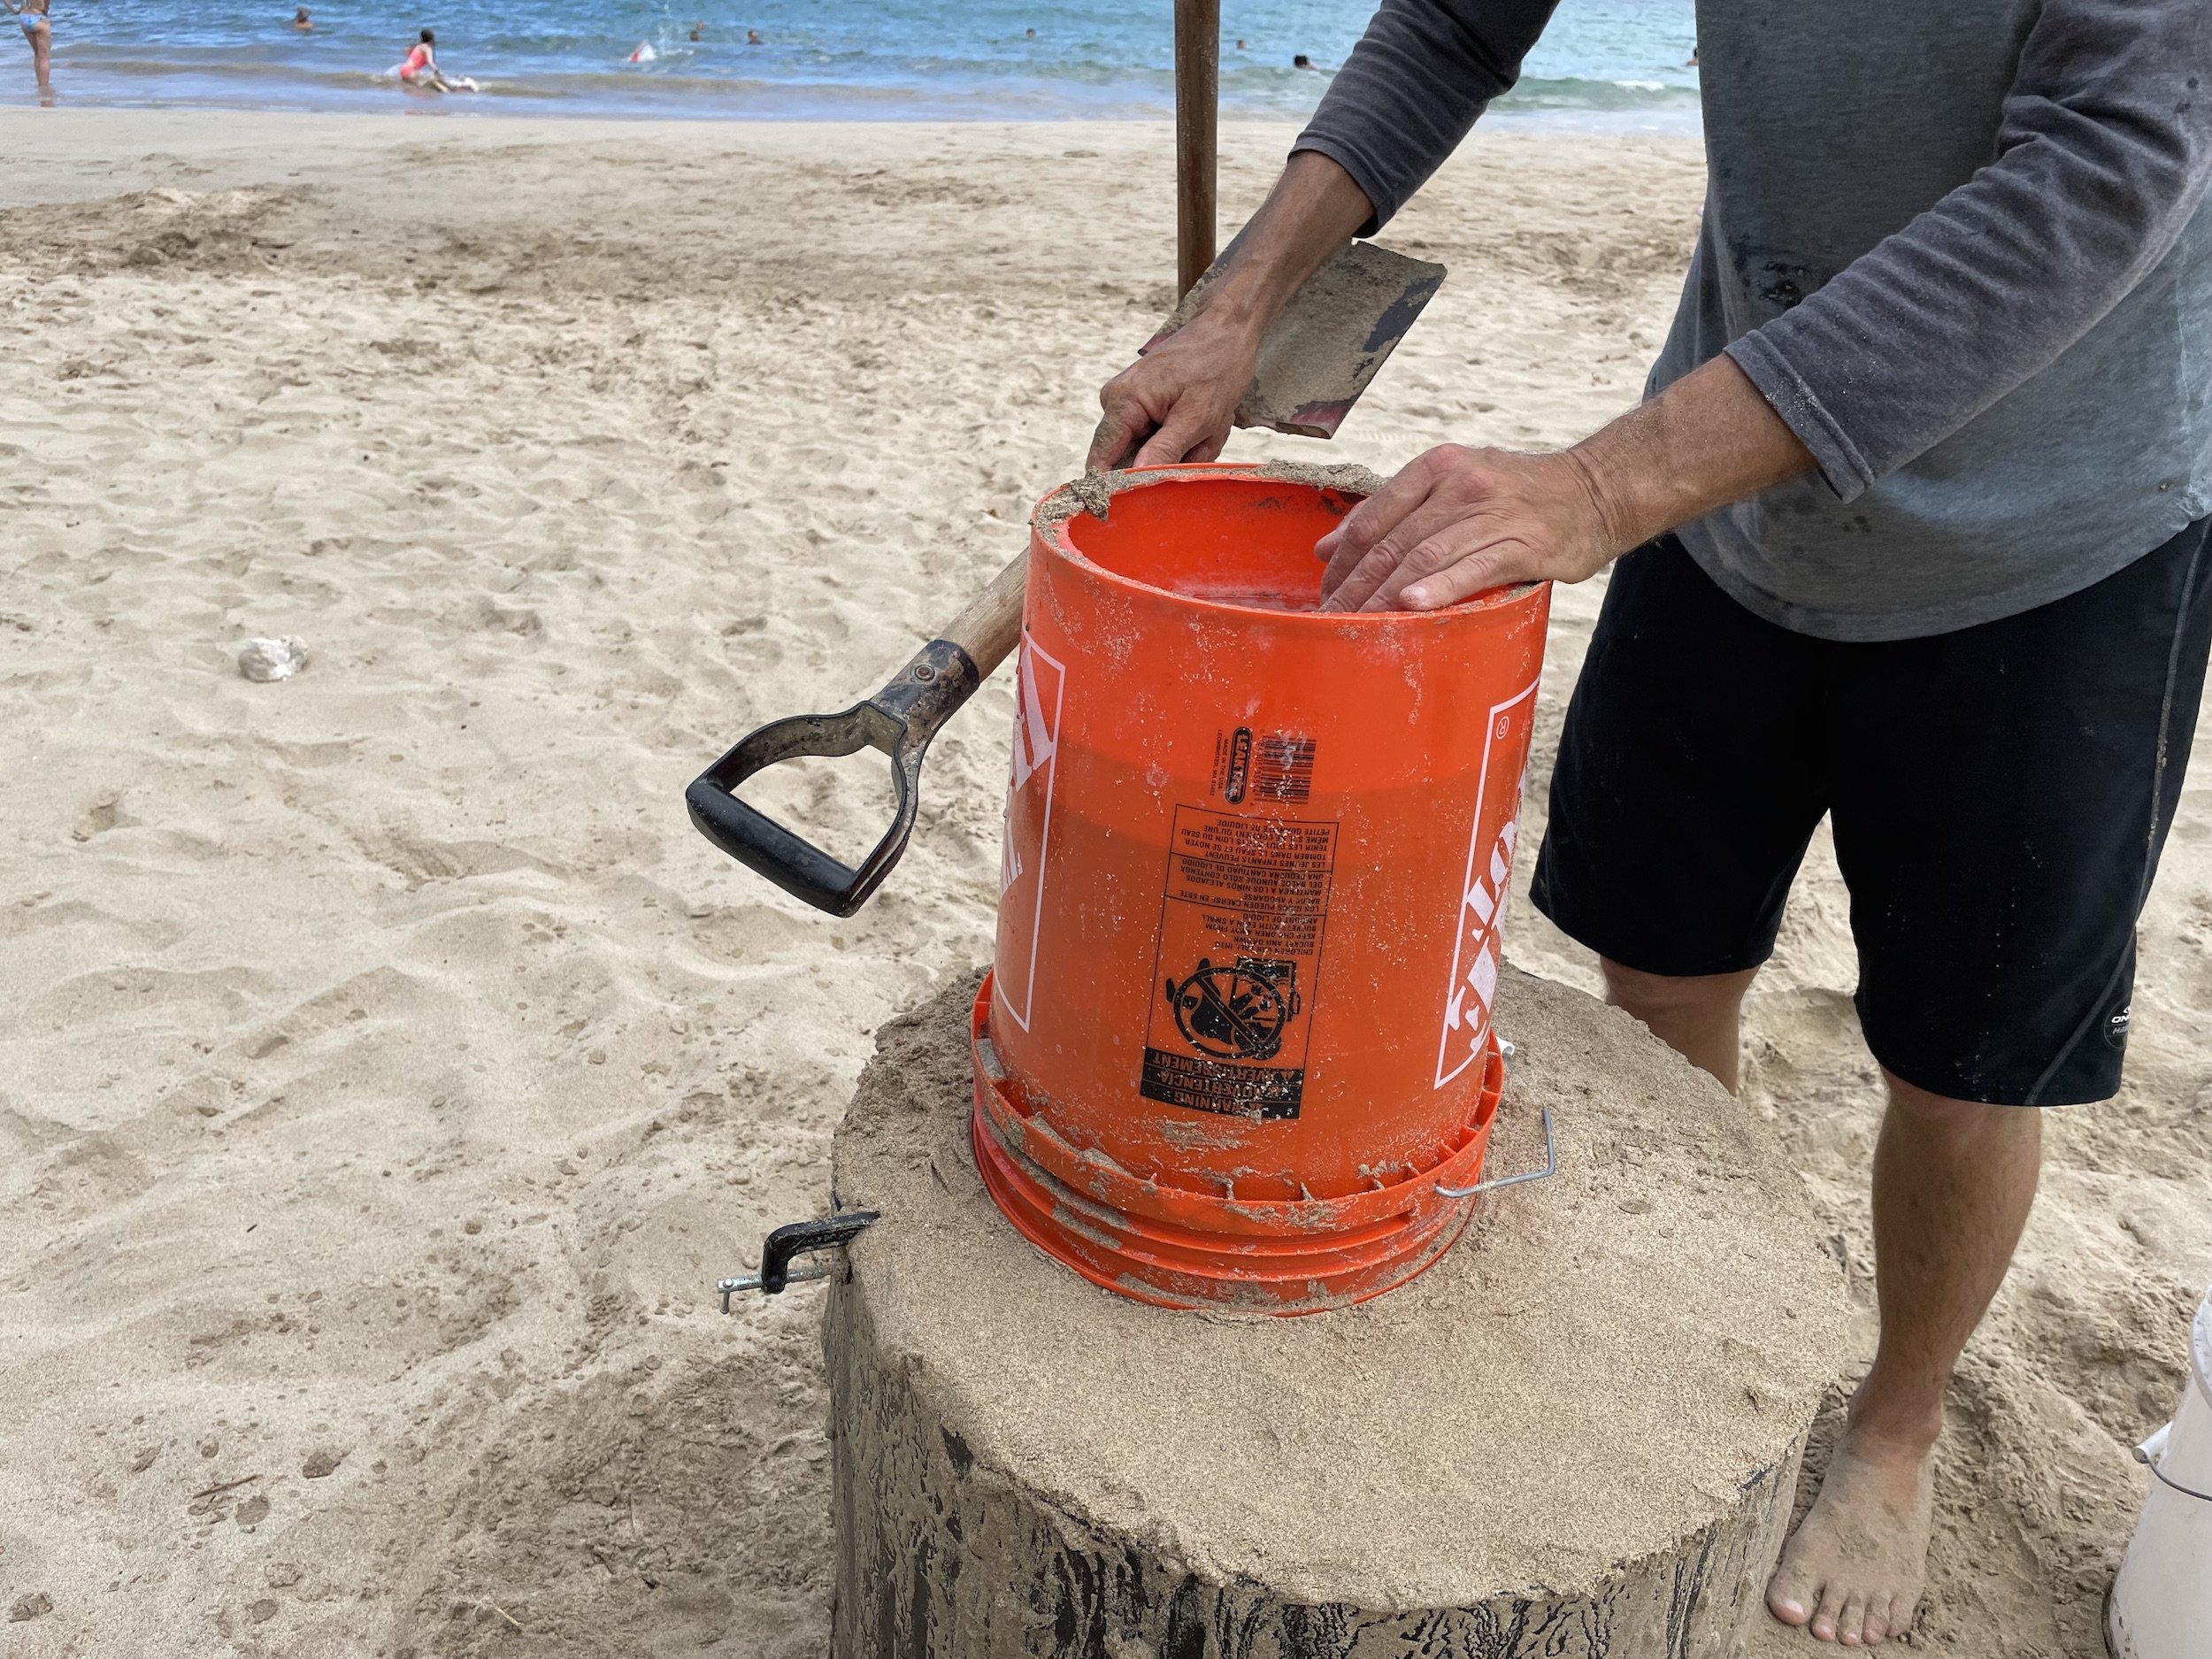
Wait for the water to disappear from the top of the bucket before removing. To remove the bucket, lightly tap on the sides of it with your hands as this will help loosen the compacted sand’s grip on it. Then pull it straight up and off.


sketch & carve


With your tool, sketch out a 2-dimensional image of what that section of your sculpt would look like. Use reference photos! The best place for that is on your cell phone, which is literally a world of photographs at your fingertips. After that, carve away from those lines which will bring your 2D image to a 3D sculpture. In sand, we always carve from the top down. By leaving the bottom form still on while carving the top, we lighten the weight of the second form’s sand on the bottom. This will help keep collapses minimal.
Removing the bottom form…
When your done roughing out your top form, remove the bottom form’s c-clamps and peel the plastic entirely away from the compacted sand. Just like the top form, sketch out your design and carve away. Your perfect sculpture is in there, you just need to bring it out. Use a water spray bottle to help keep the sand from drying out.


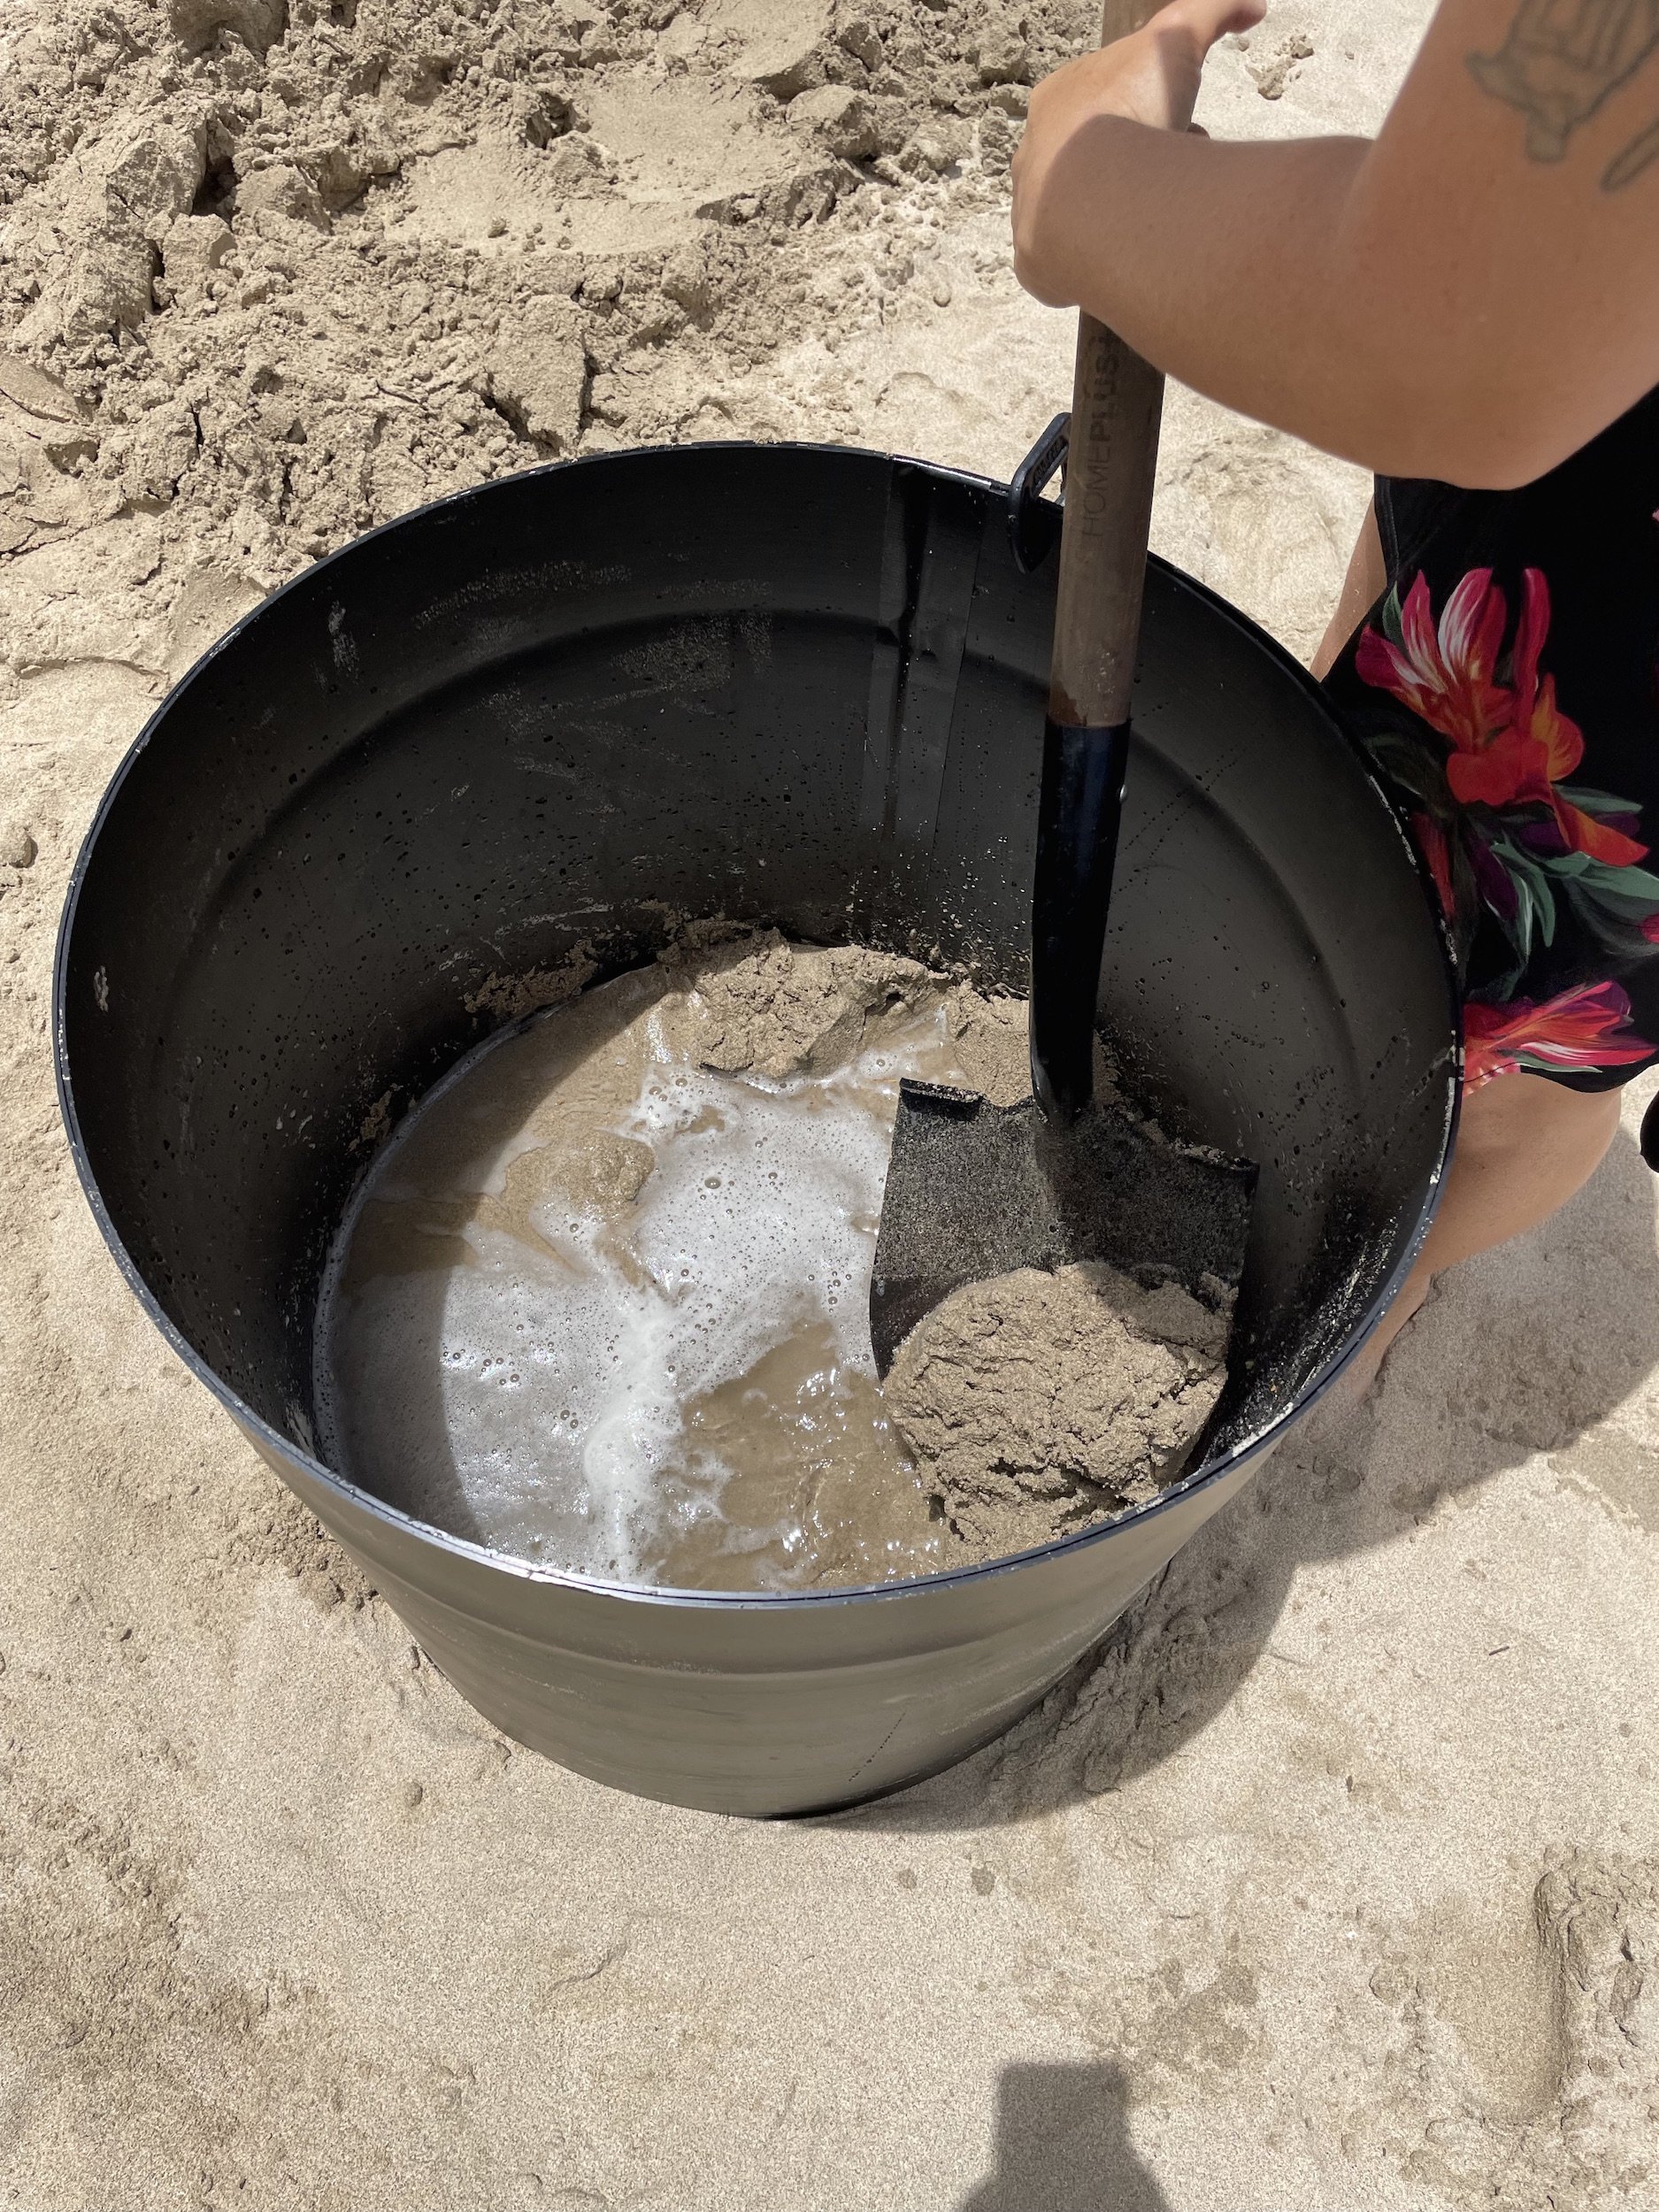
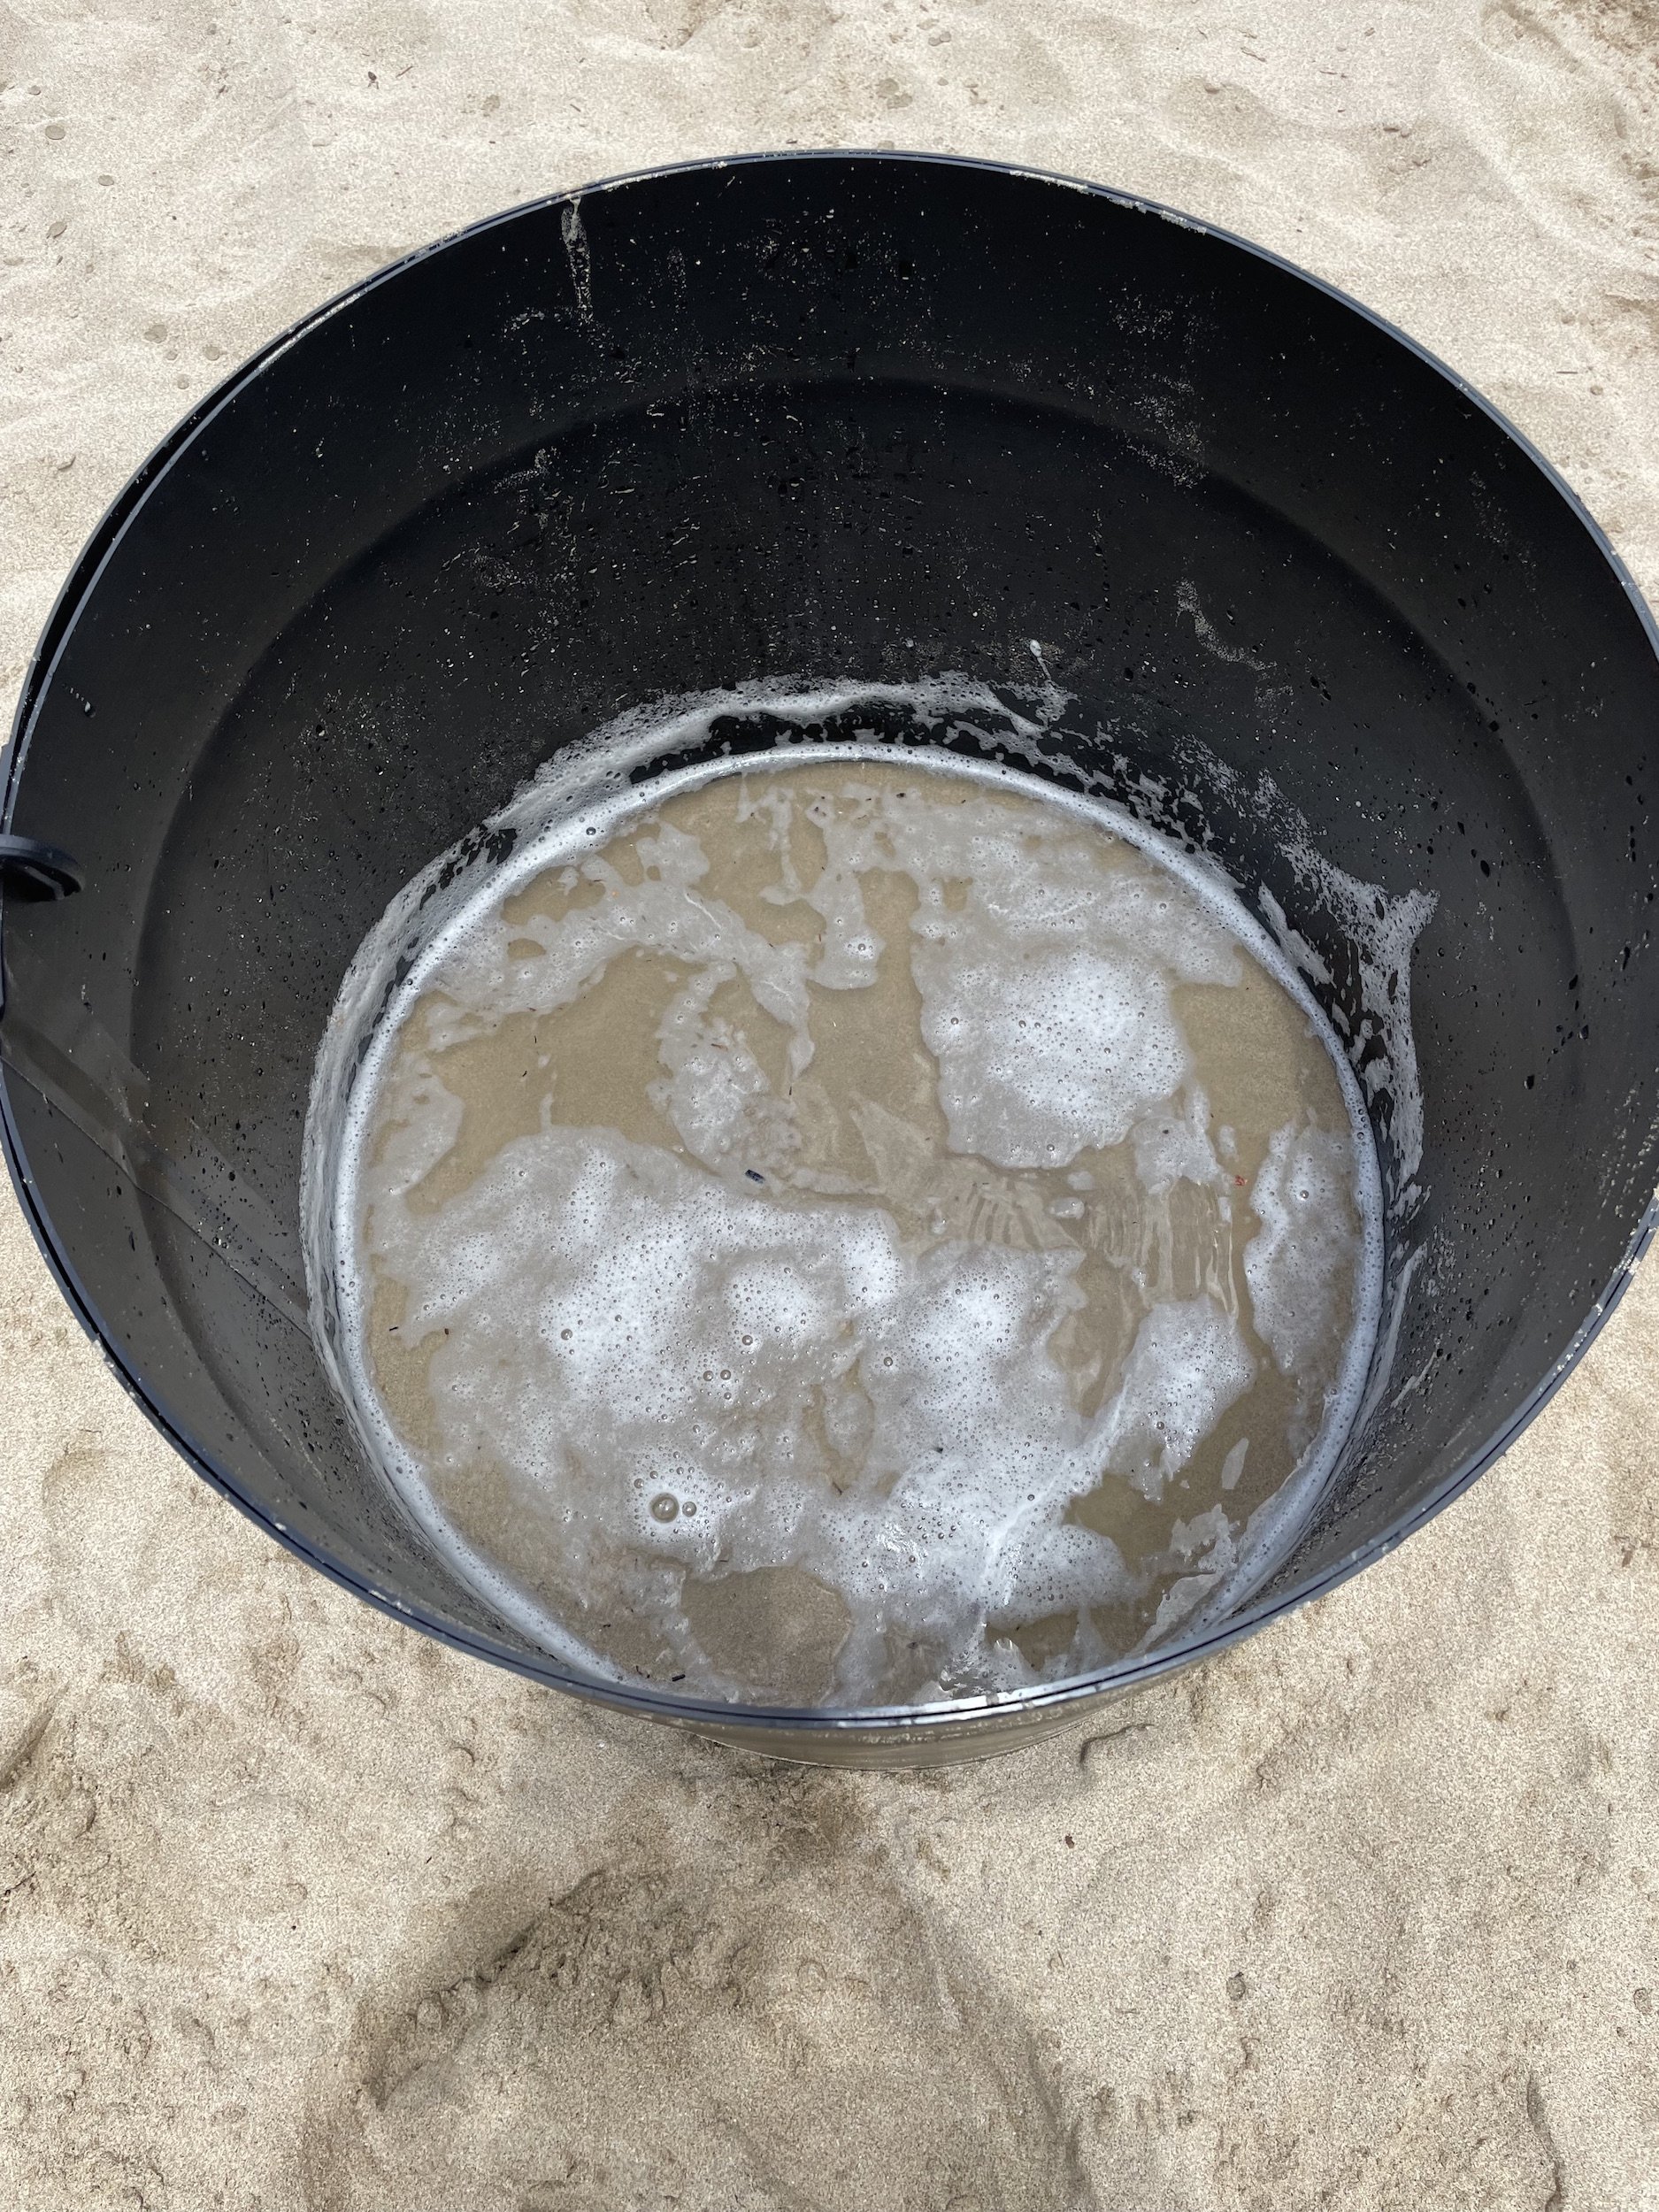
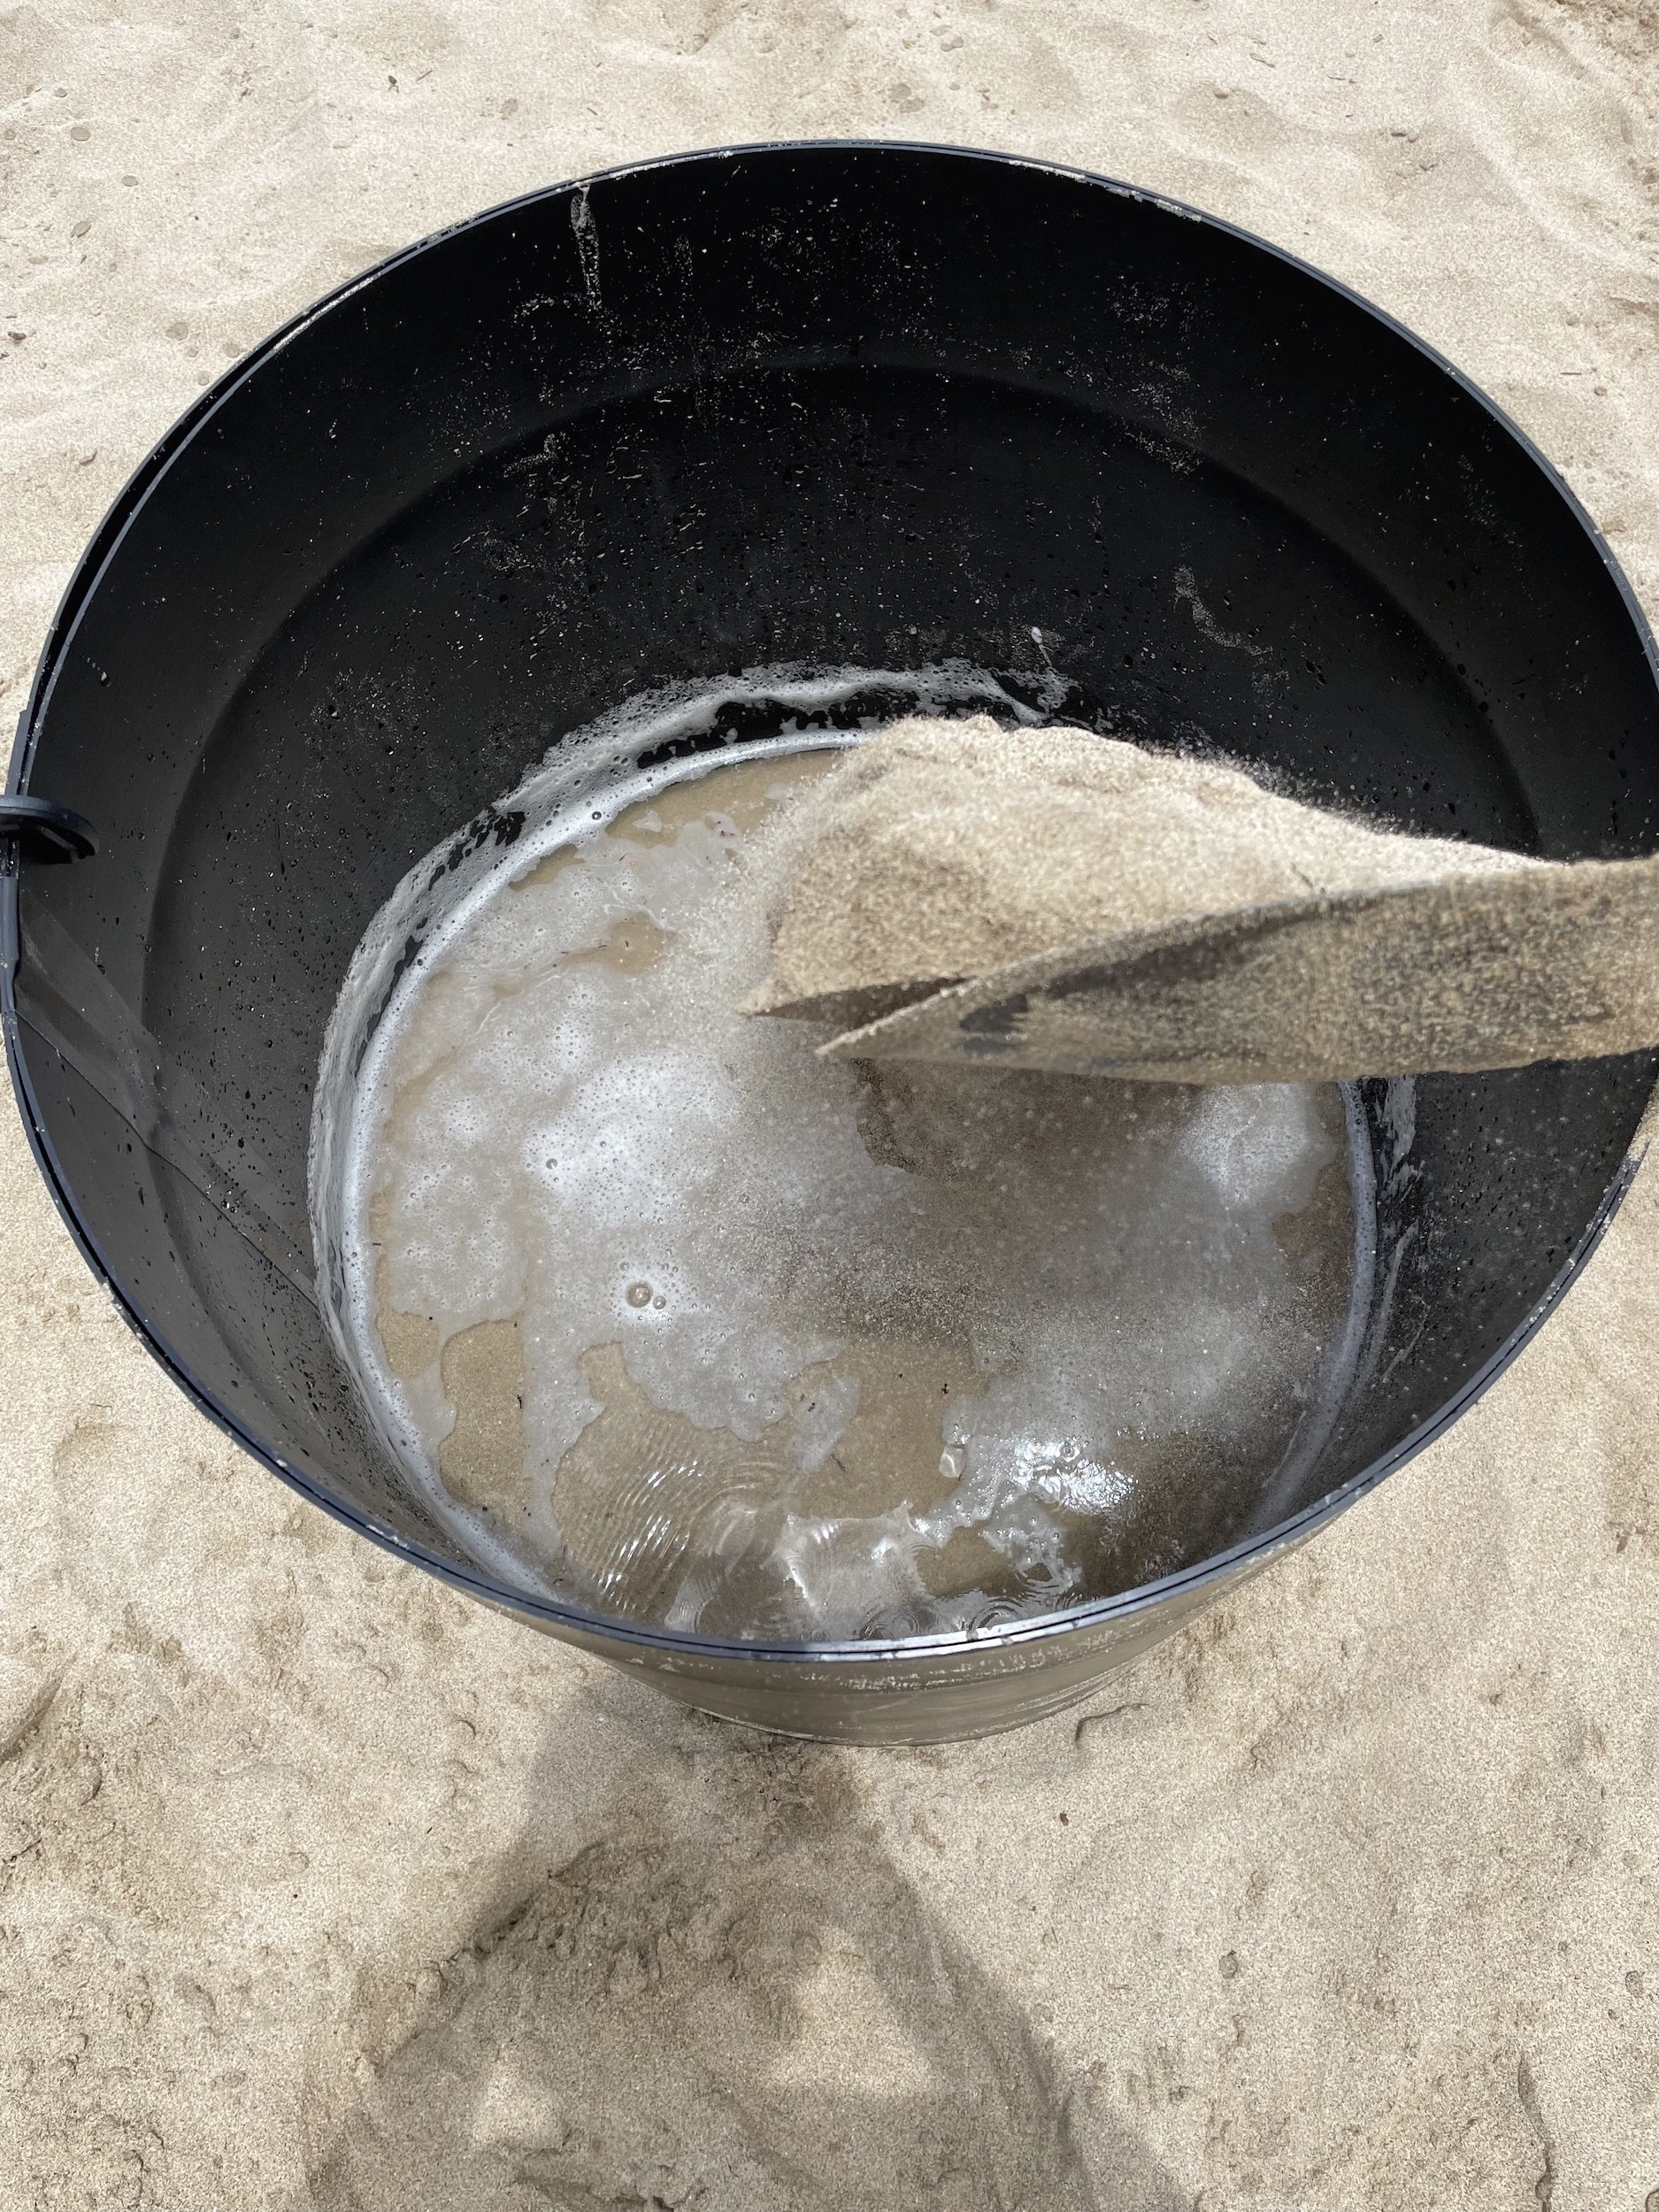
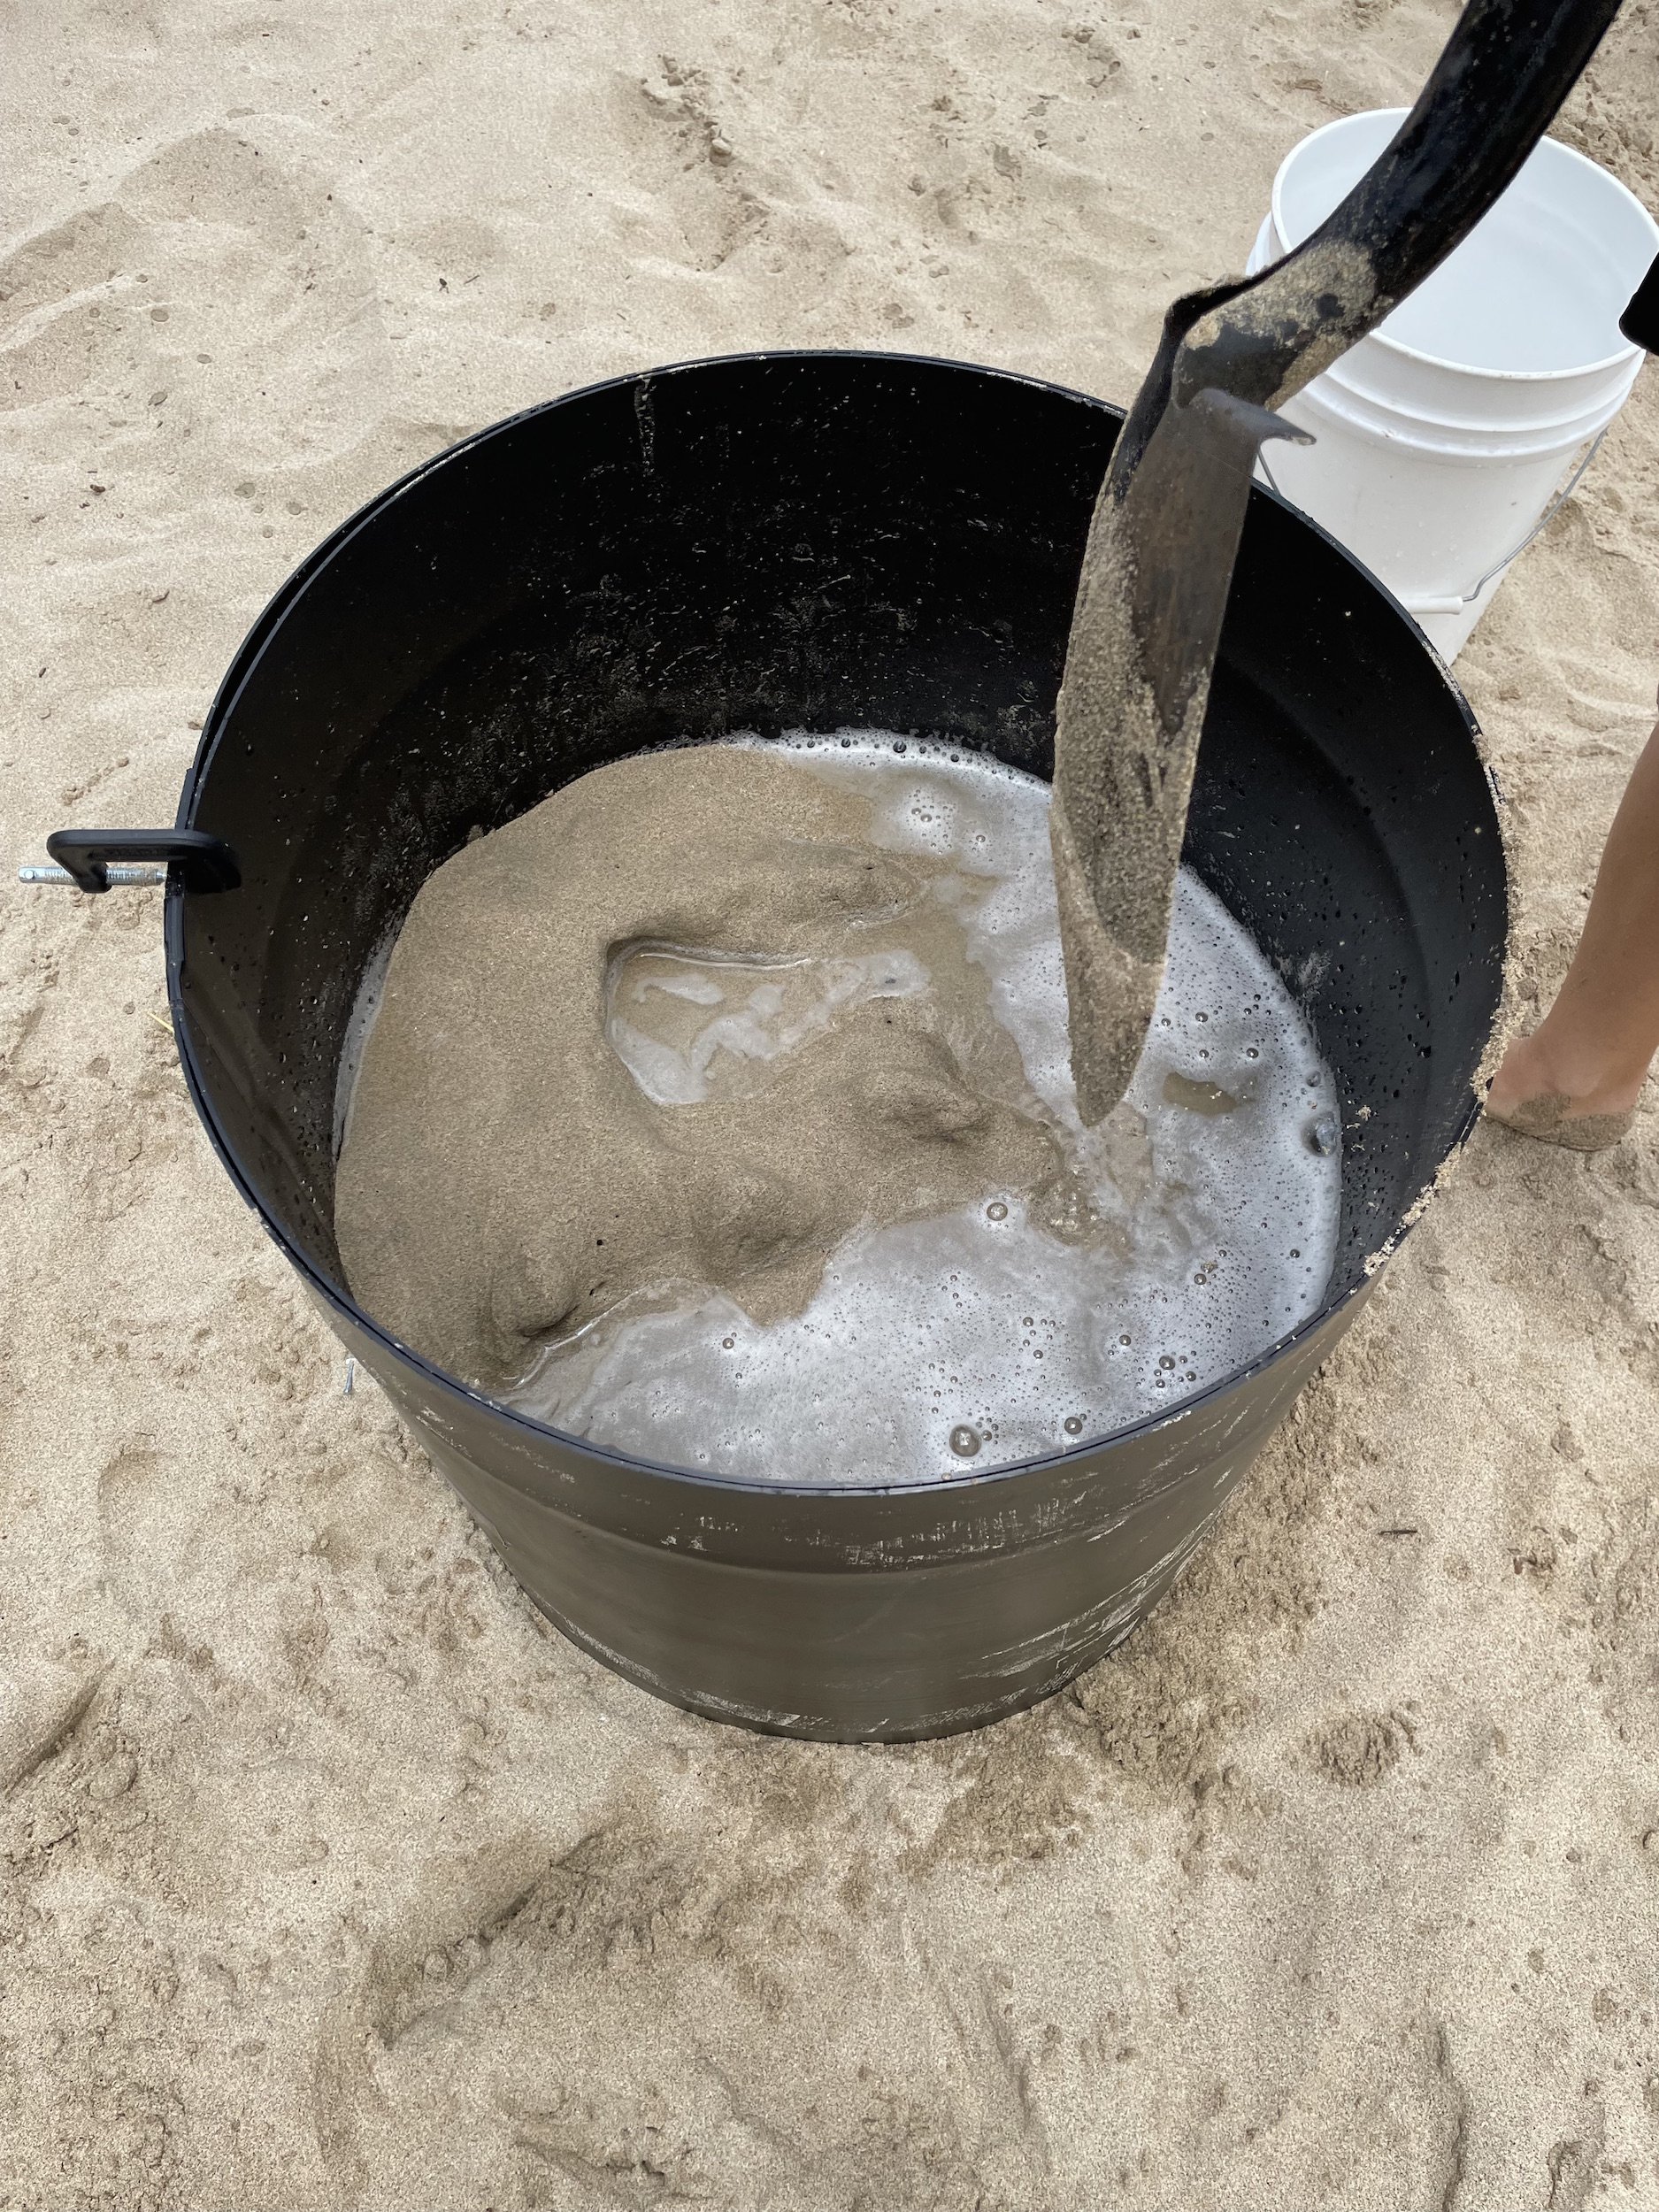
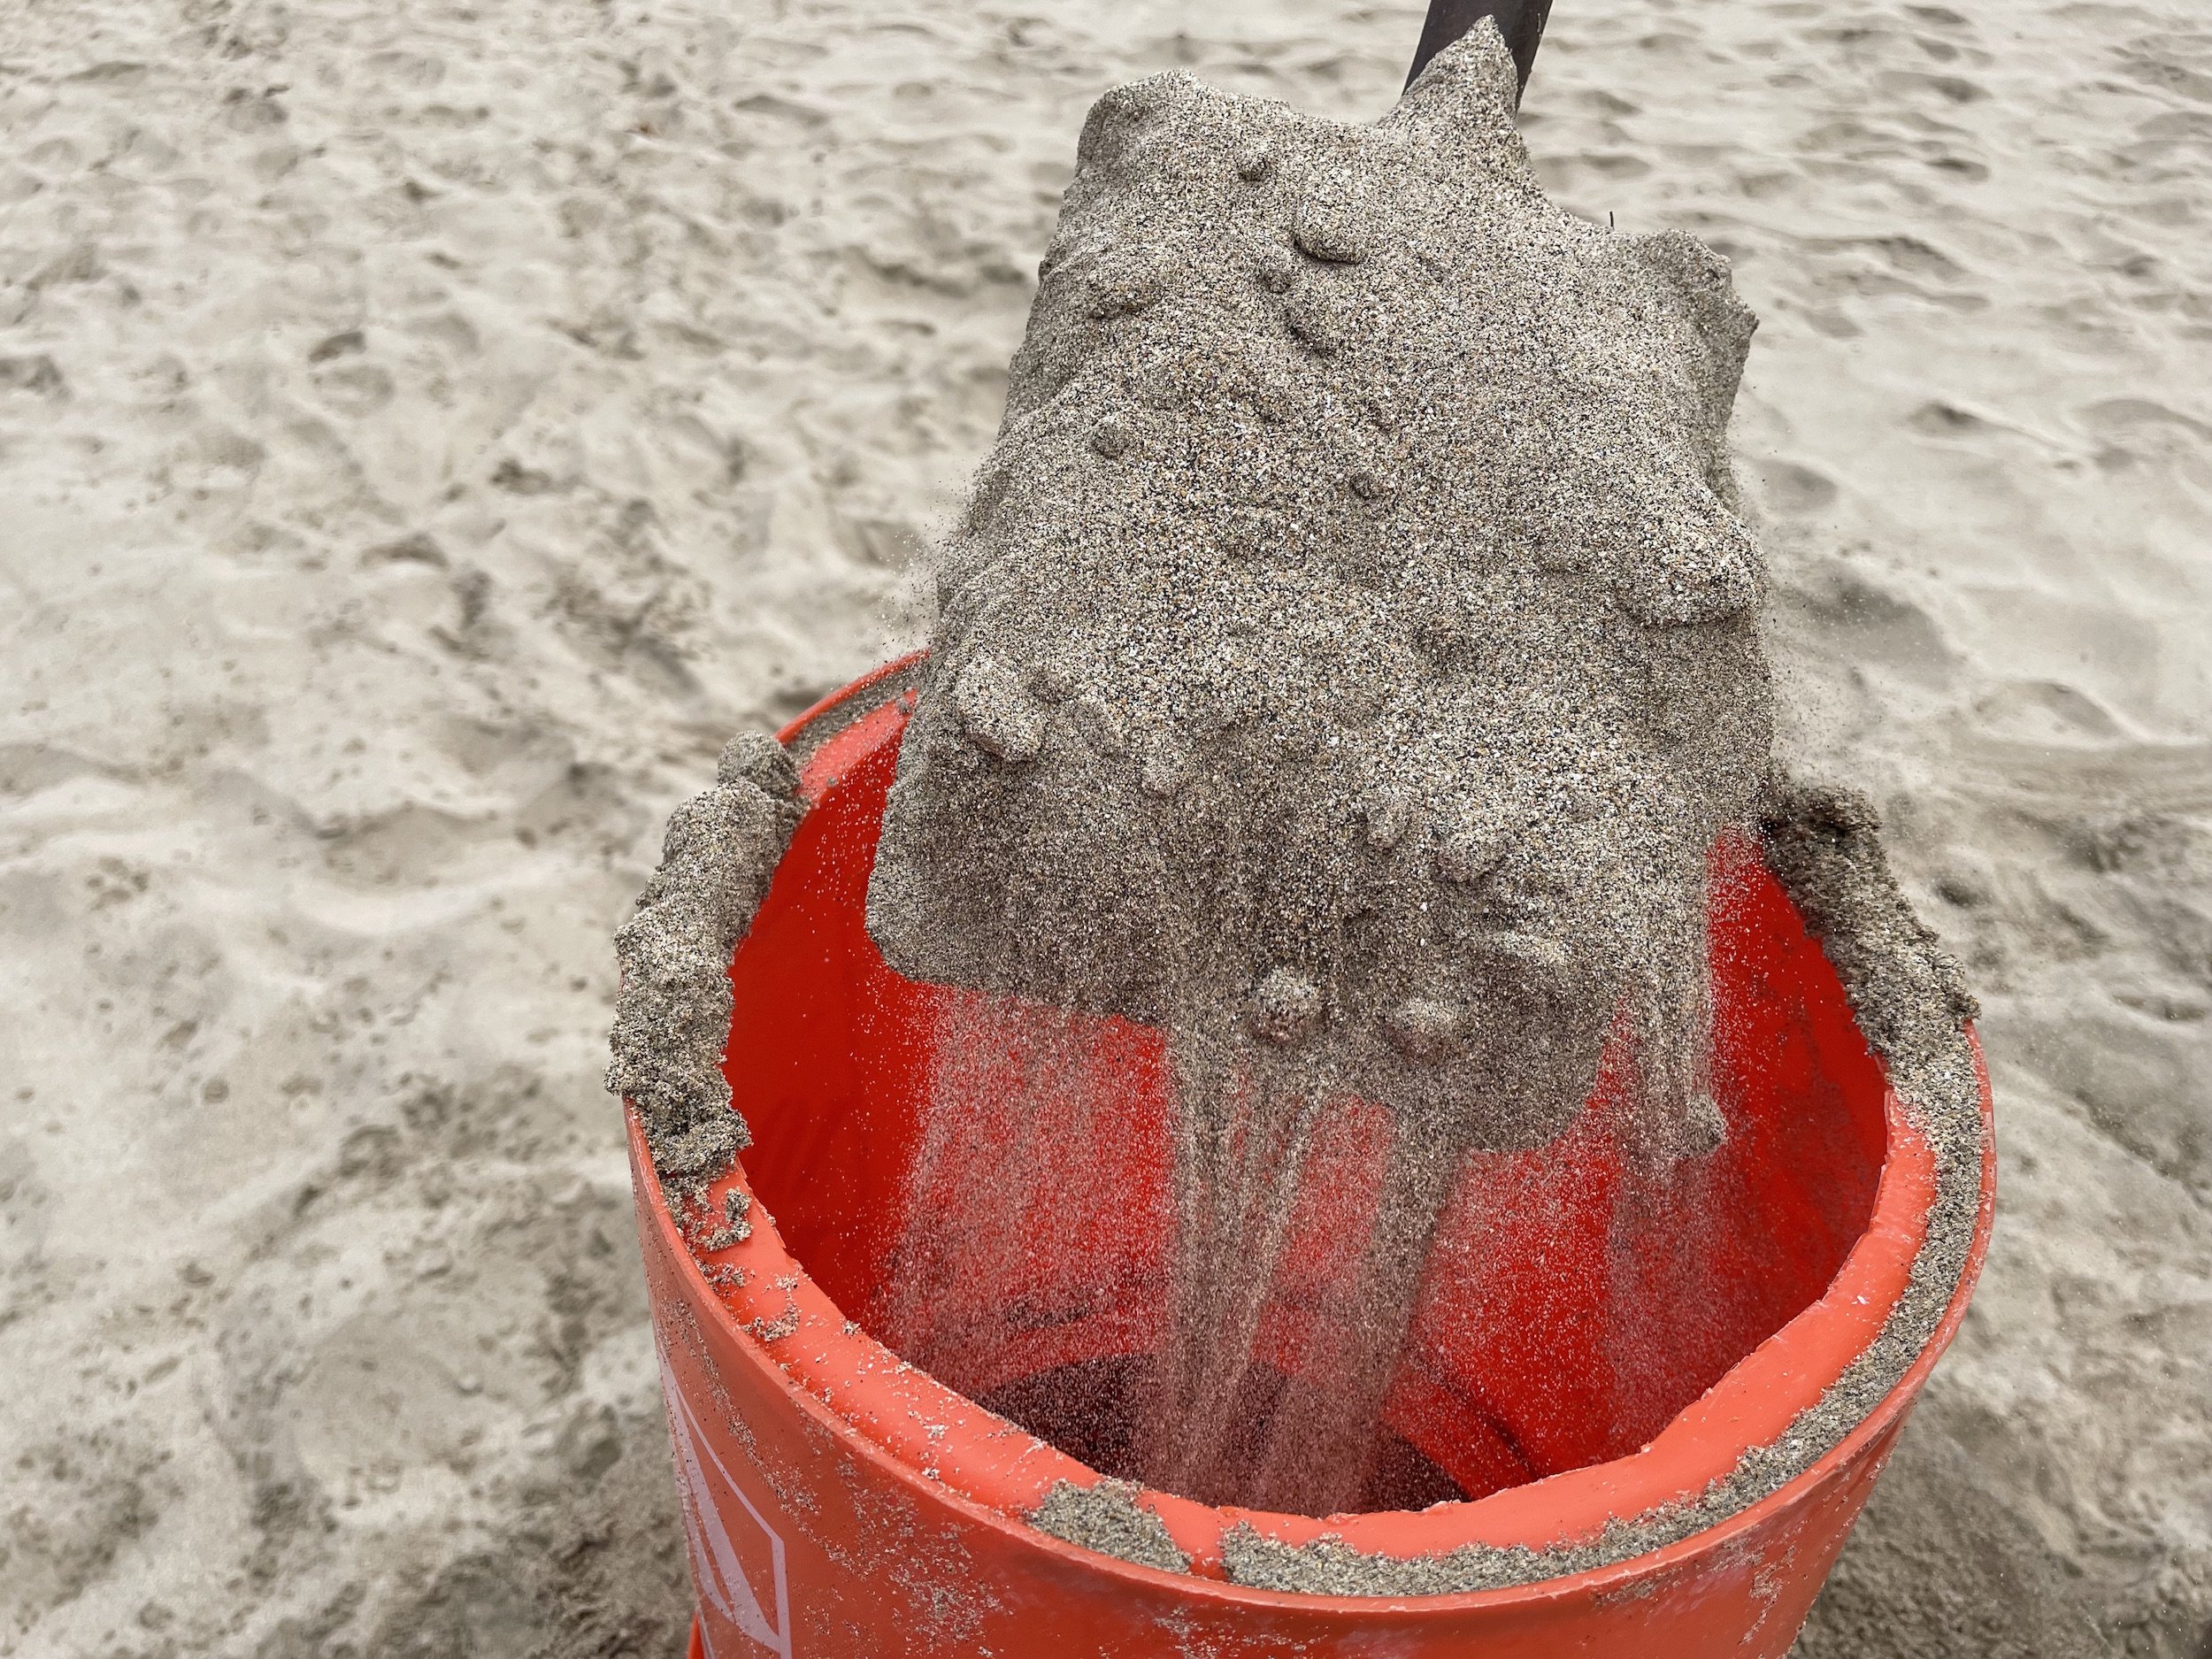
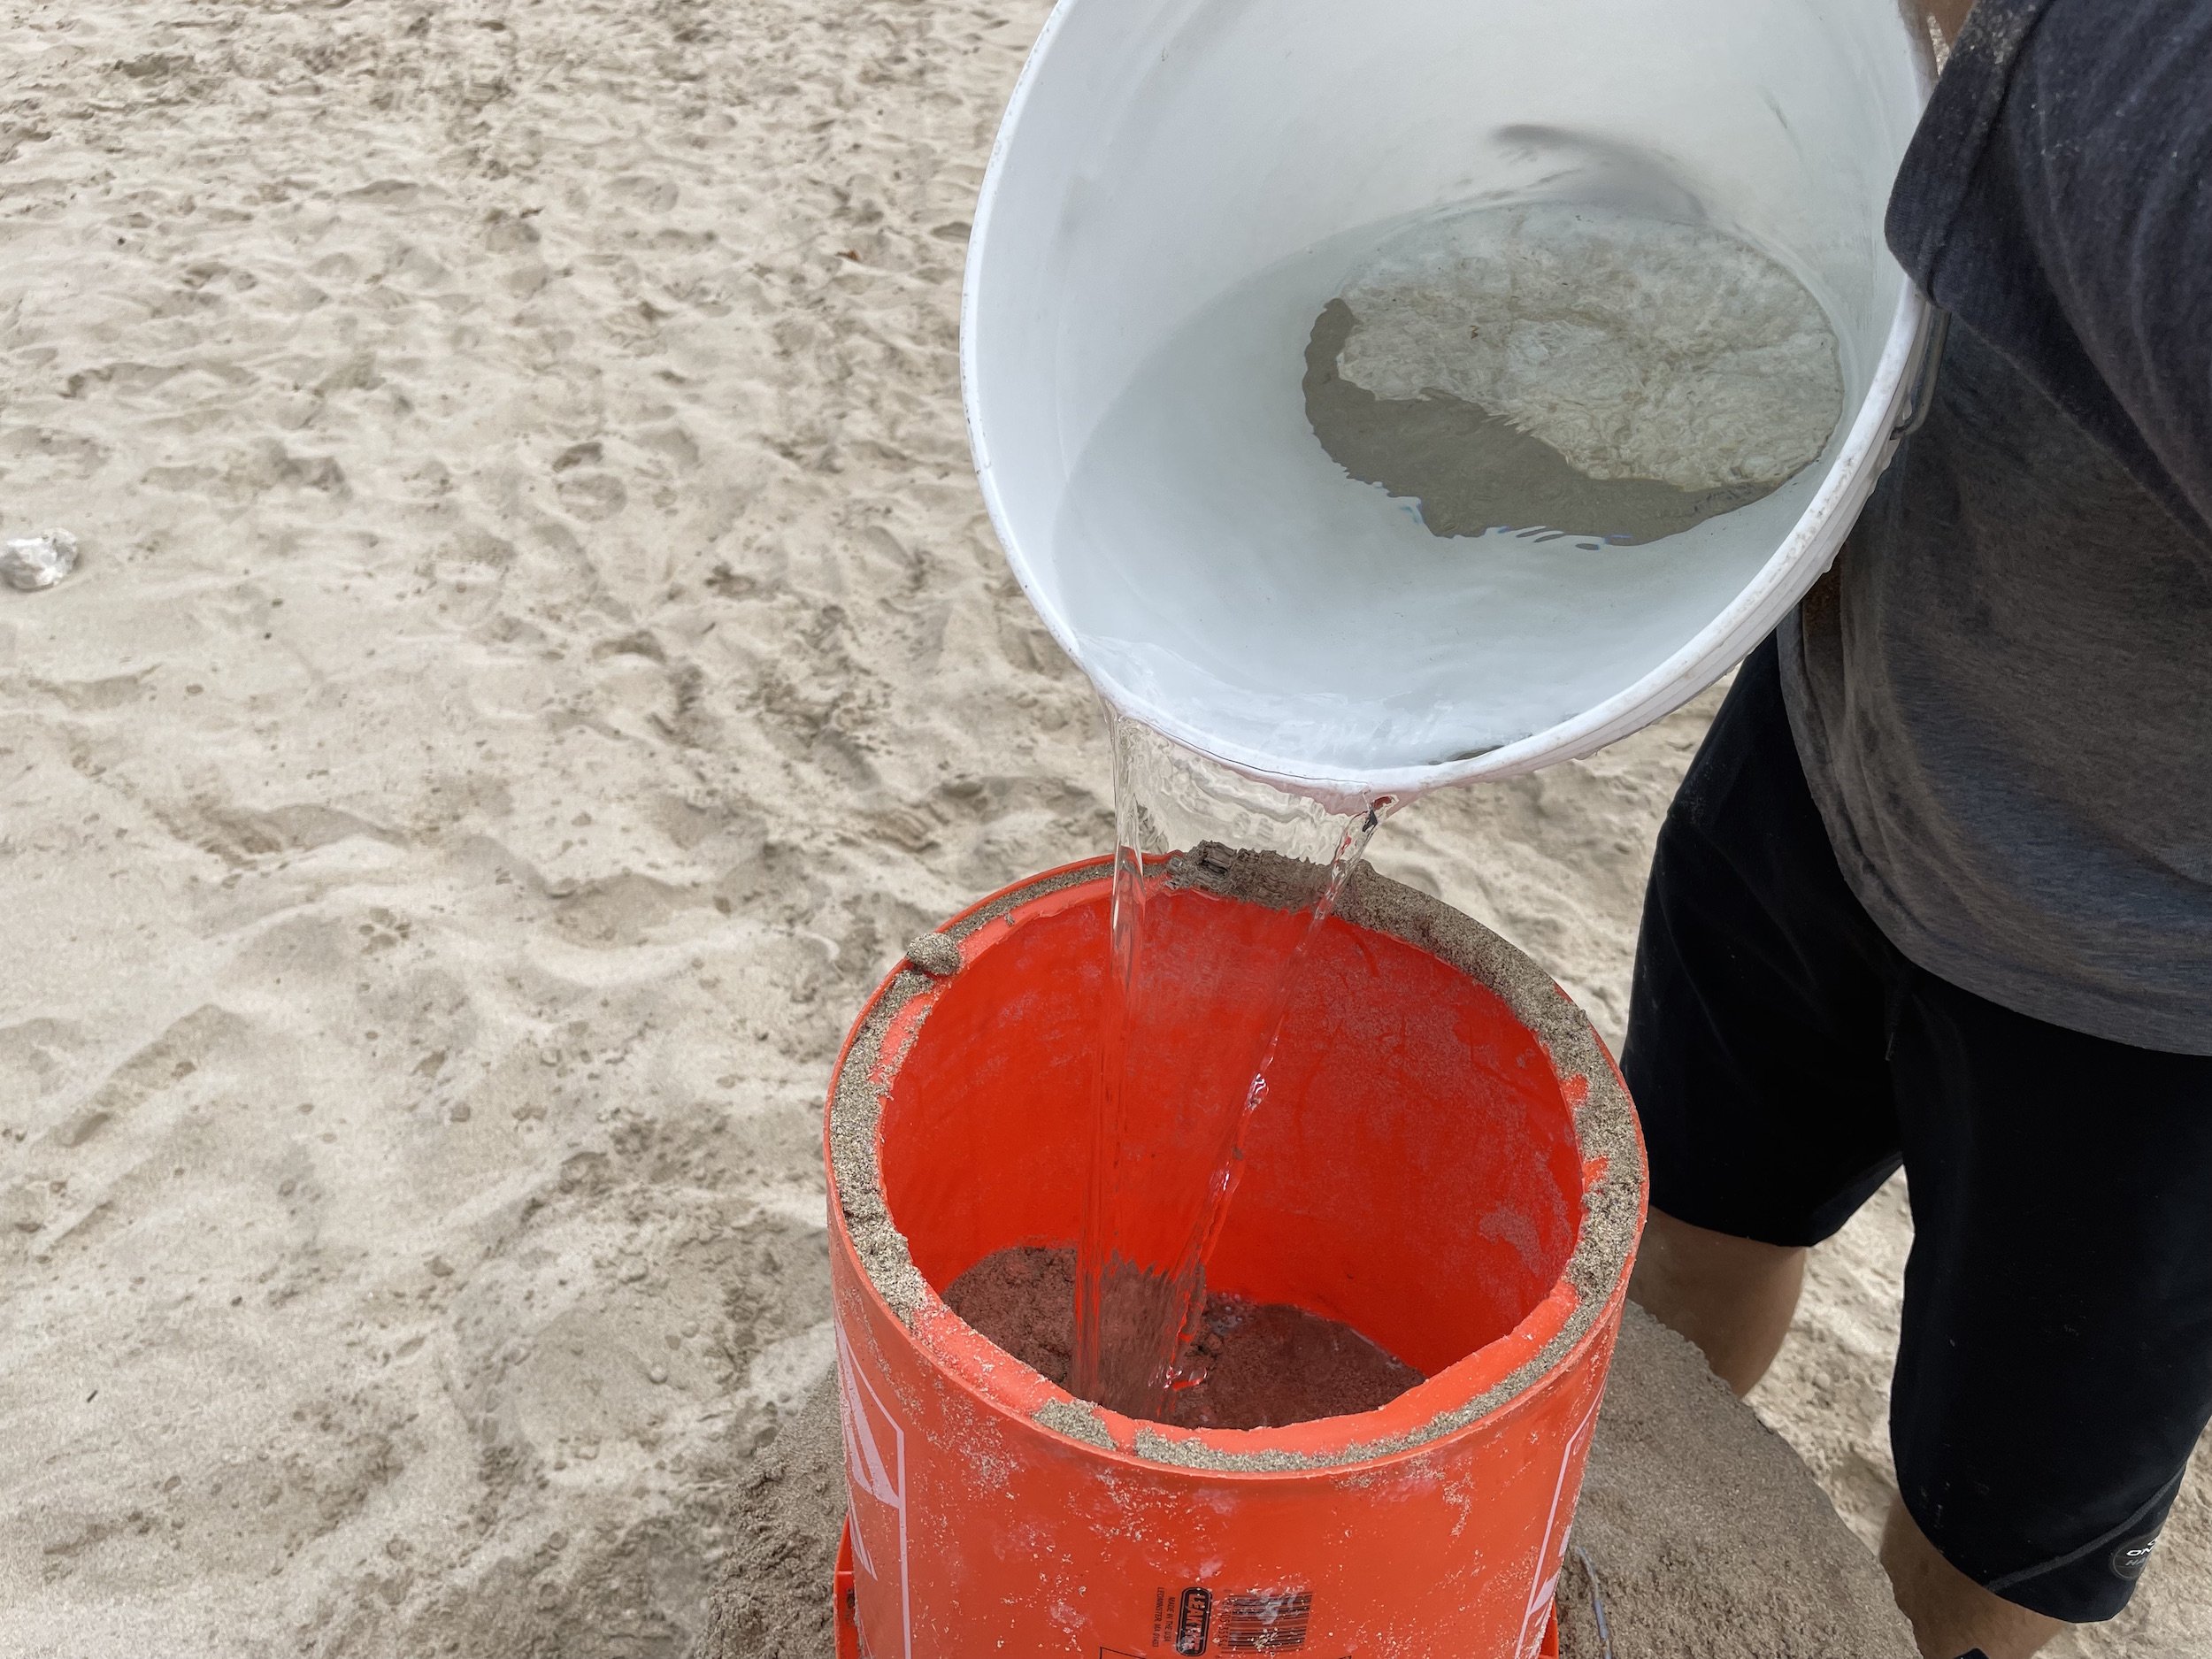
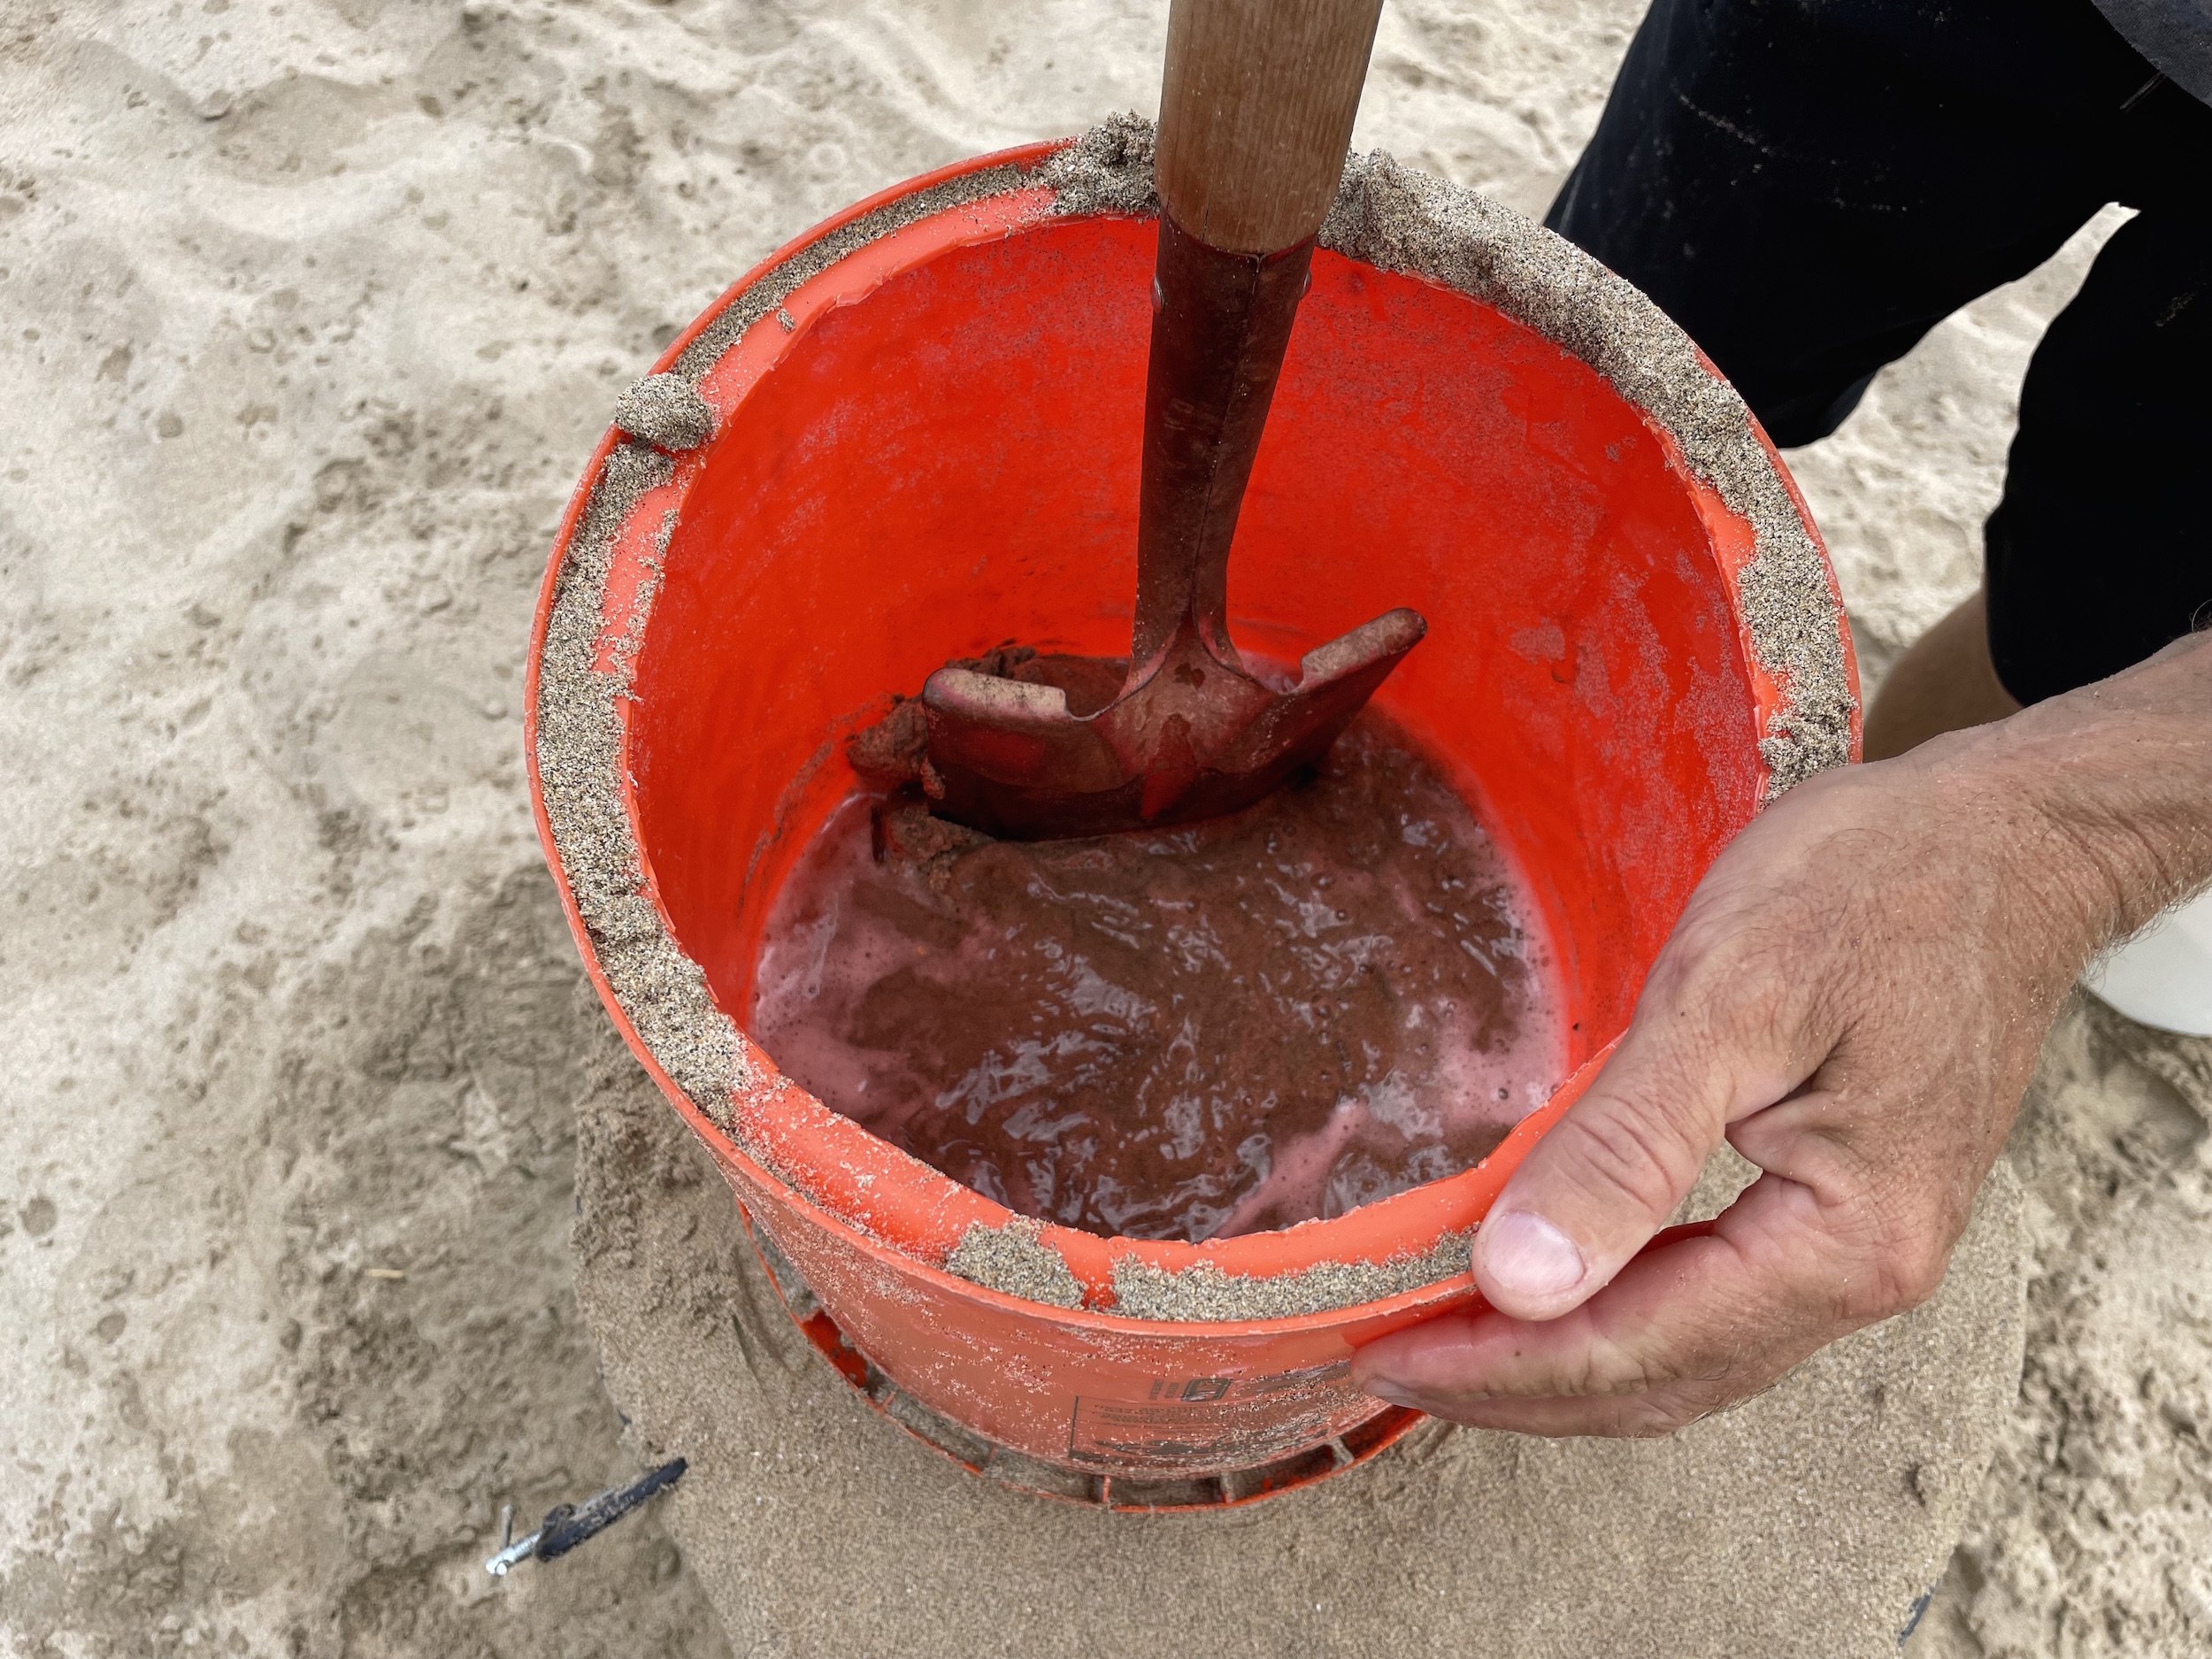
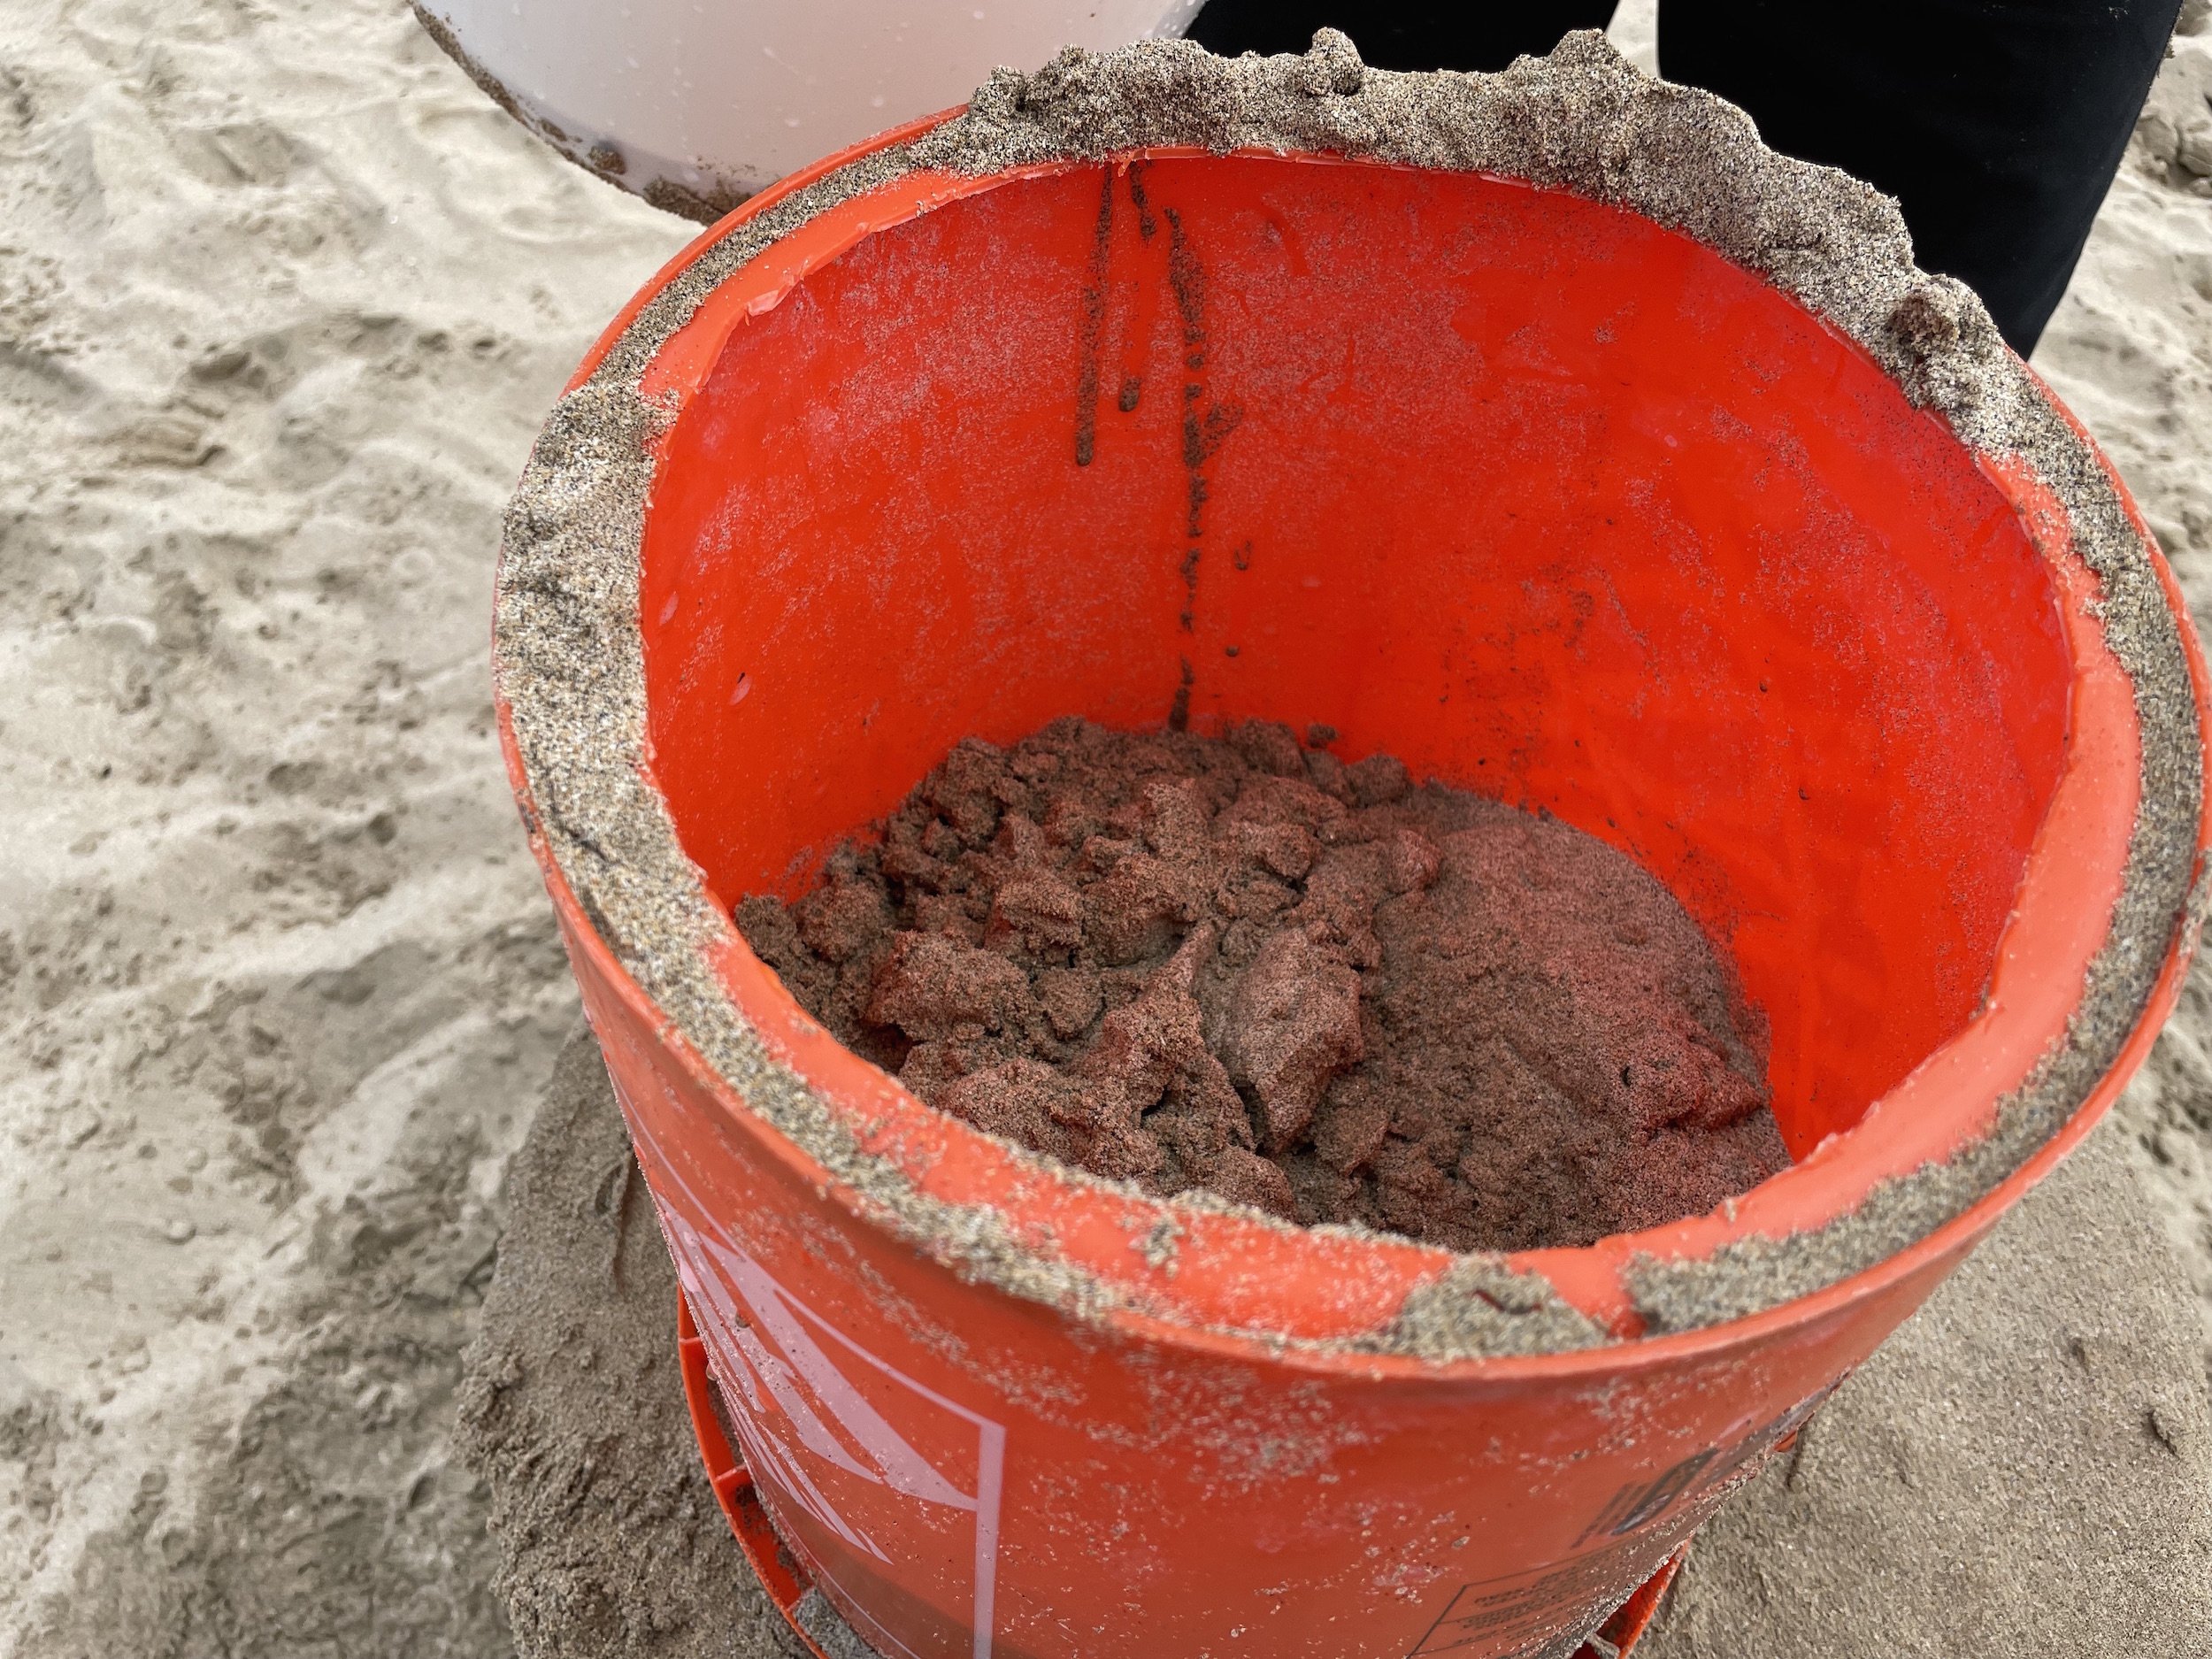
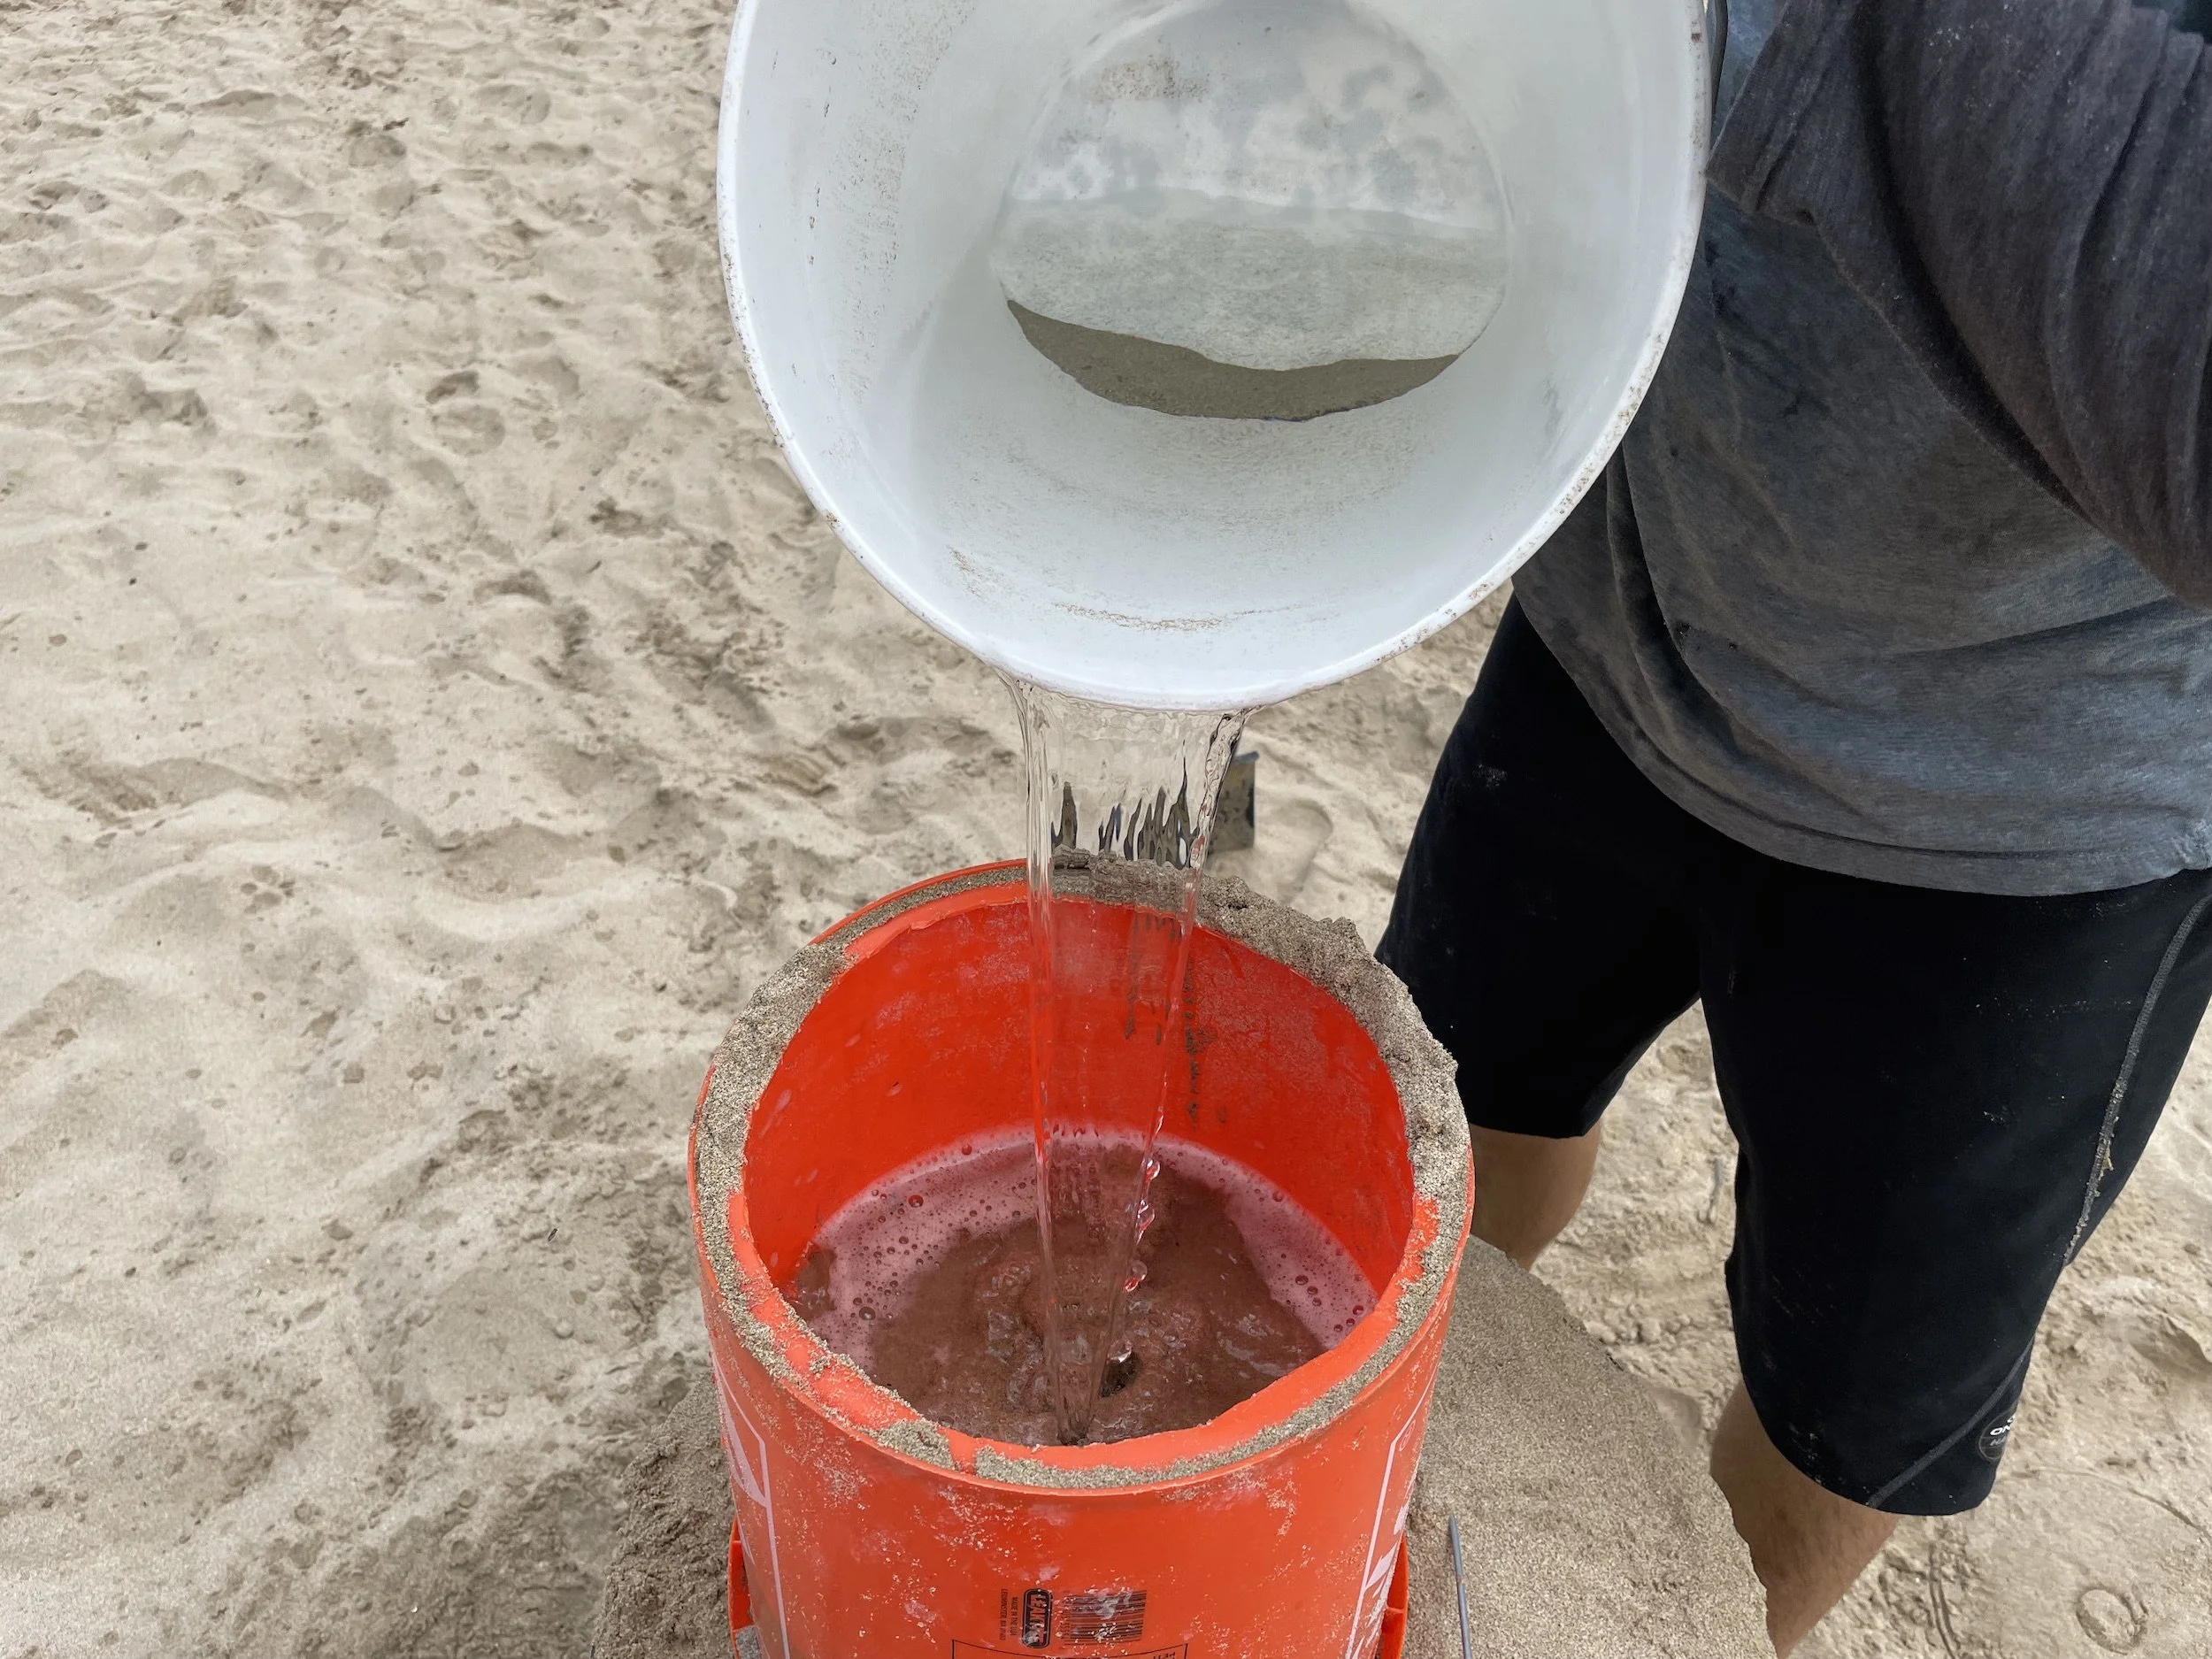
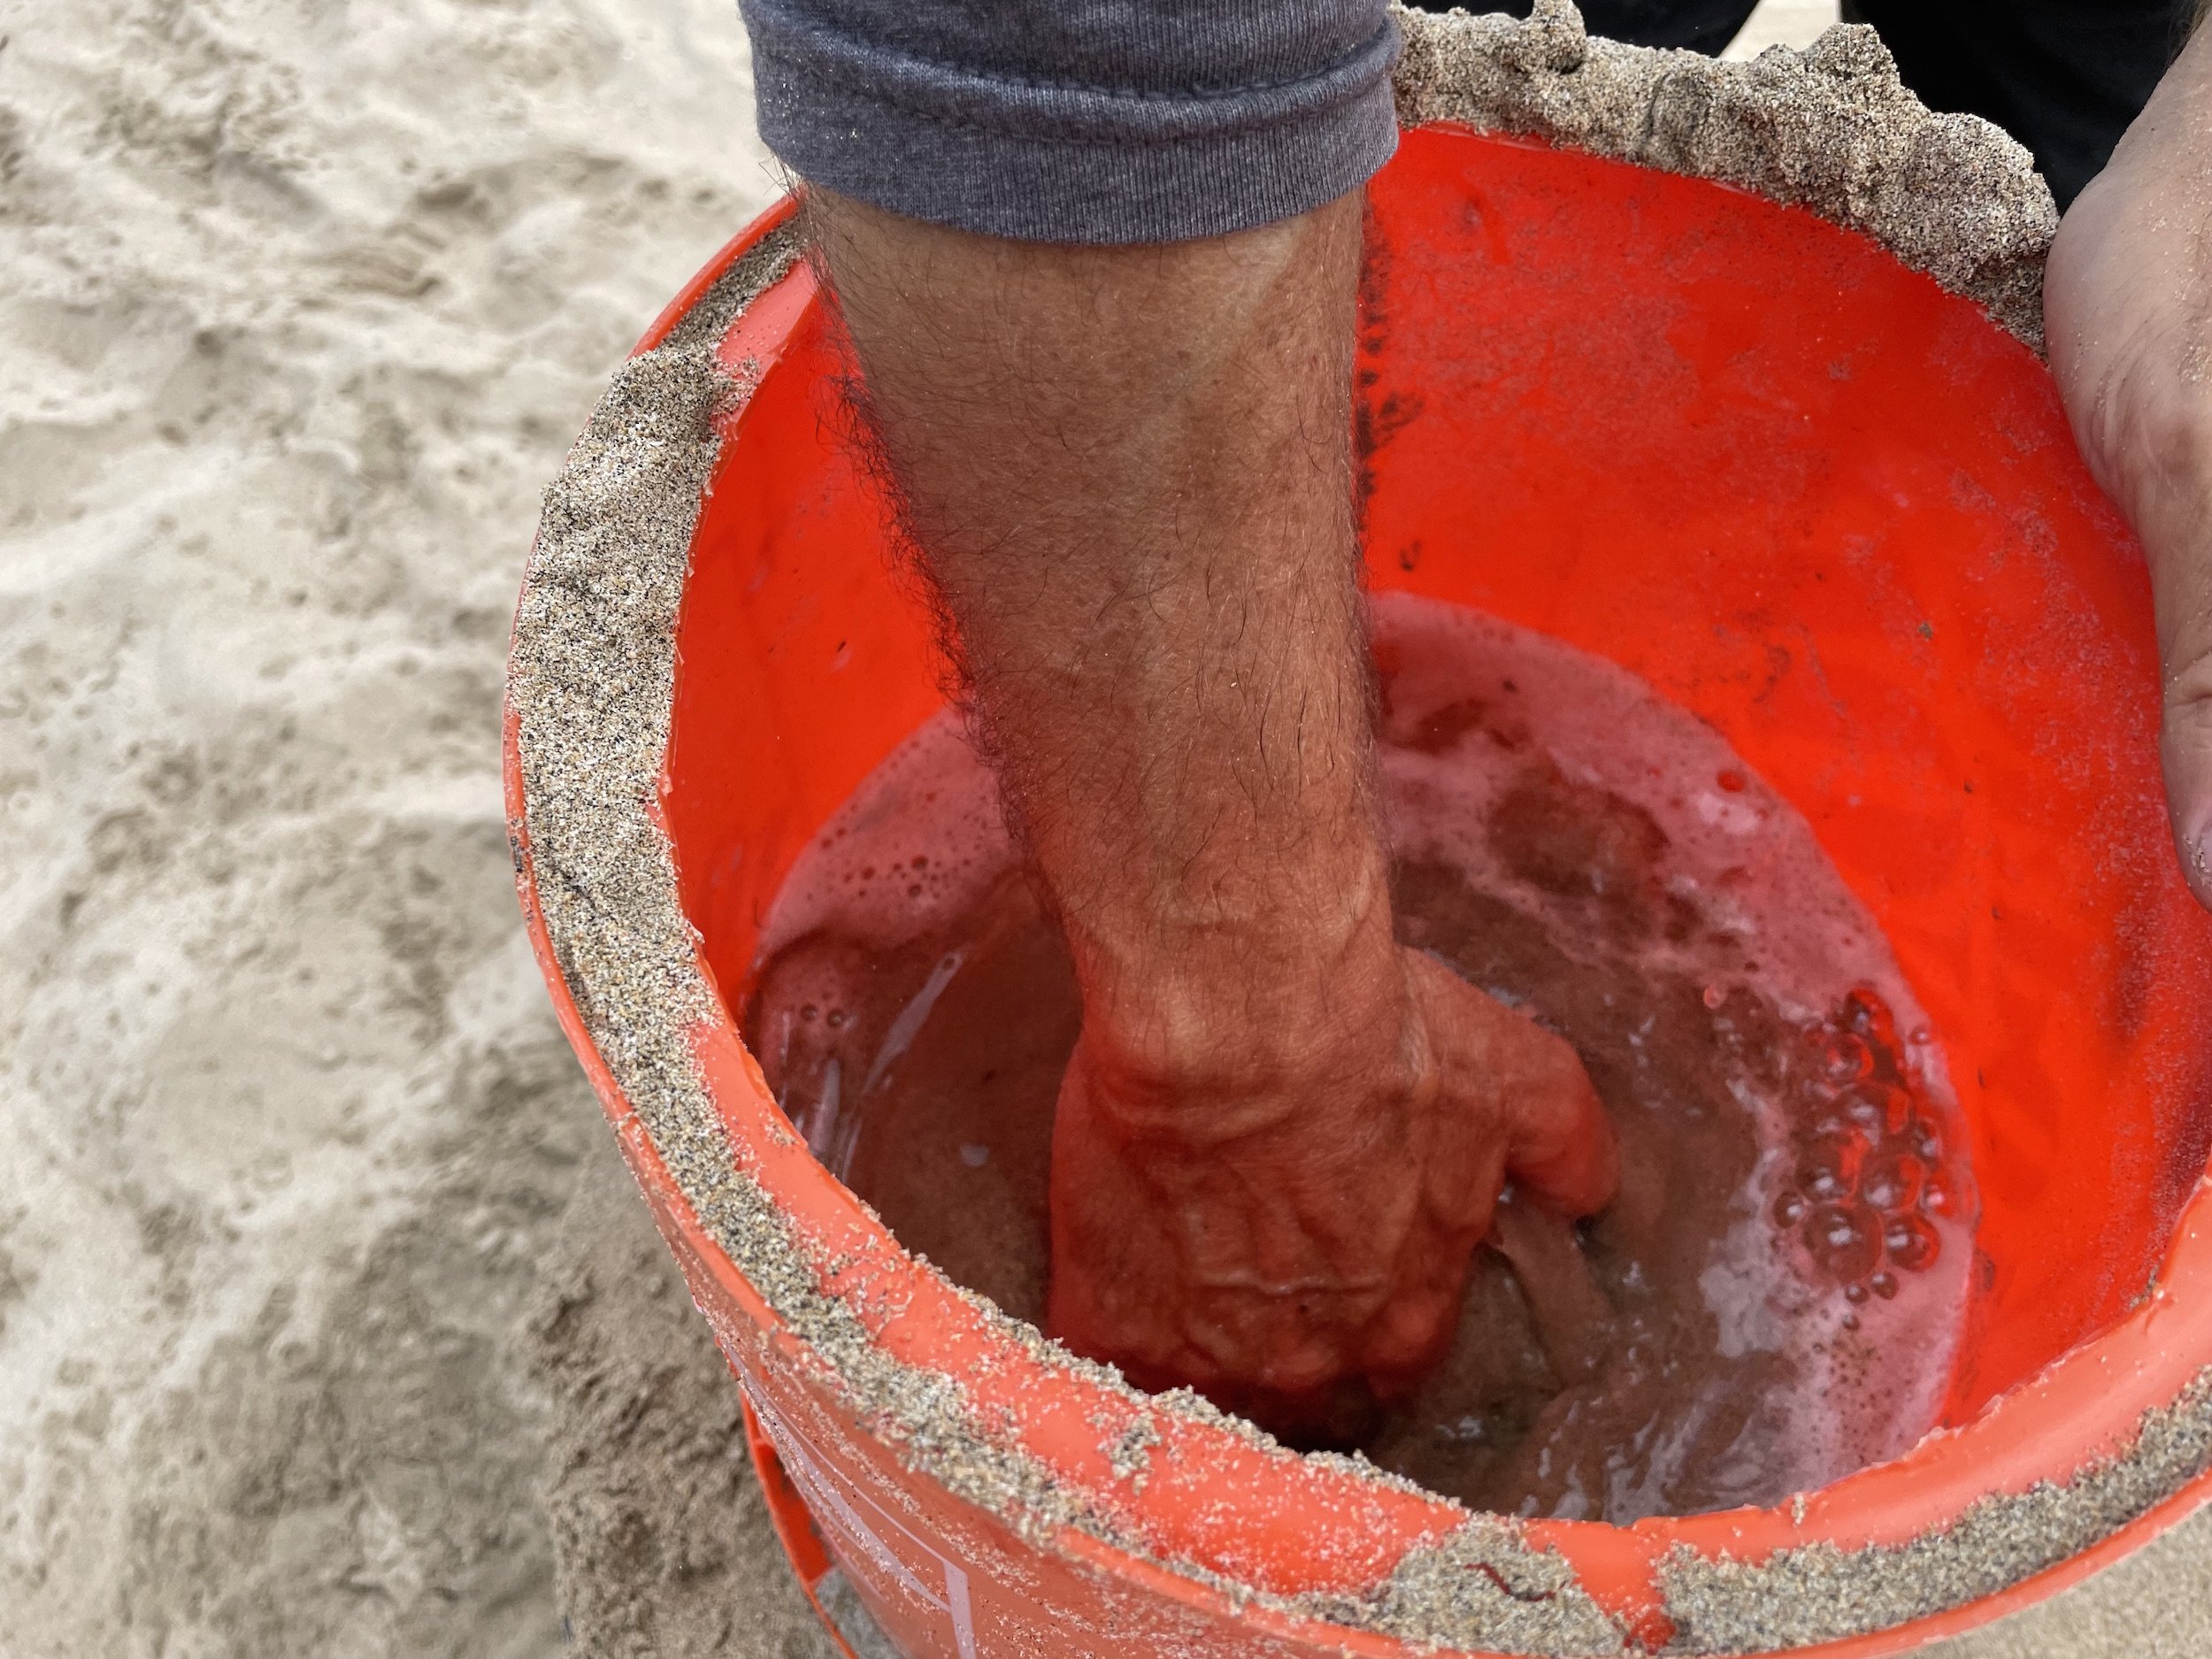
The mud bucket…
Put some water in a bucket followed by sand, this will help create a slurry of sand or what we call ‘mud’. Use this wet sand to add elements and details to your sculpt.


Finish Carving & add detail…


That’s it! You’re a pro…congrats!